AI Document Processing , Approval Workflows , Legal Documents Processing Flows , Operationalize AI For Business
Learn how to simplify your legal contracts workflow. A step-by-step guide on how to use Google Docs and AI to create, approve and review legal contracts.
Table of Contents
Creating contracts is a crucial task for any Legal Department, and a part of the Legal Document Management system. At the same time, personalizing contracts can be time-consuming and repetitive. This is where AI workflow automation comes into play. In this guide, you will learn how to create a custom Google Docs template, have it reviewed by AI, and then get it approved by your team — all automated, end-to-end.
Automated Onboarding Process Steps
Let’s get started.
Our approval workflow automation will consist of 3 main sections:
— filling out the template using form responses with the help of AI,
— having your team approve or reject the document,
— and finally sending it to the requester for signing.
We’ve also included a YouTube video below that walks you through each step to ensure you can successfully build your flow.
Create, Review, and Approve with AI and Google Docs: Step-by-step Tutorial
Step 1: Set Up Your Zenphi Account
For this flow we’re using Zenphi, the #1 AI-powered platform for automating any business operation within Google Workspace environment.
Let’s get started by setting up your Zenphi account. Click here to create your free account, and once you’re in, it’s time to build your first automated flow. In Zenphi, a ‘flow’ is the entire automated process. It consists of triggers (the magic button that starts the flow) and actions (the steps that make the magic happen).
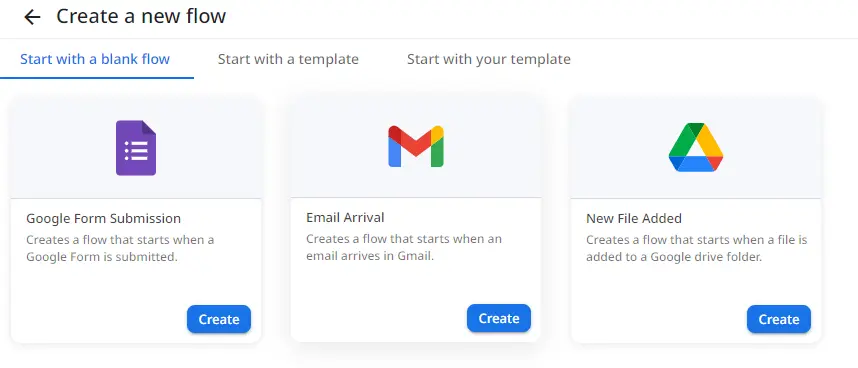
For this example, we will use the ‘Google Form Response Trigger,’ which will automatically start your flow whenever a response is submitted. This way, the flow runs as soon as someone requests their contract!
Step 2: Filling Out the Google Doc Template
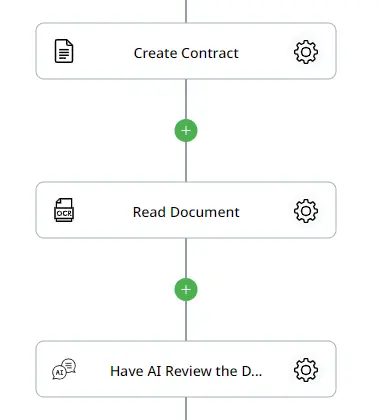
First, we’ll create the requester’s contract using a Google Doc template. To do this, use the “Create Document Using Template” action in Zenphi. This action allows you to replace placeholder text in documents with responses from a Google Form.
Select your template and use the token picker (symbolized by a chain icon) to specify the value for each placeholder. Enable the option to generate a PDF of your document for AI readability.
Zenphi offers powerful AI tools, including the “OCR Document Processor” action, which extracts text from a PDF. We’ll use this action to read the previously generated PDF document.
Next, we’ll employ the “Generative AI ” action to review the document, ensuring the requester’s responses are readable and free from typos.
Write a prompt for the AI, indicating that placeholders have been replaced with Google Form responses, and request a review of grammar and readability. Additionally, instruct the AI to create a brief summary of the document for quick review by the approver. Set up this action by indicating the input as the text content from the previous action.
Step 3: Send the Contract out for Approval
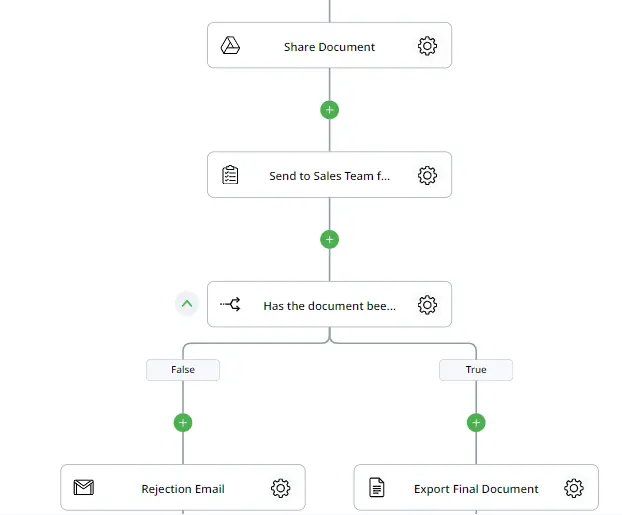
Once AI has reviewed the contract, it’s time to send feedback to the approver. Use the “Share Item” action to grant editor access to the Google Doc created at the start of the flow. Provide the file ID using the token picker and add the approver’s email. For convenience, create a variable for the approver’s email to easily reference it as needed.
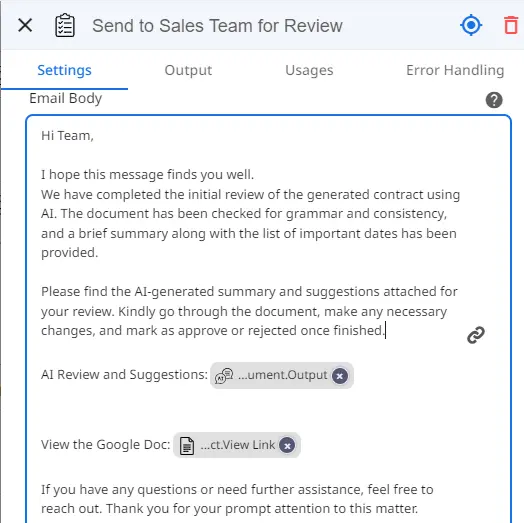
Next, use the “Assign Task” action to send a task with options to approve or reject the document. Add a task name and description, including the Google Doc view link in the body for easy access. Use the token picker to add the AI’s suggested changes for legibility.
To determine if the contract was approved, use an “If Condition” action. Indicate clauses for when the flow should follow the true branch. If the document is approved, proceed to the “Export Docs” action to save it as a PDF. This action allows you to select from various export formats and specify a new name and save location.
If the document is rejected, use the “Send Email (Gmail)” action to notify the requester of the rejection. Use the contact email from the Google Form as the assignee and inform them that their contract was rejected, with an option to reach out for more information.
Step 4: Send the Contract out for Signing
If the document is approved, the final step is to send it out for signing. Use the “eSign DocuSign Envelope” action, selecting the previously exported document to ensure it includes all the latest changes. Specify the action required by the recipient, such as signing, viewing, or receiving a copy.
Step 5: Testing and Publishing your Flow
Congratulations! You’ve automated the workflow for creating contracts. Before launching your automated solution, test and tweak it as needed. Zenphi is highly customizable, so feel free to adjust steps to fit your workflow perfectly. Once satisfied, hit publish and let Zenphi save you valuable time with each run.
Interested in discovering more about what Zenphi can do for your business? Schedule a demo meeting with our specialized team to explore further.
Video Tutorial: Automating Legal Contract Creation, Approval & Review With AI
About The Author

Fernanda López Guerra, CS @Zenphi
Fernanda is an experienced Customer Success manager with over 9 years in Tech and B2B Saas. She has automated multiple operations for Zenphi customers in Education, Retail, Tech and other verticals.

