As a Google Workspace administrator, you can streamline your organization’s email communication and promote consistency by automating the management of email signatures. Manually informing each employee to update their signature and monitoring their progress can be a cumbersome task, especially for larger organizations. With Google Workspace signature management automation, you can create a signature template and apply it to all emails sent by the organization or specific users from a particular department or organizational unit, saving you time and ensuring a professional and consistent appearance. Additionally, automating the process reduces the risk of errors and guarantees that everyone is using the most up-to-date version of the signature.
In this tutorial, we will walk you through the steps of setting up an email signature automation workflow using zenphi – the best no-code business process automation platform for Google Workspace.
Step 1: Create a zenphi account
The first step is to create a zenphi account. If you don’t already have one, go to the zenphi website and sign up for a free account.
Step 2: Create a new zenphi Space
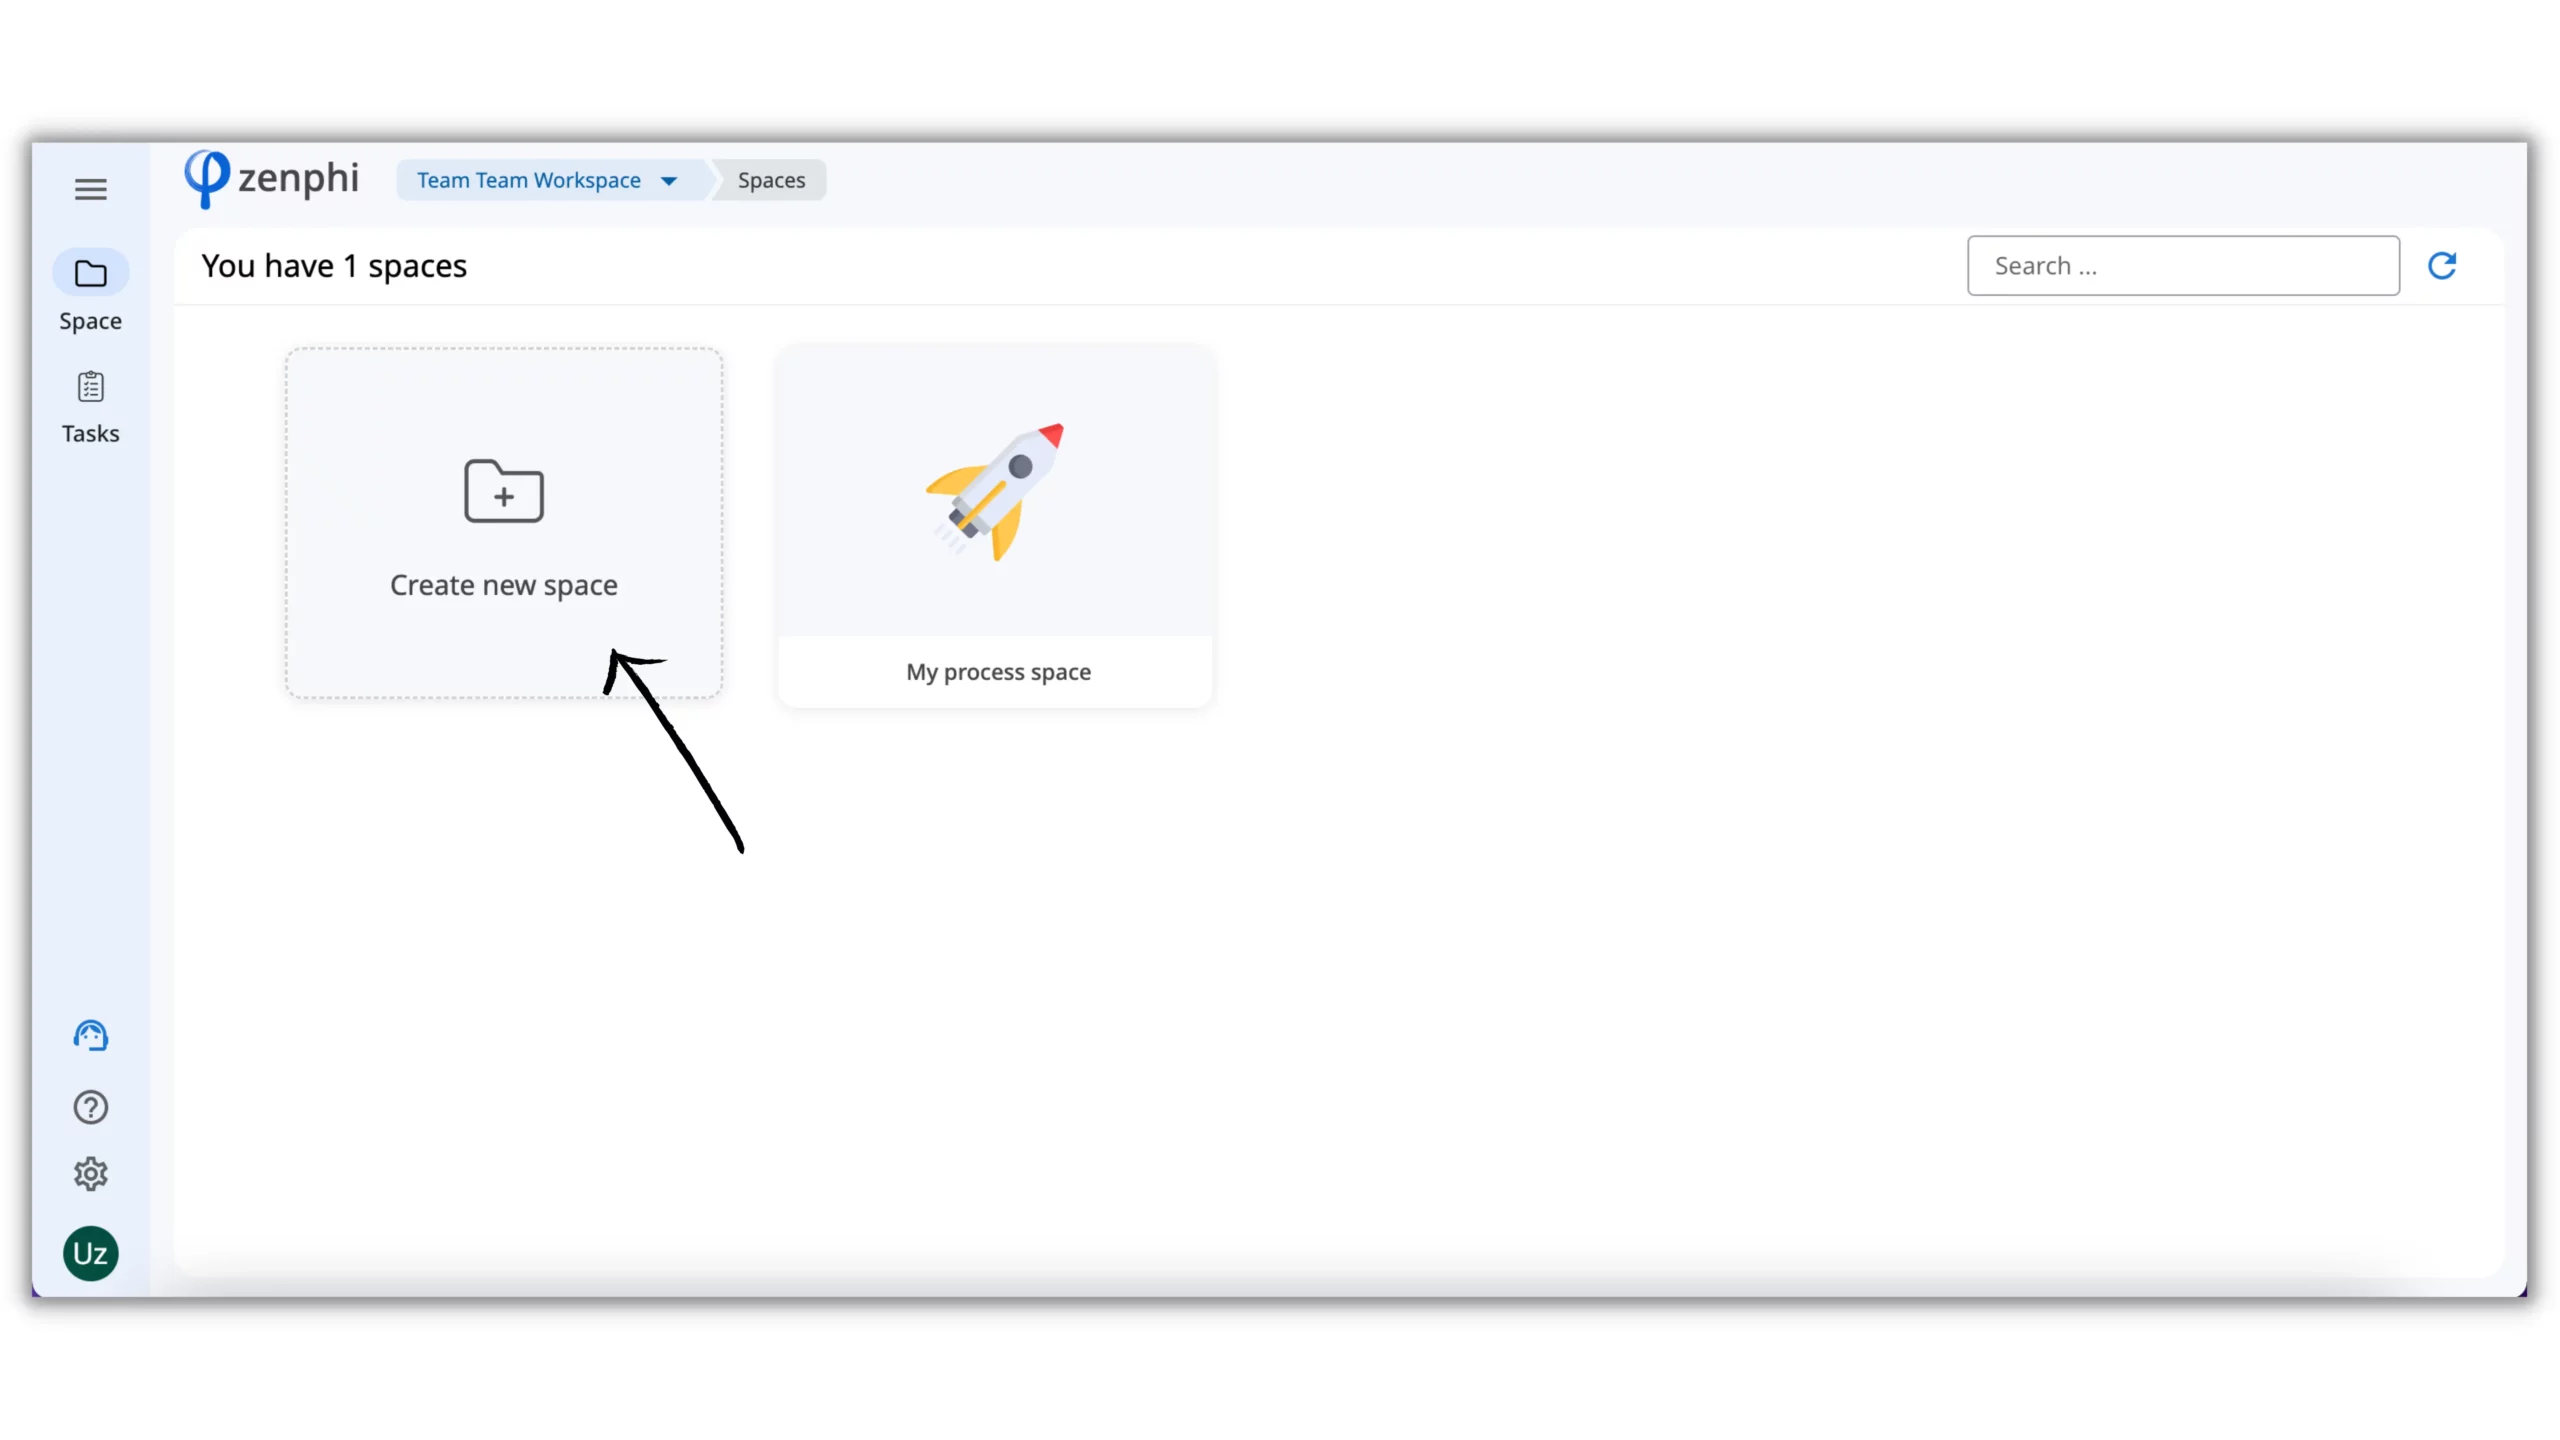
Once you have created your zenphi account, you can begin by creating a new Space. To do this, simply log in to your zenphi account and click on the “Create new space” button.
From there, you can choose whether to create a Space from scratch or start with a template. For this use case, we will be using the “Google Workspace Admin” template.
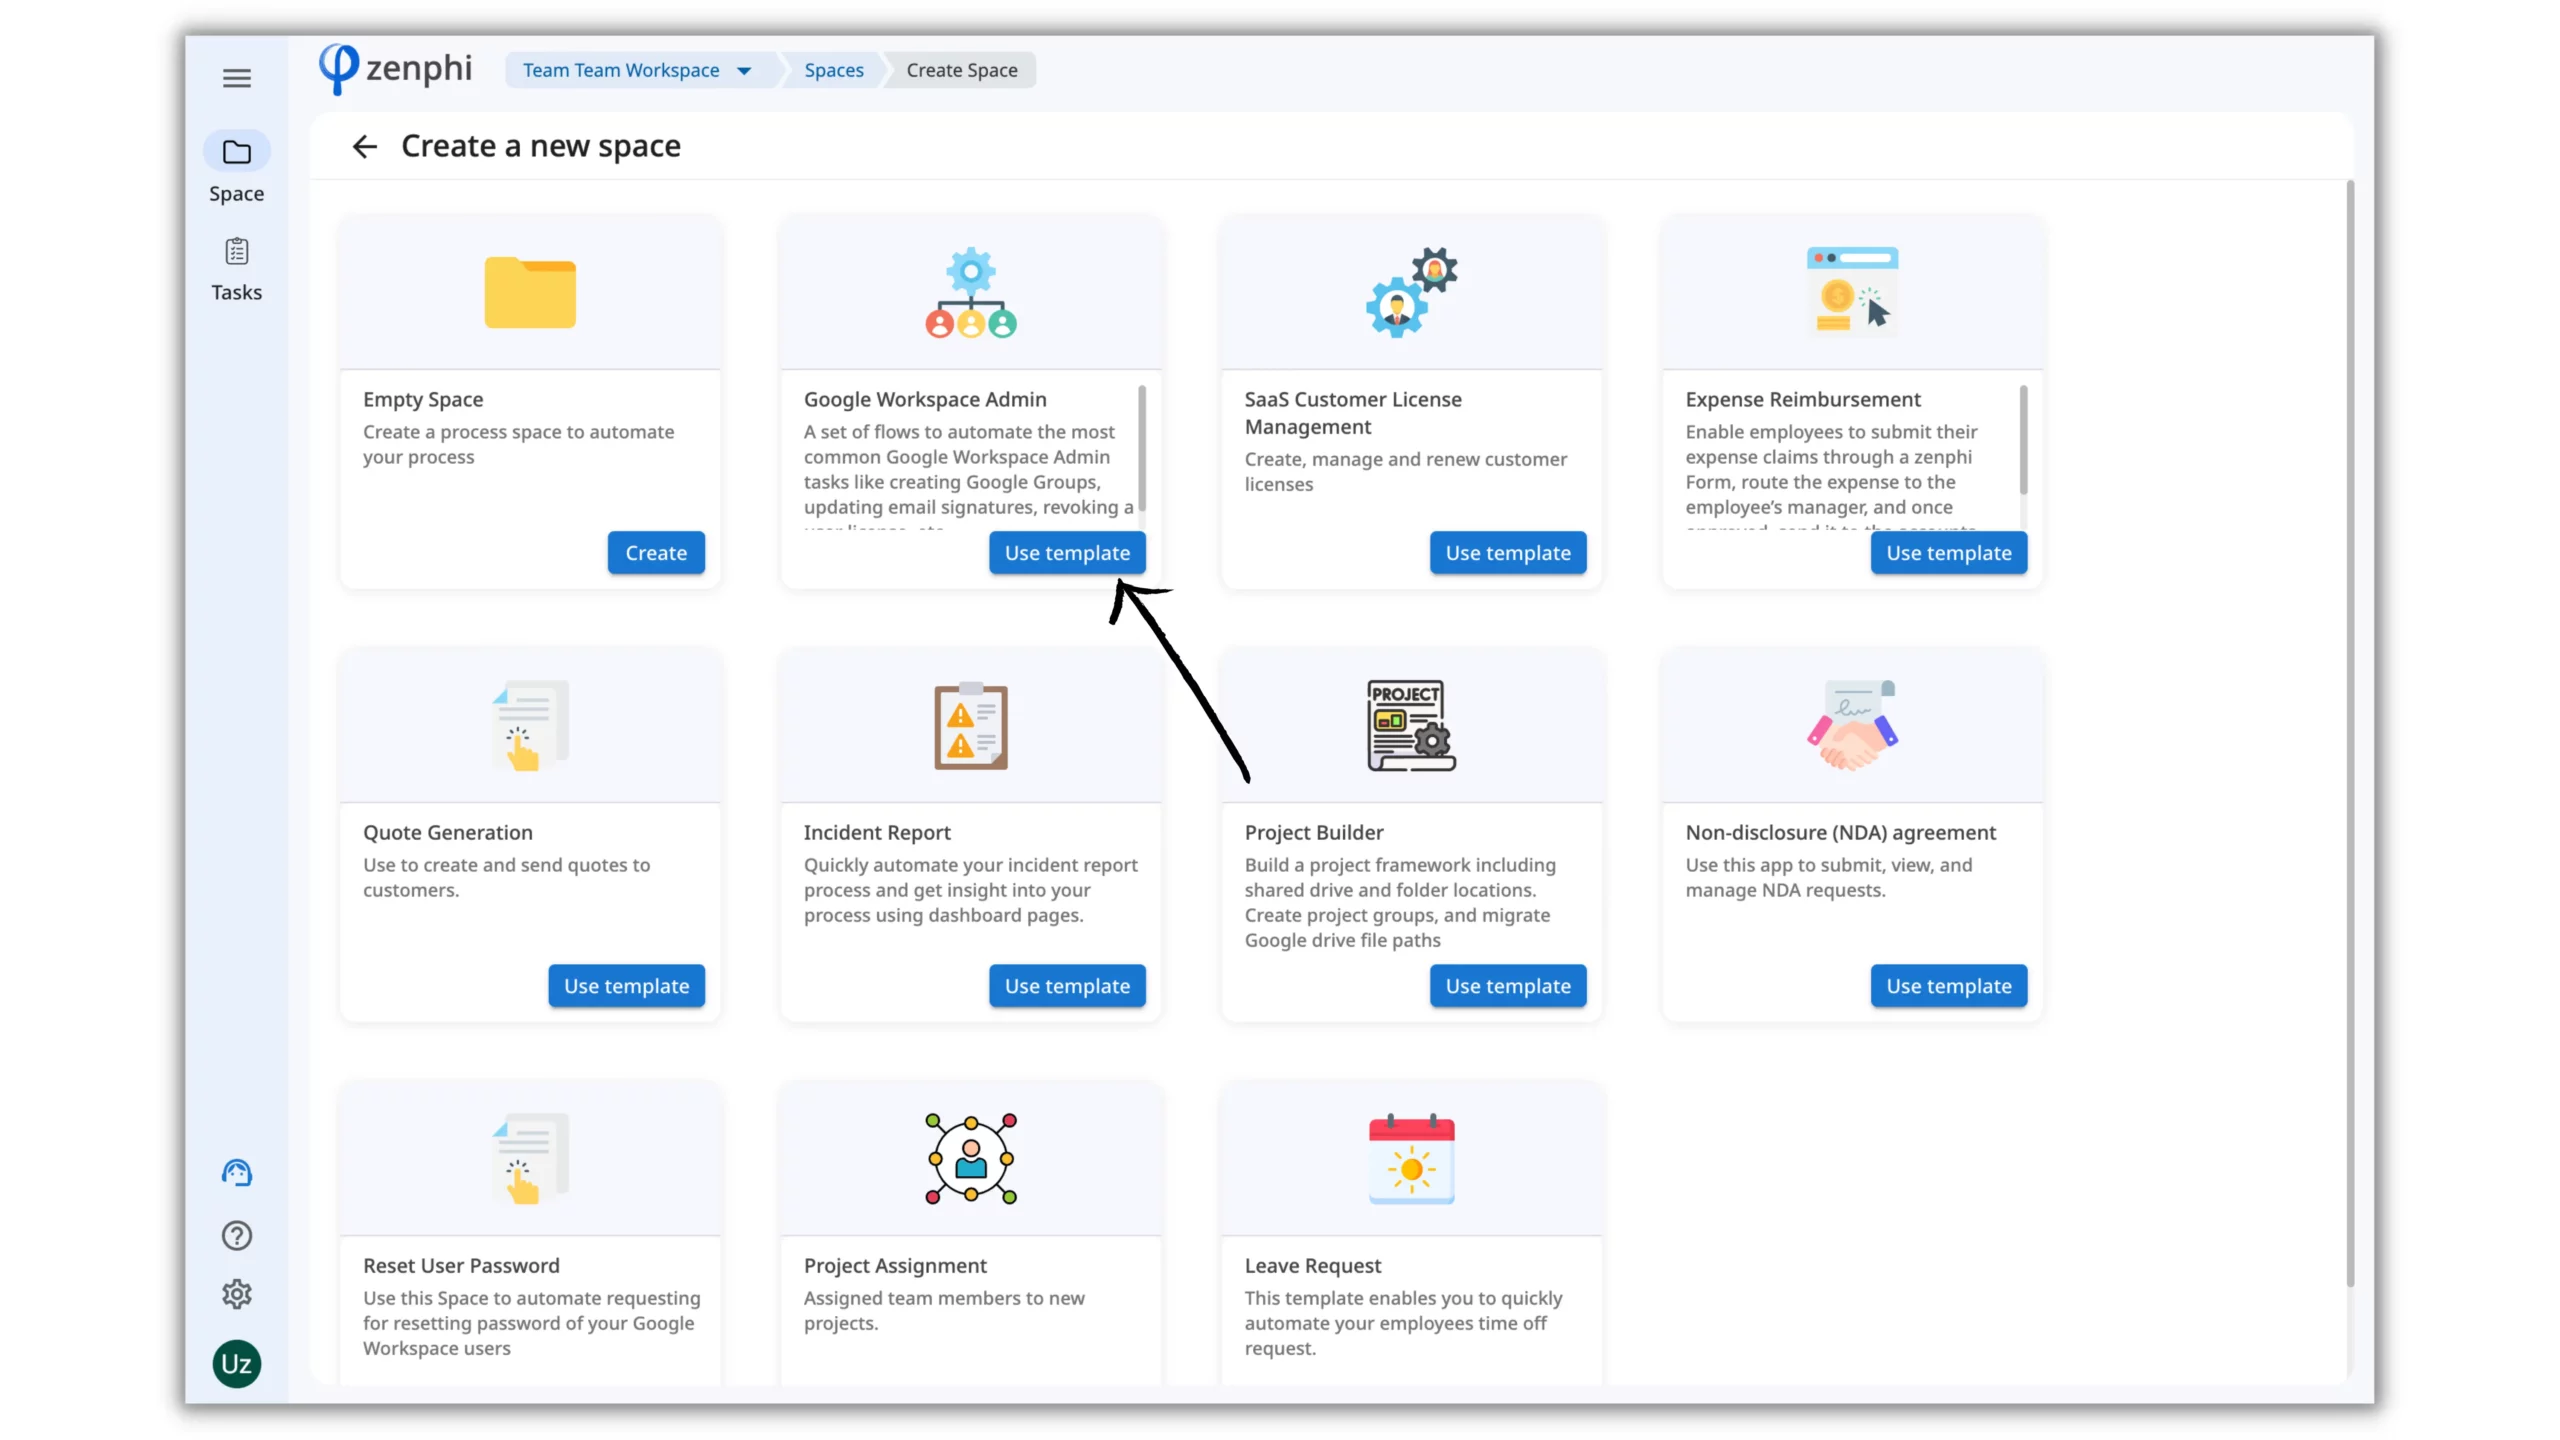
This Space template comes with pre-built scenarios that are popular among Google Admins, including employee onboarding and offboarding, password request management, Google Groups management, Google Vault exports, and email signature automation.
To get started with the template, click on “Use this template”. You will need to establish Connections with the Google Apps that you will be using in this Space, such as Google Directory, Google Docs, Google Drive, Gmail, and others.
Step 3: Select the Flow for Google Workspace signature management
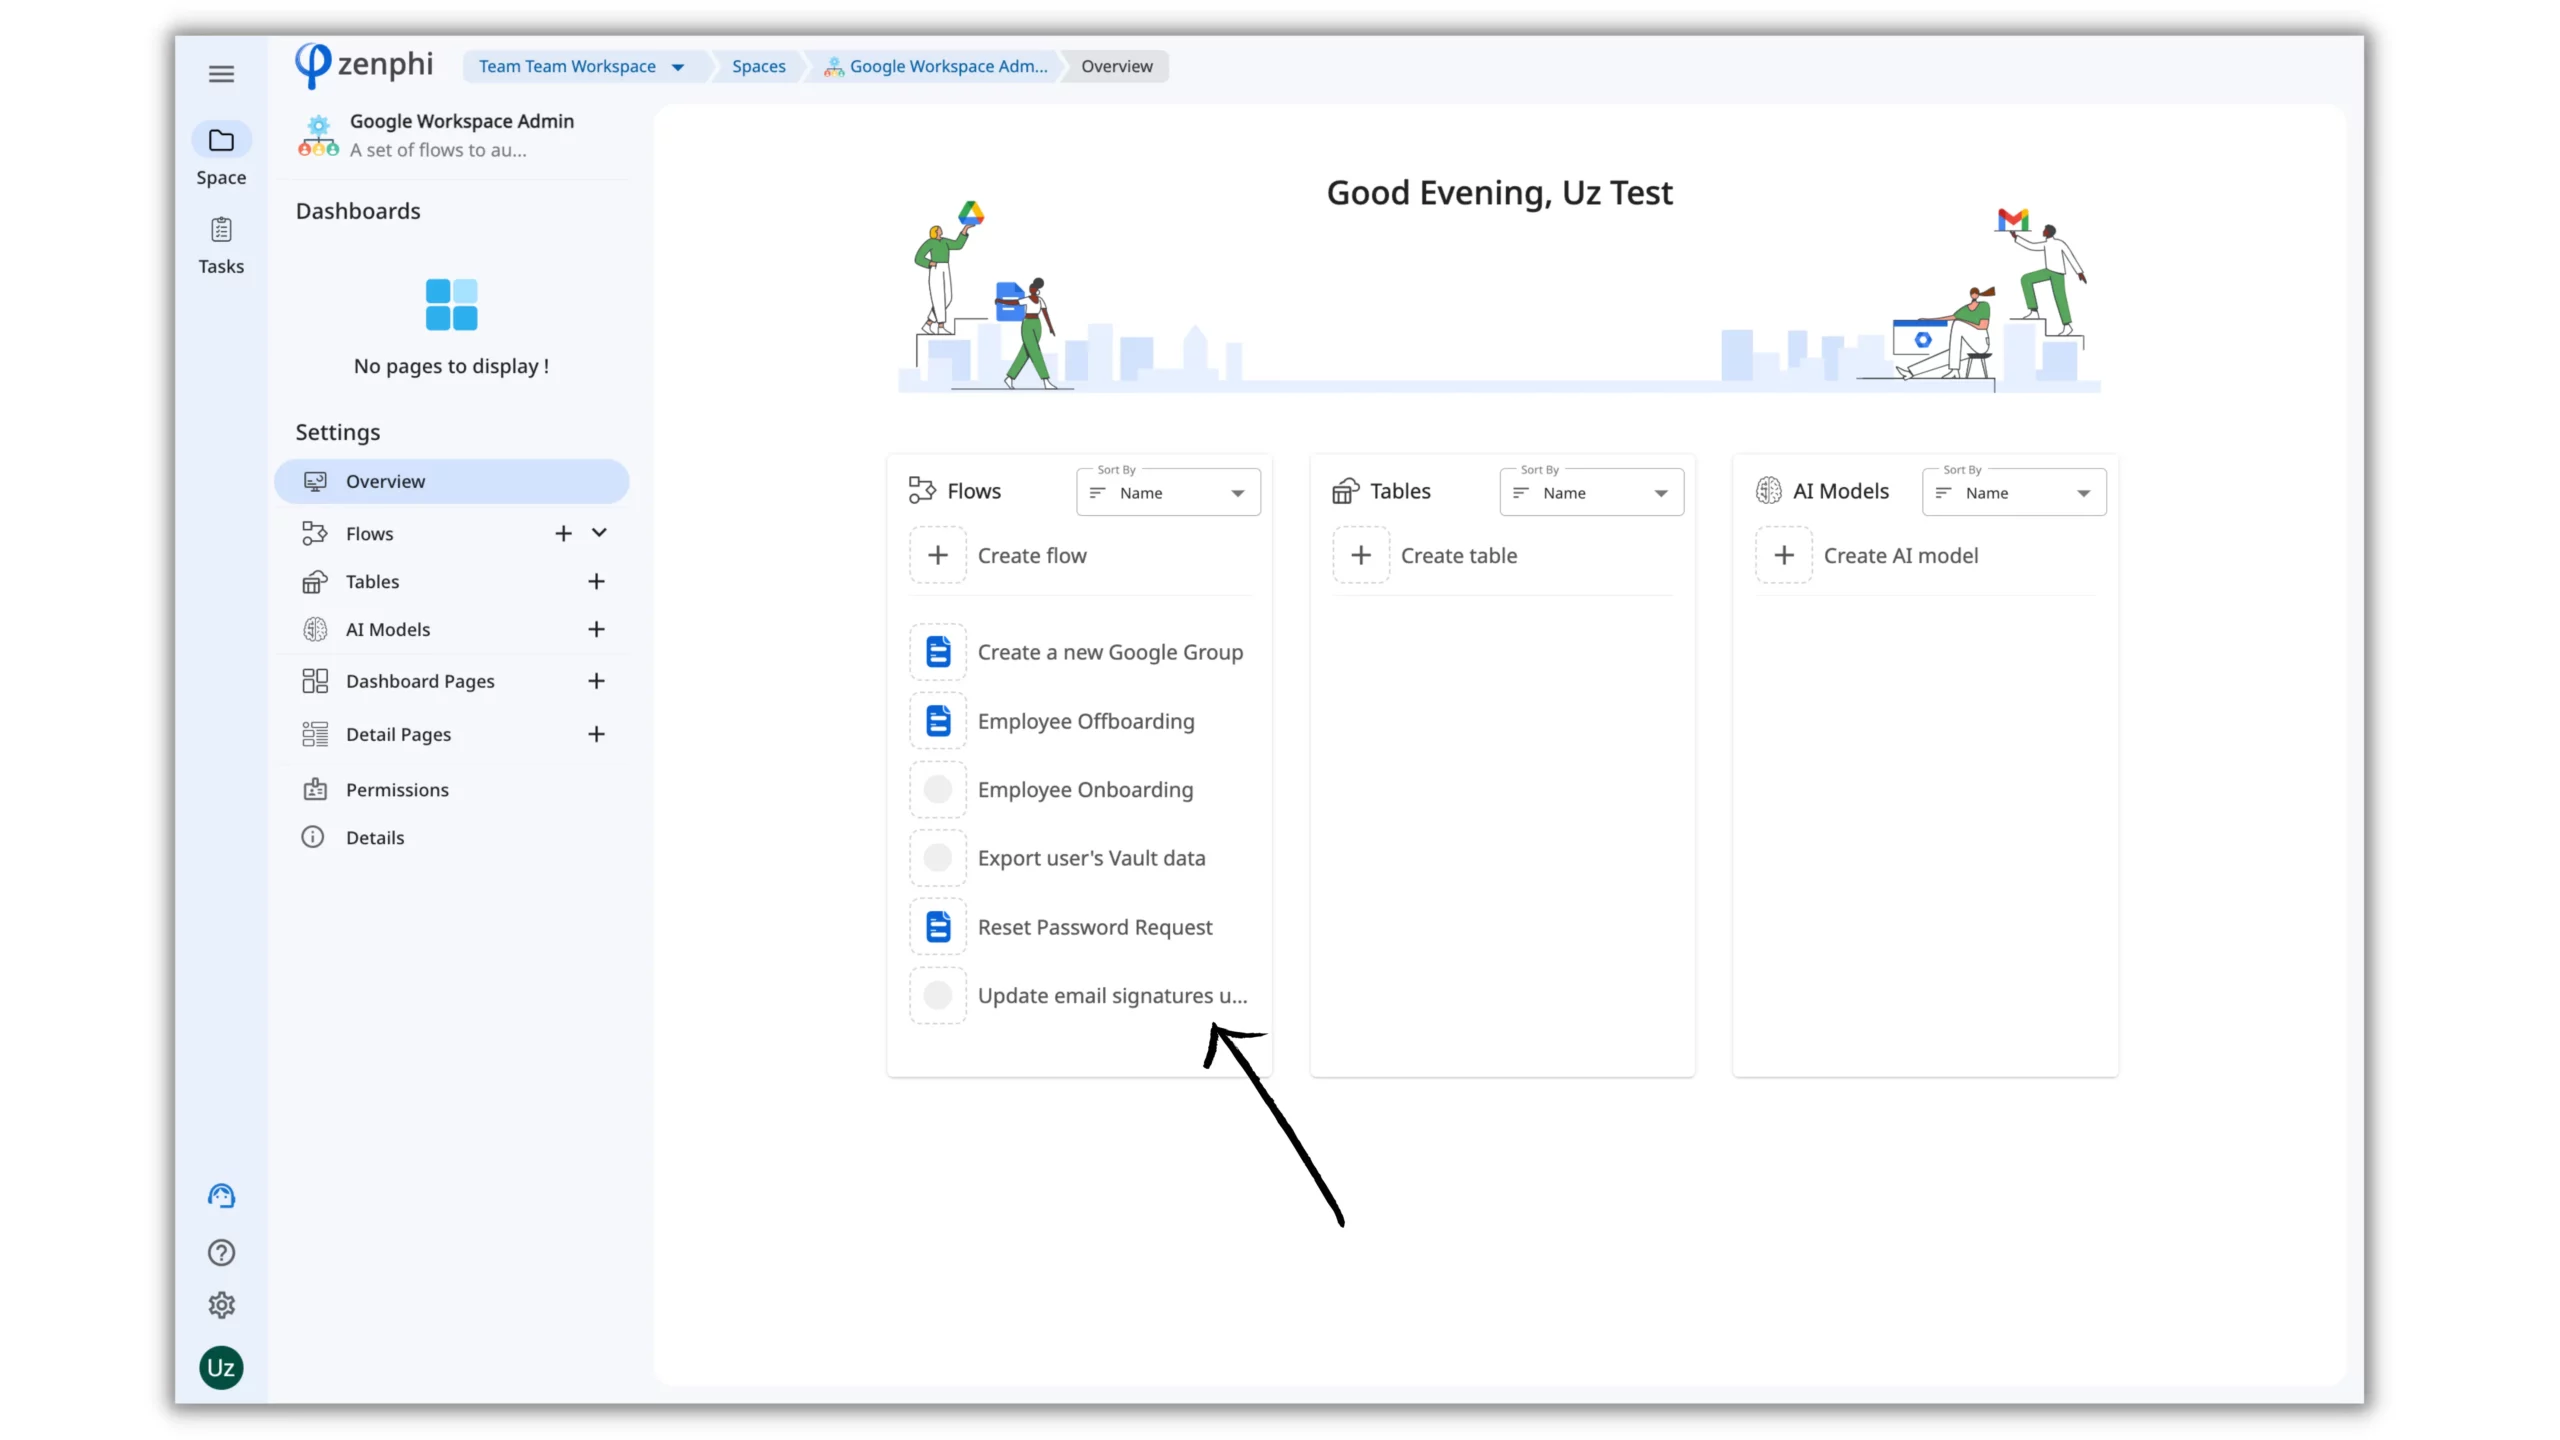
Next, you will need to select the Flow within your newly created Space. As previously mentioned, the Space templates come with multiple automated workflows, which we refer to as Flows in zenphi. To get started, open the “Update email signatures using Google Docs template” Flow and click on the “Edit Flow” button.
Step 4: Set up the first step of the workflow – Get Users
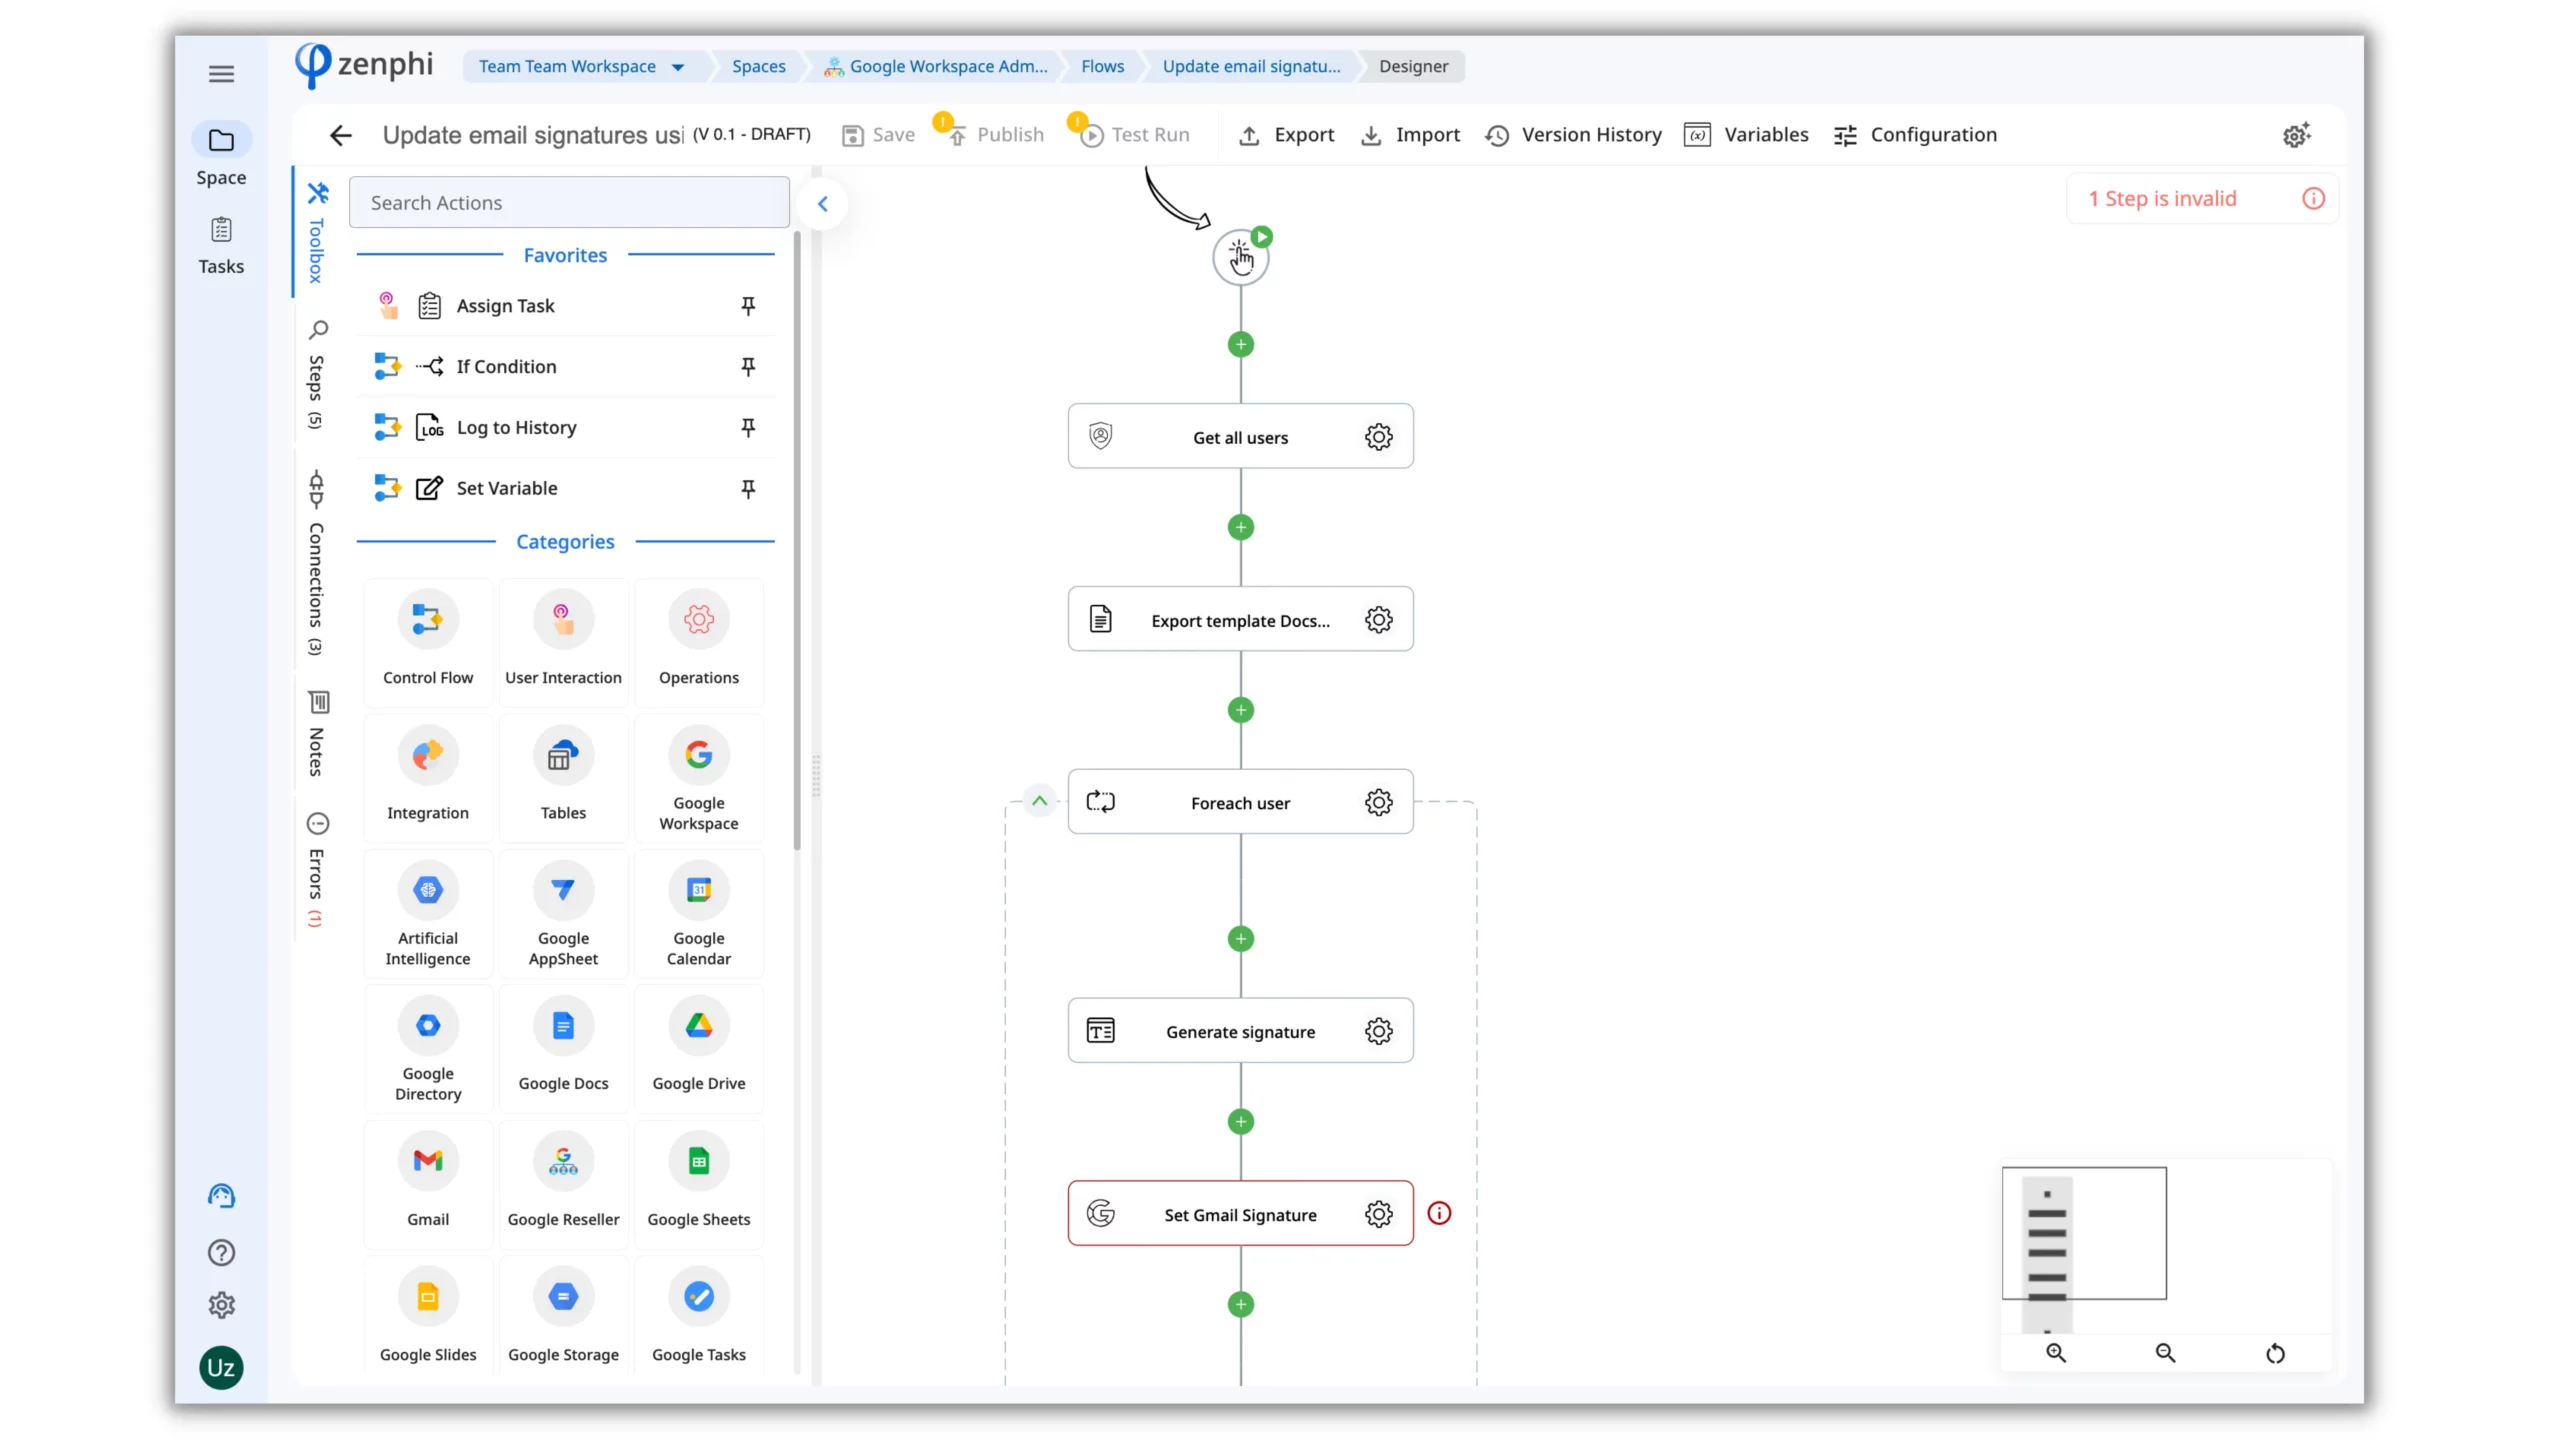
Upon entering the Flow Designer, you will start building your workflow, which consists of two components: the Trigger and the Actions. The Trigger is the event that initiates the process execution, while the Actions are the automated steps of the Flow.
In this particular Flow, we will be using the “On-demand” trigger, which will initiate the process when the button is clicked.
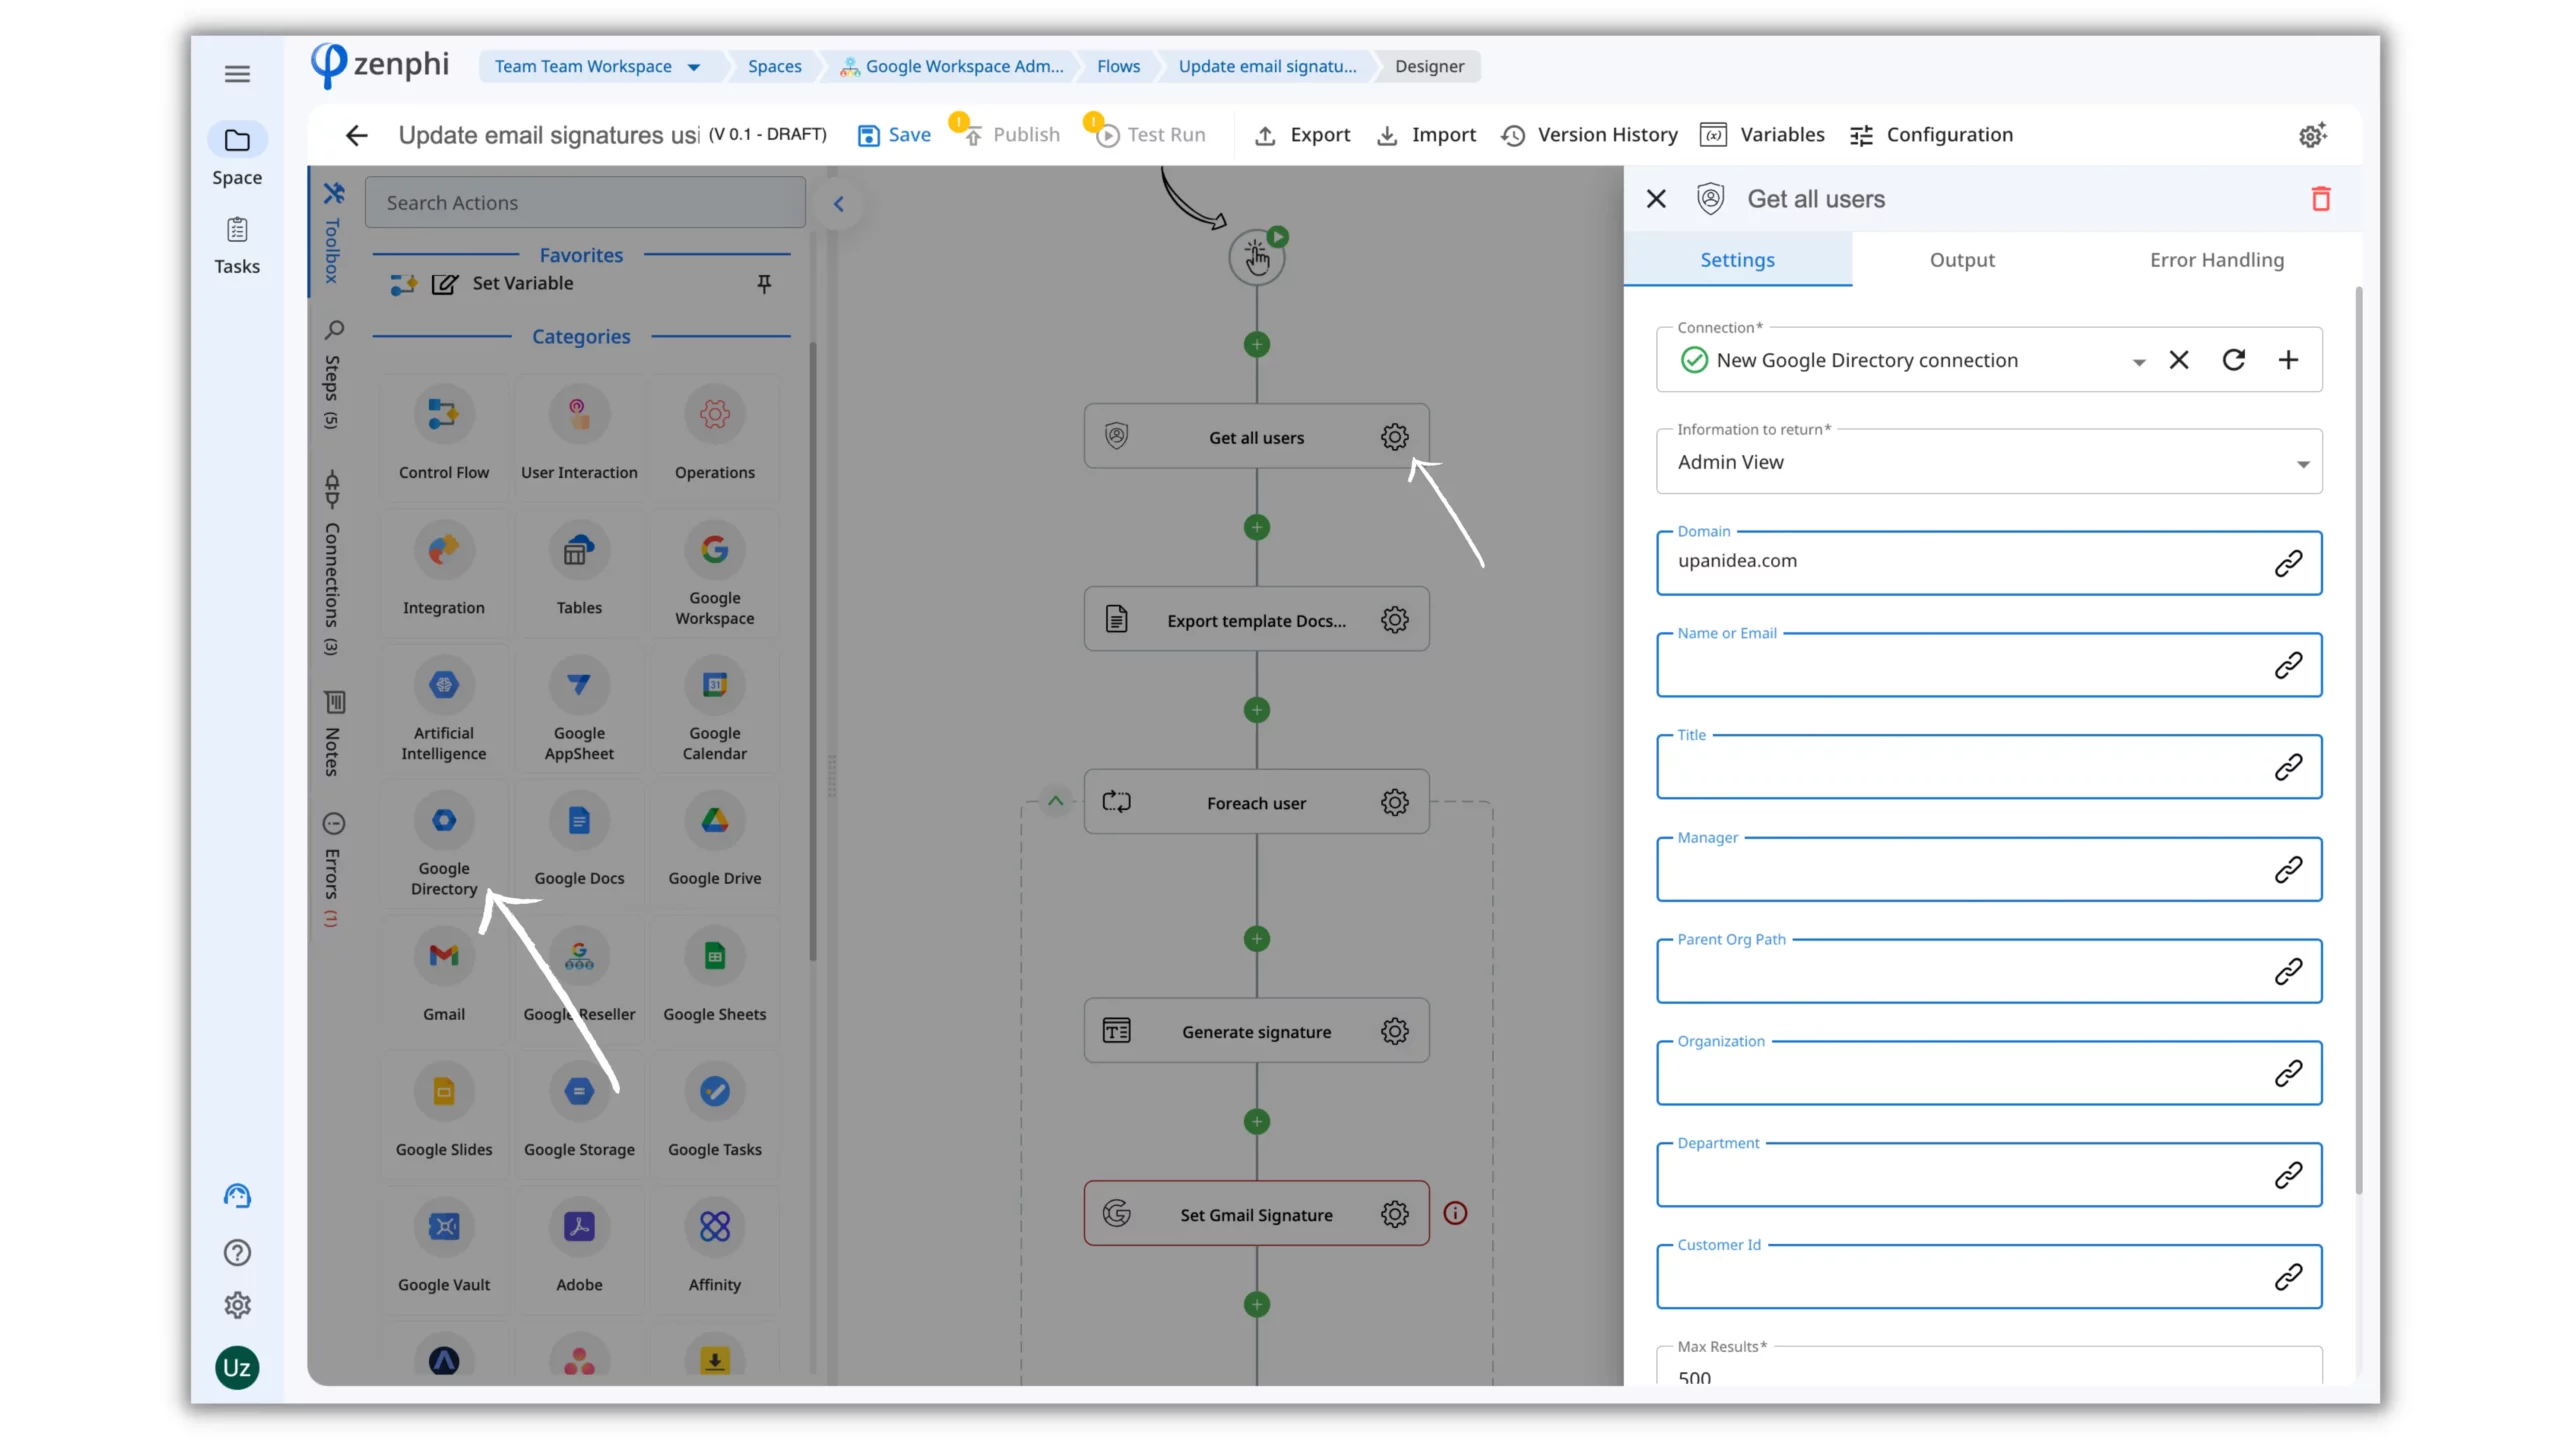
The first step in the workflow will be to retrieve the user’s information from Google Workspace using the “Get Users” action from the Google Directory section. Click on the gear icon inside this action to set up the details. From here, you can filter the users by various parameters such as email domain, name or email, title, manager, department, and more.
Step 5: Set up the second step of the workflow – Export Document
The second step of the workflow involves exporting the email signature template from Google Docs to HTML format.
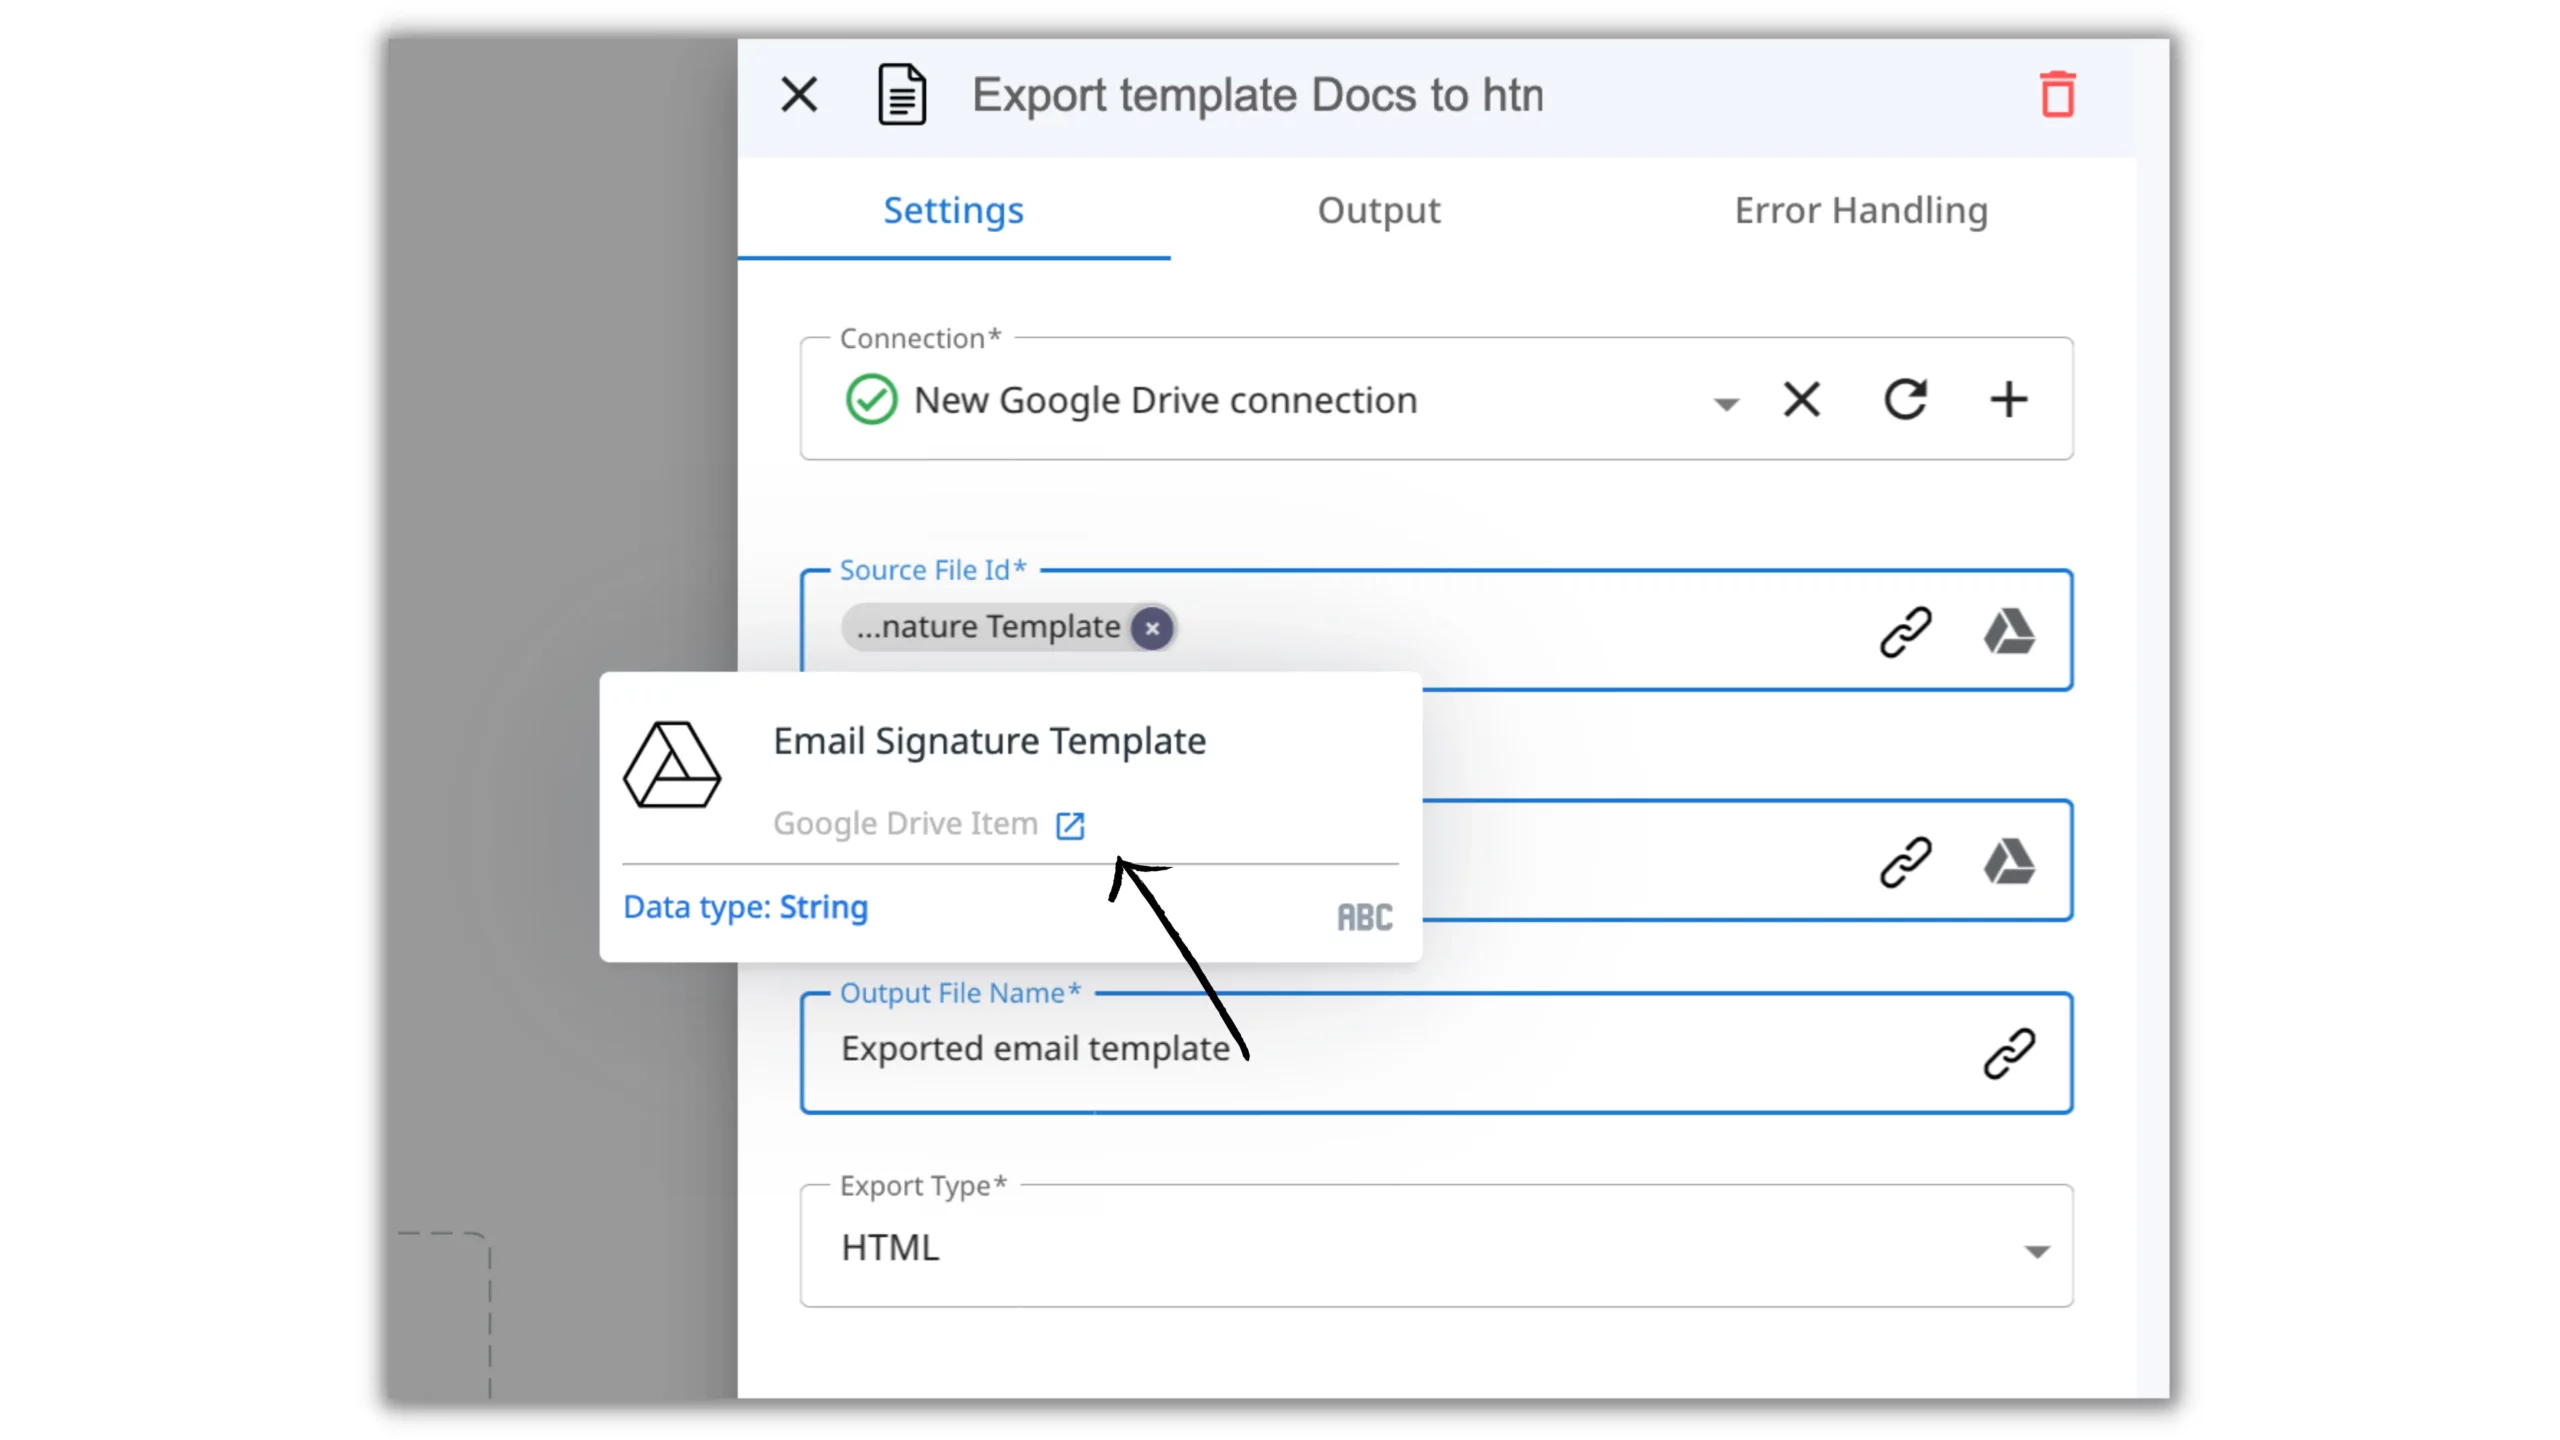
To view the email signature template sample that will be used in this workflow, simply hover over the “Source File ID” field.
The next field (where the exported file will be stored) is already pre-selected as you indicated when setting up the connections for the Space in the second step of this tutorial.
Step 6: Set up the third step of the workflow – For each user
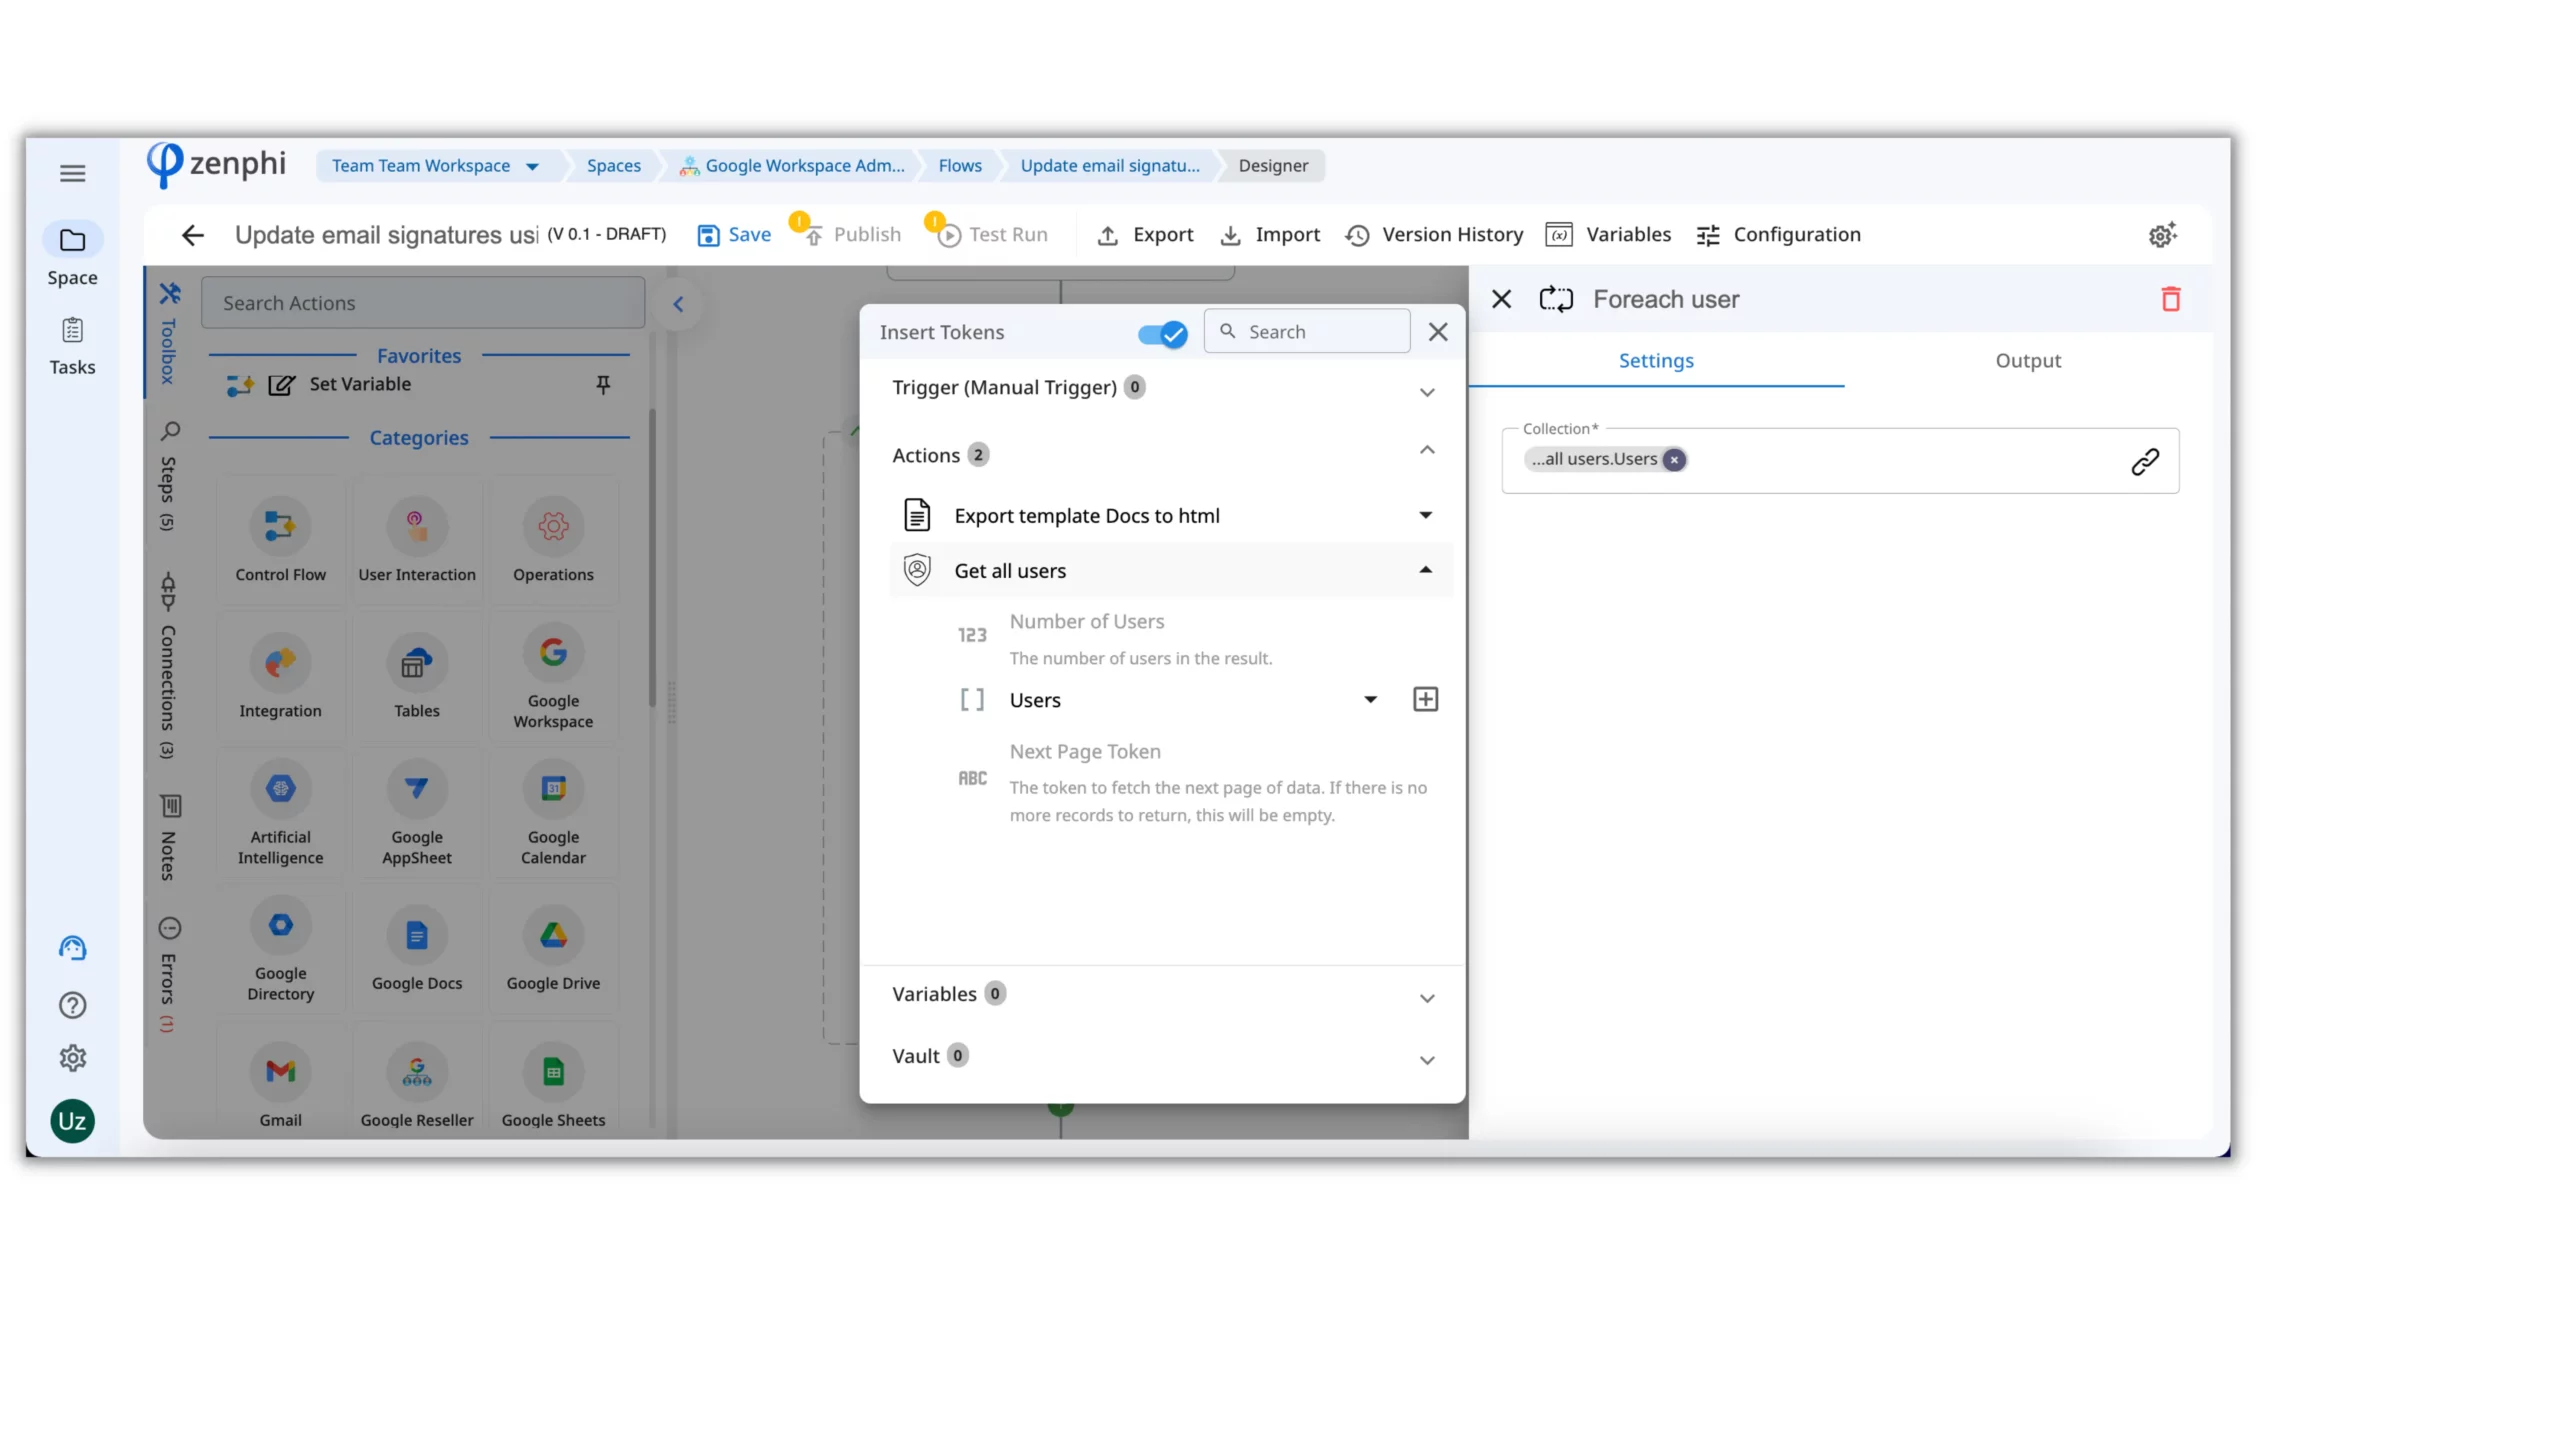
Most actions produce output data once executed within the workflow, which can be used further in the process. For instance, the “Get Users” action will have a list, or Collection as we refer to it in zenphi, of the users from Google Directory that met the criteria we set. To divide this list into individual users, we will need to use the “Foreach item” operator.
Using the token picker, we can take the Collection of users from the “Get Users” action’s output and place them into the “Foreach item” action, which creates a loop that will execute the next action for each employee on the list.
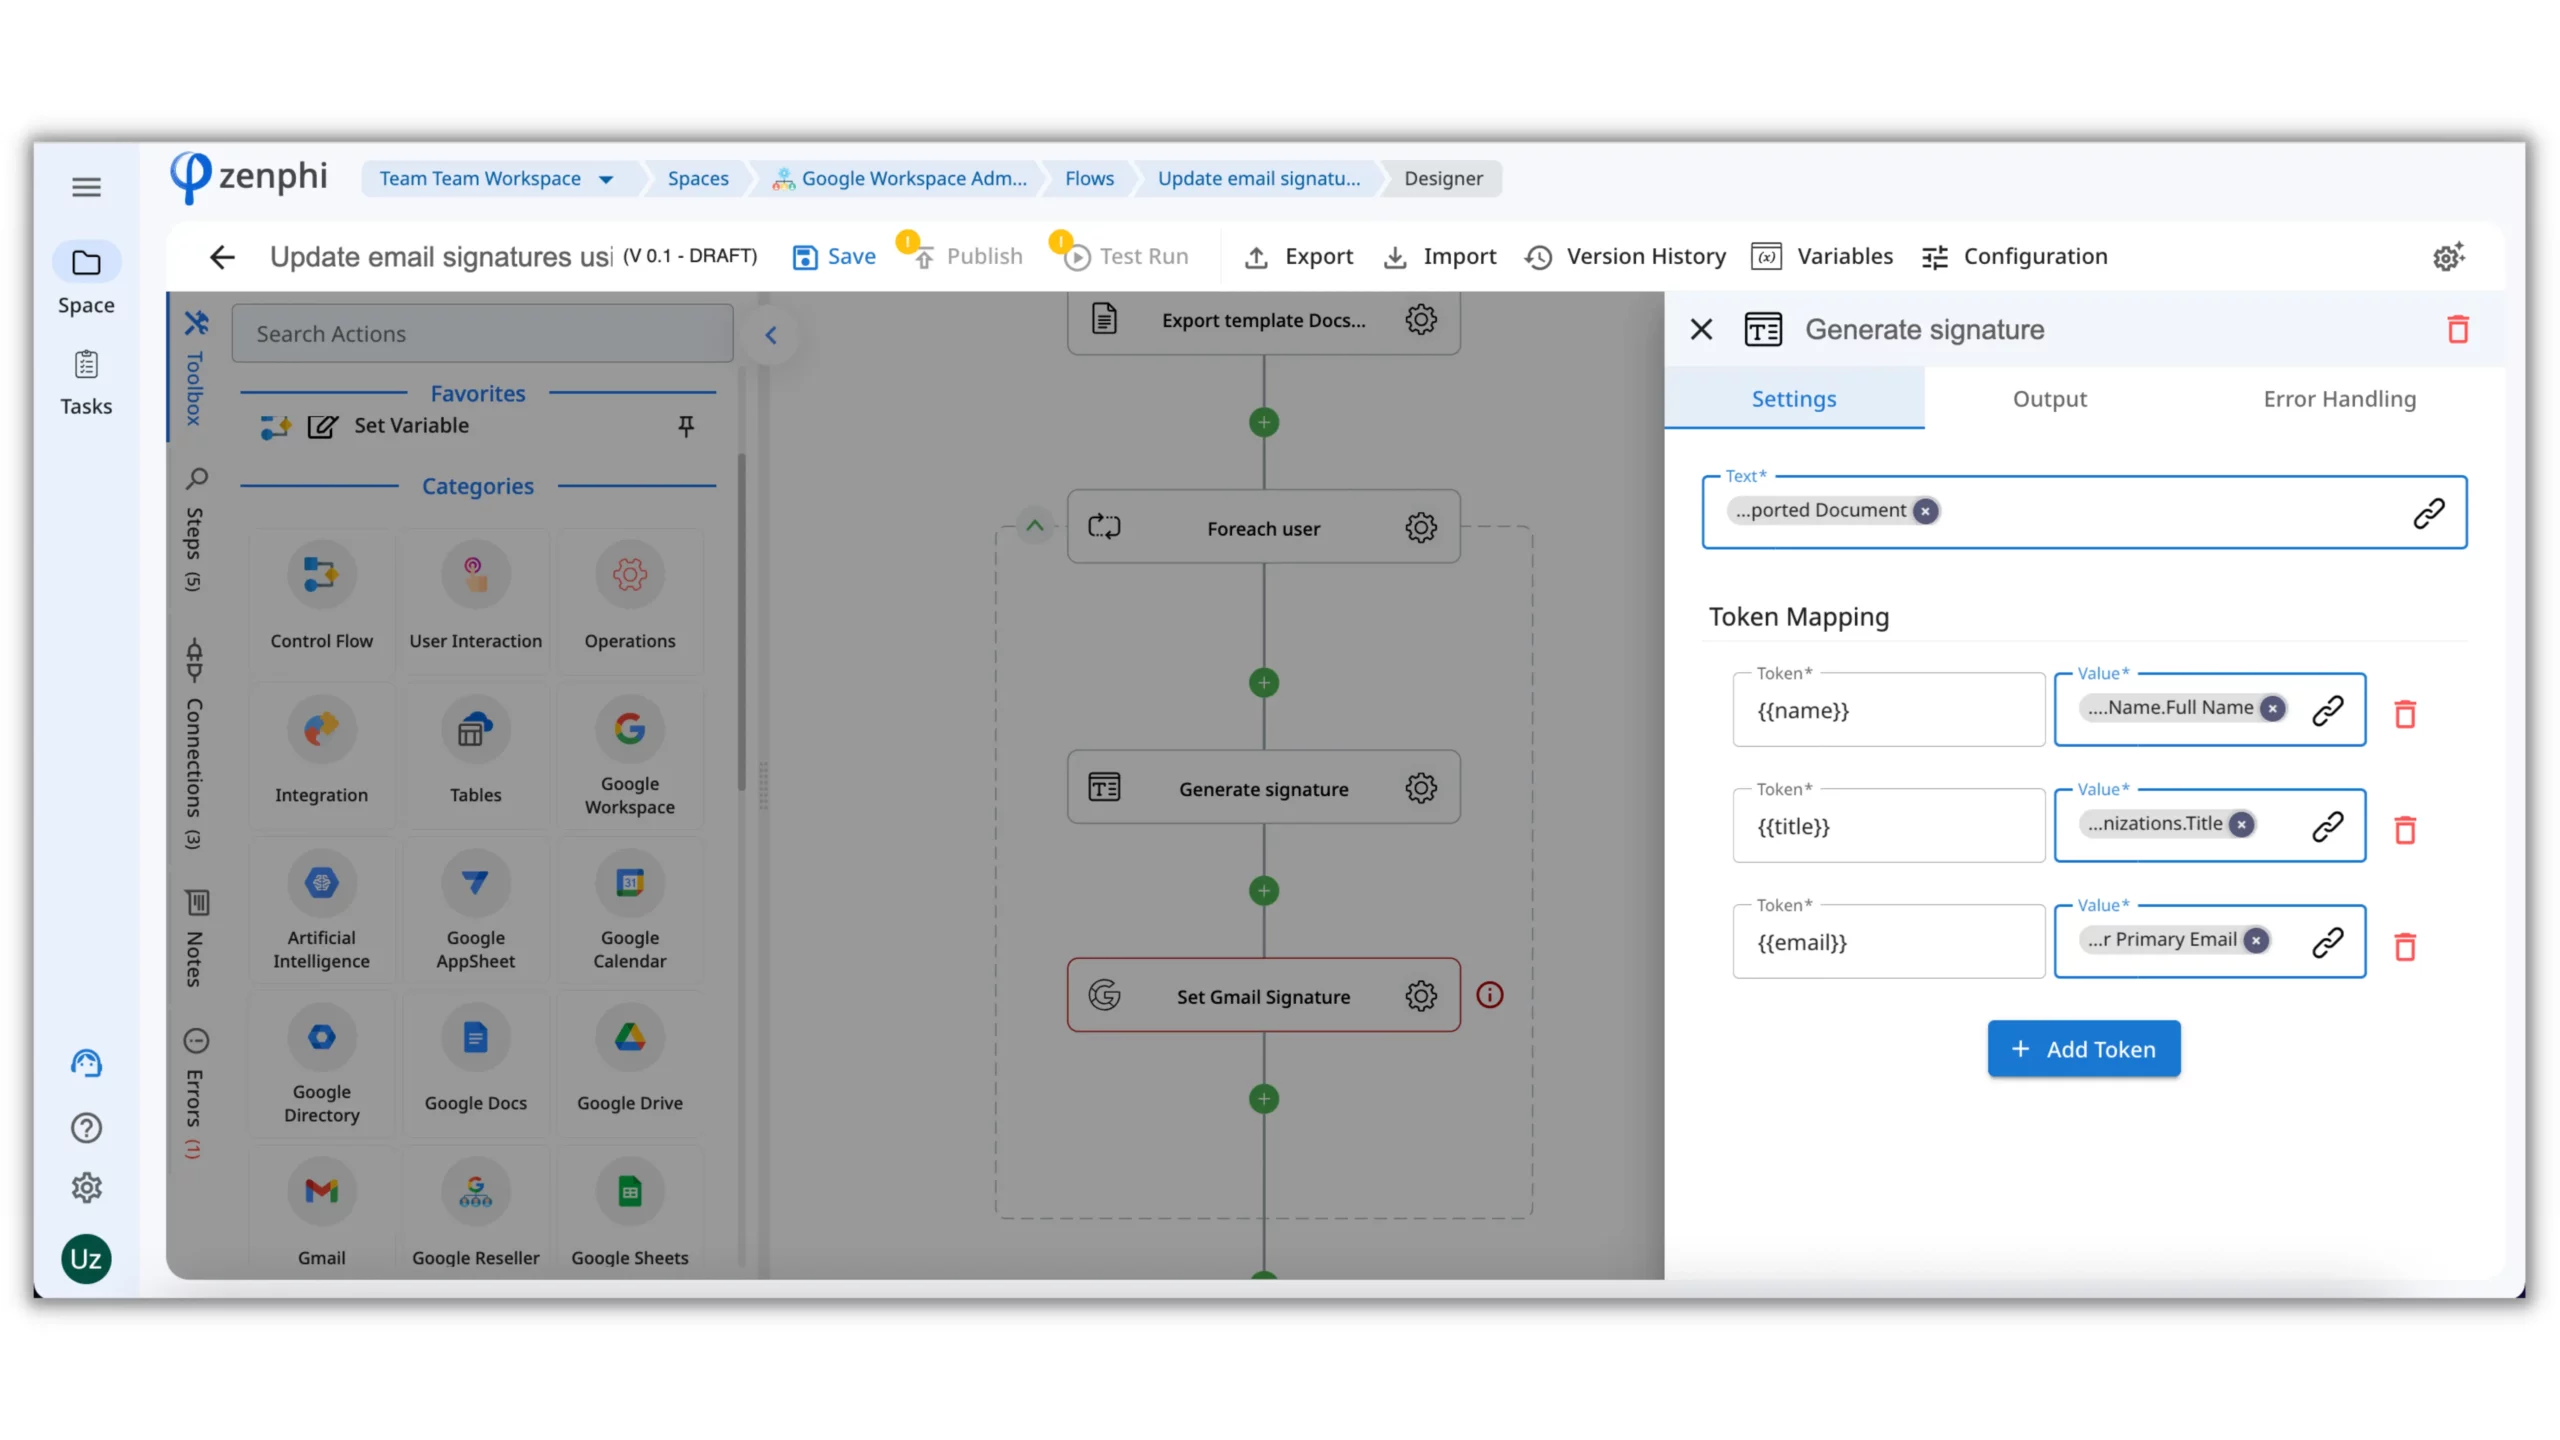
Step 7: Set up the fourth step of the workflow – Generate signature
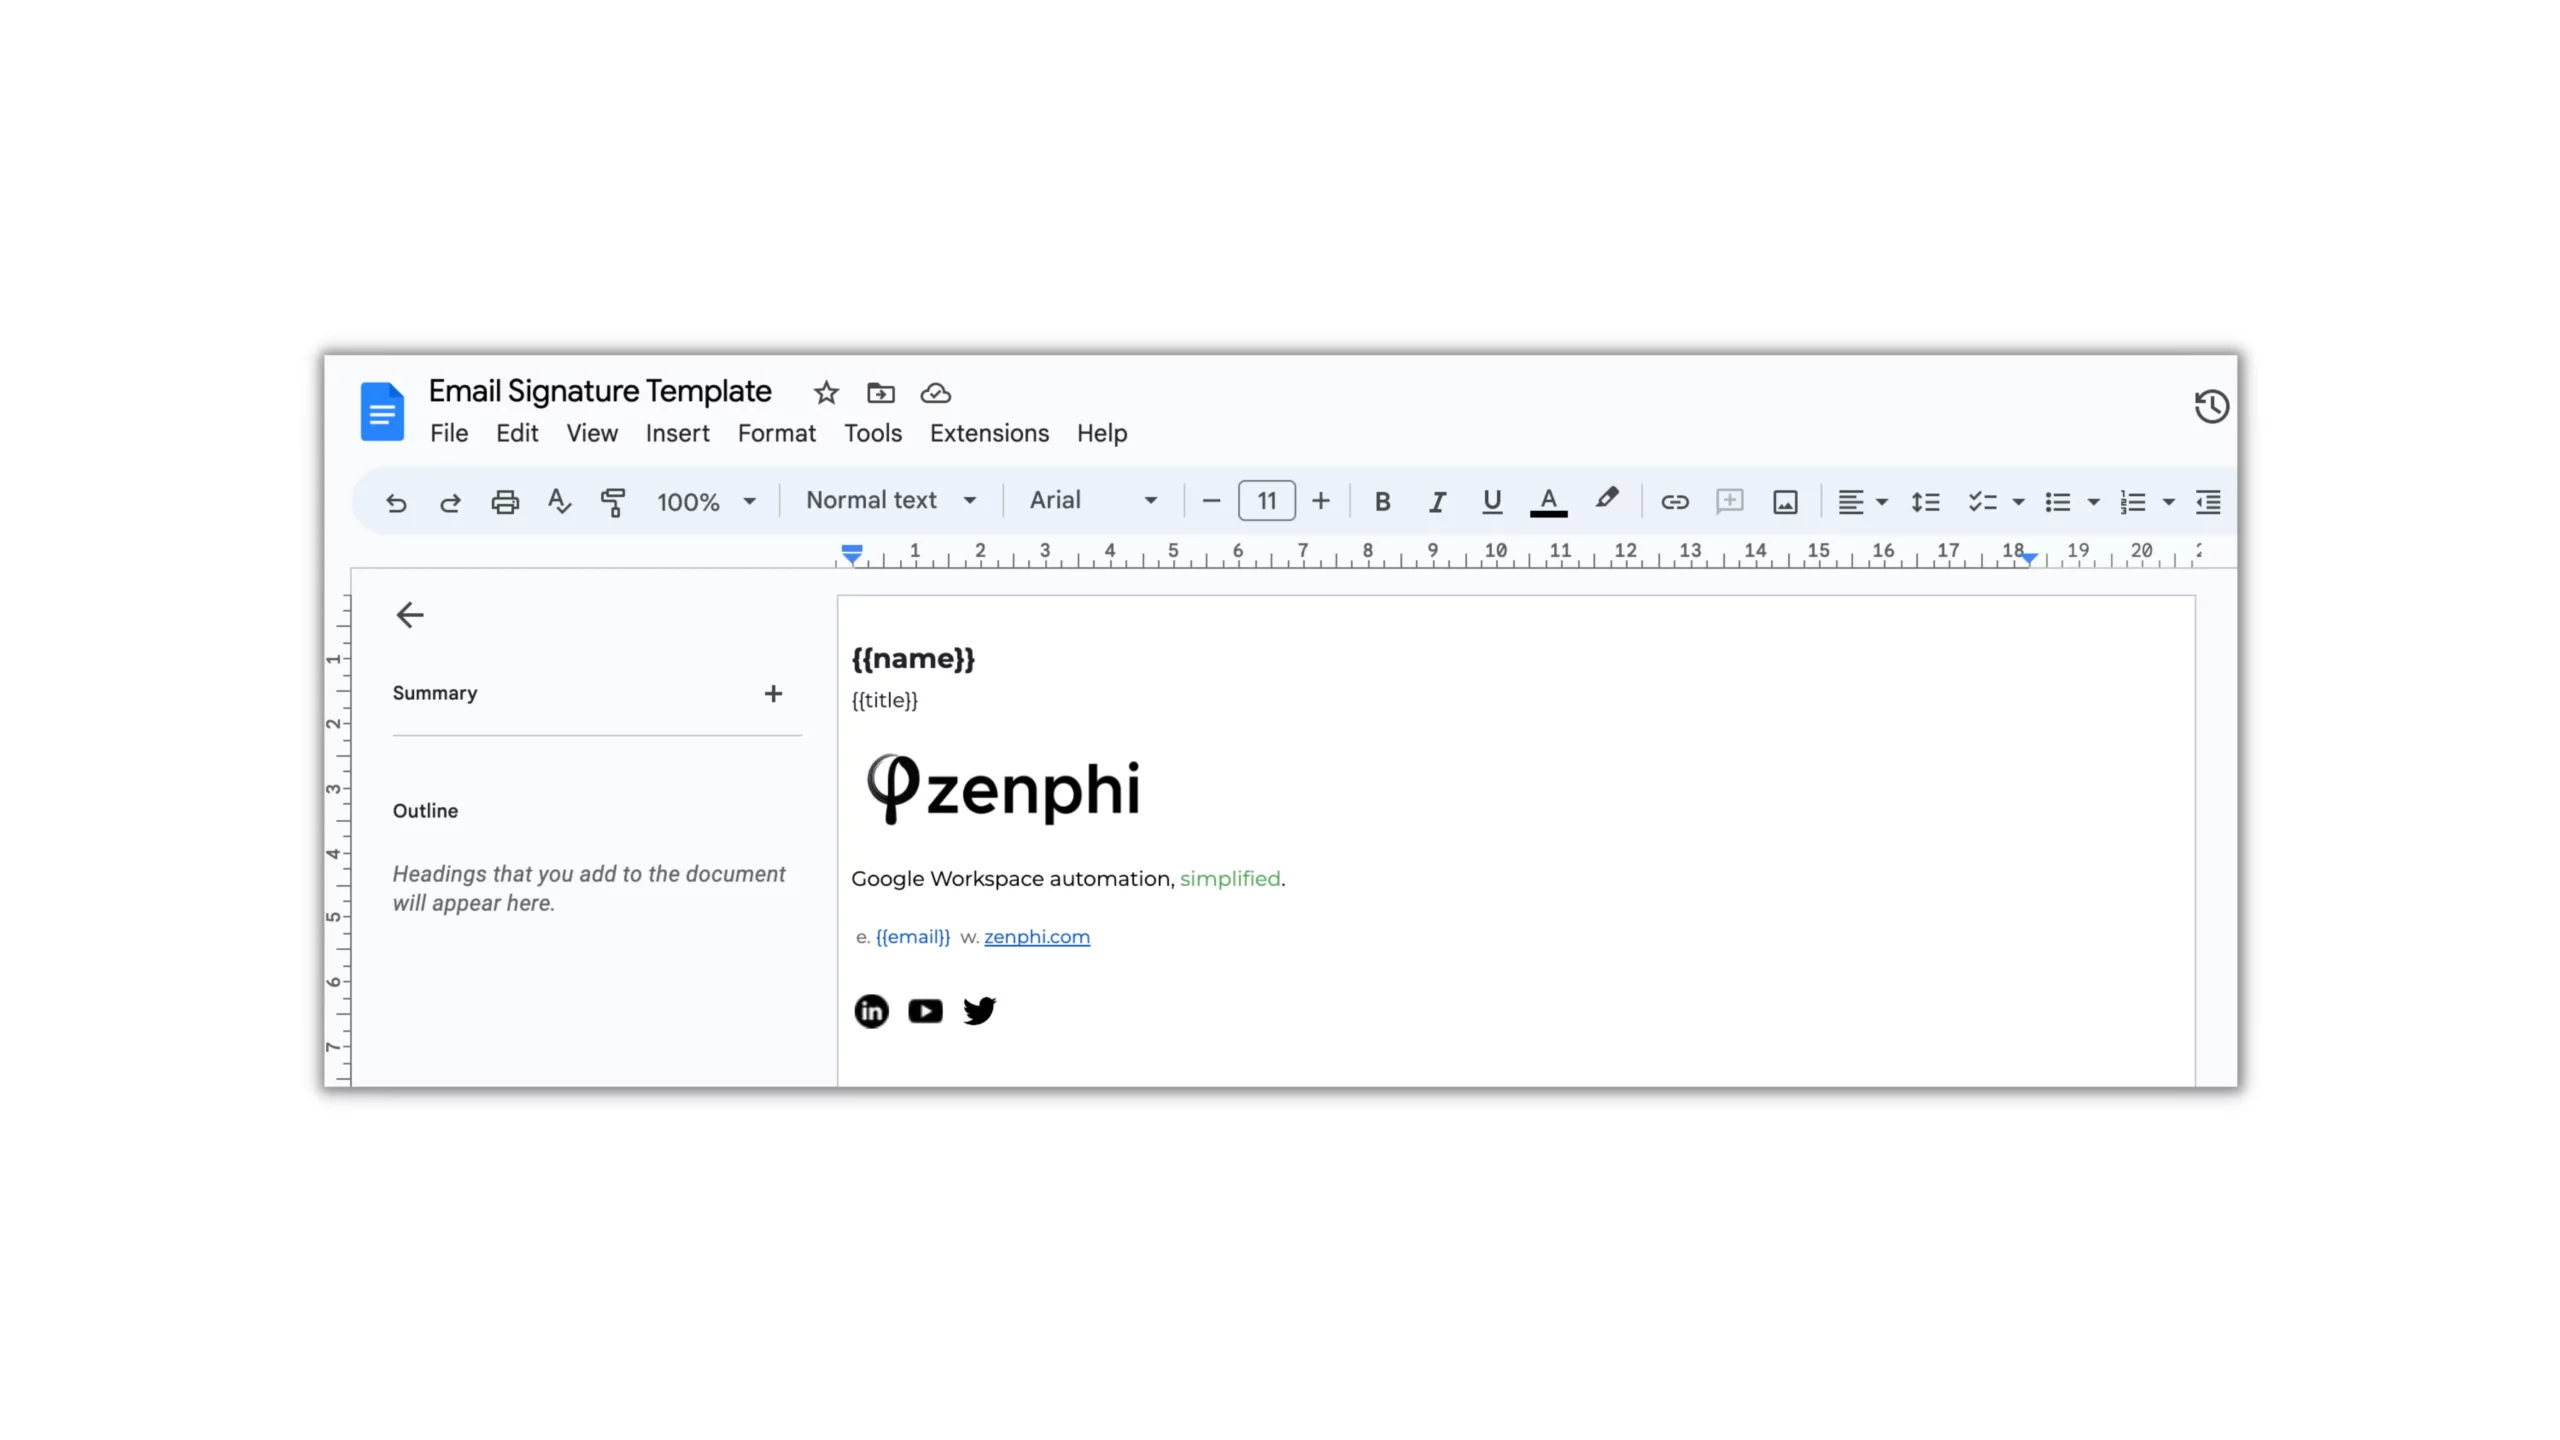
The next step is to personalize the email signature for each employee and insert their specific data, which can be done with the “Replace placeholders” action. In the Text field, we will specify the exported HTML file from the “Export document” action. In the Tokens section, we will generate unique values for the signature and indicate where zenphi should retrieve the data for each value (from the “For each item” Loop action).
Step 8: Set up the last step of the workflow – Set Gmail Signature
The final step of the workflow involves configuring the email signature for each user. To set up this action, please follow the given instructions to establish the Connection. The remaining fields are pre-filled: we will take the User Email from the “Foreach item” Loop action, select the HTML format, and retrieve the Signature from the results of the previous step.

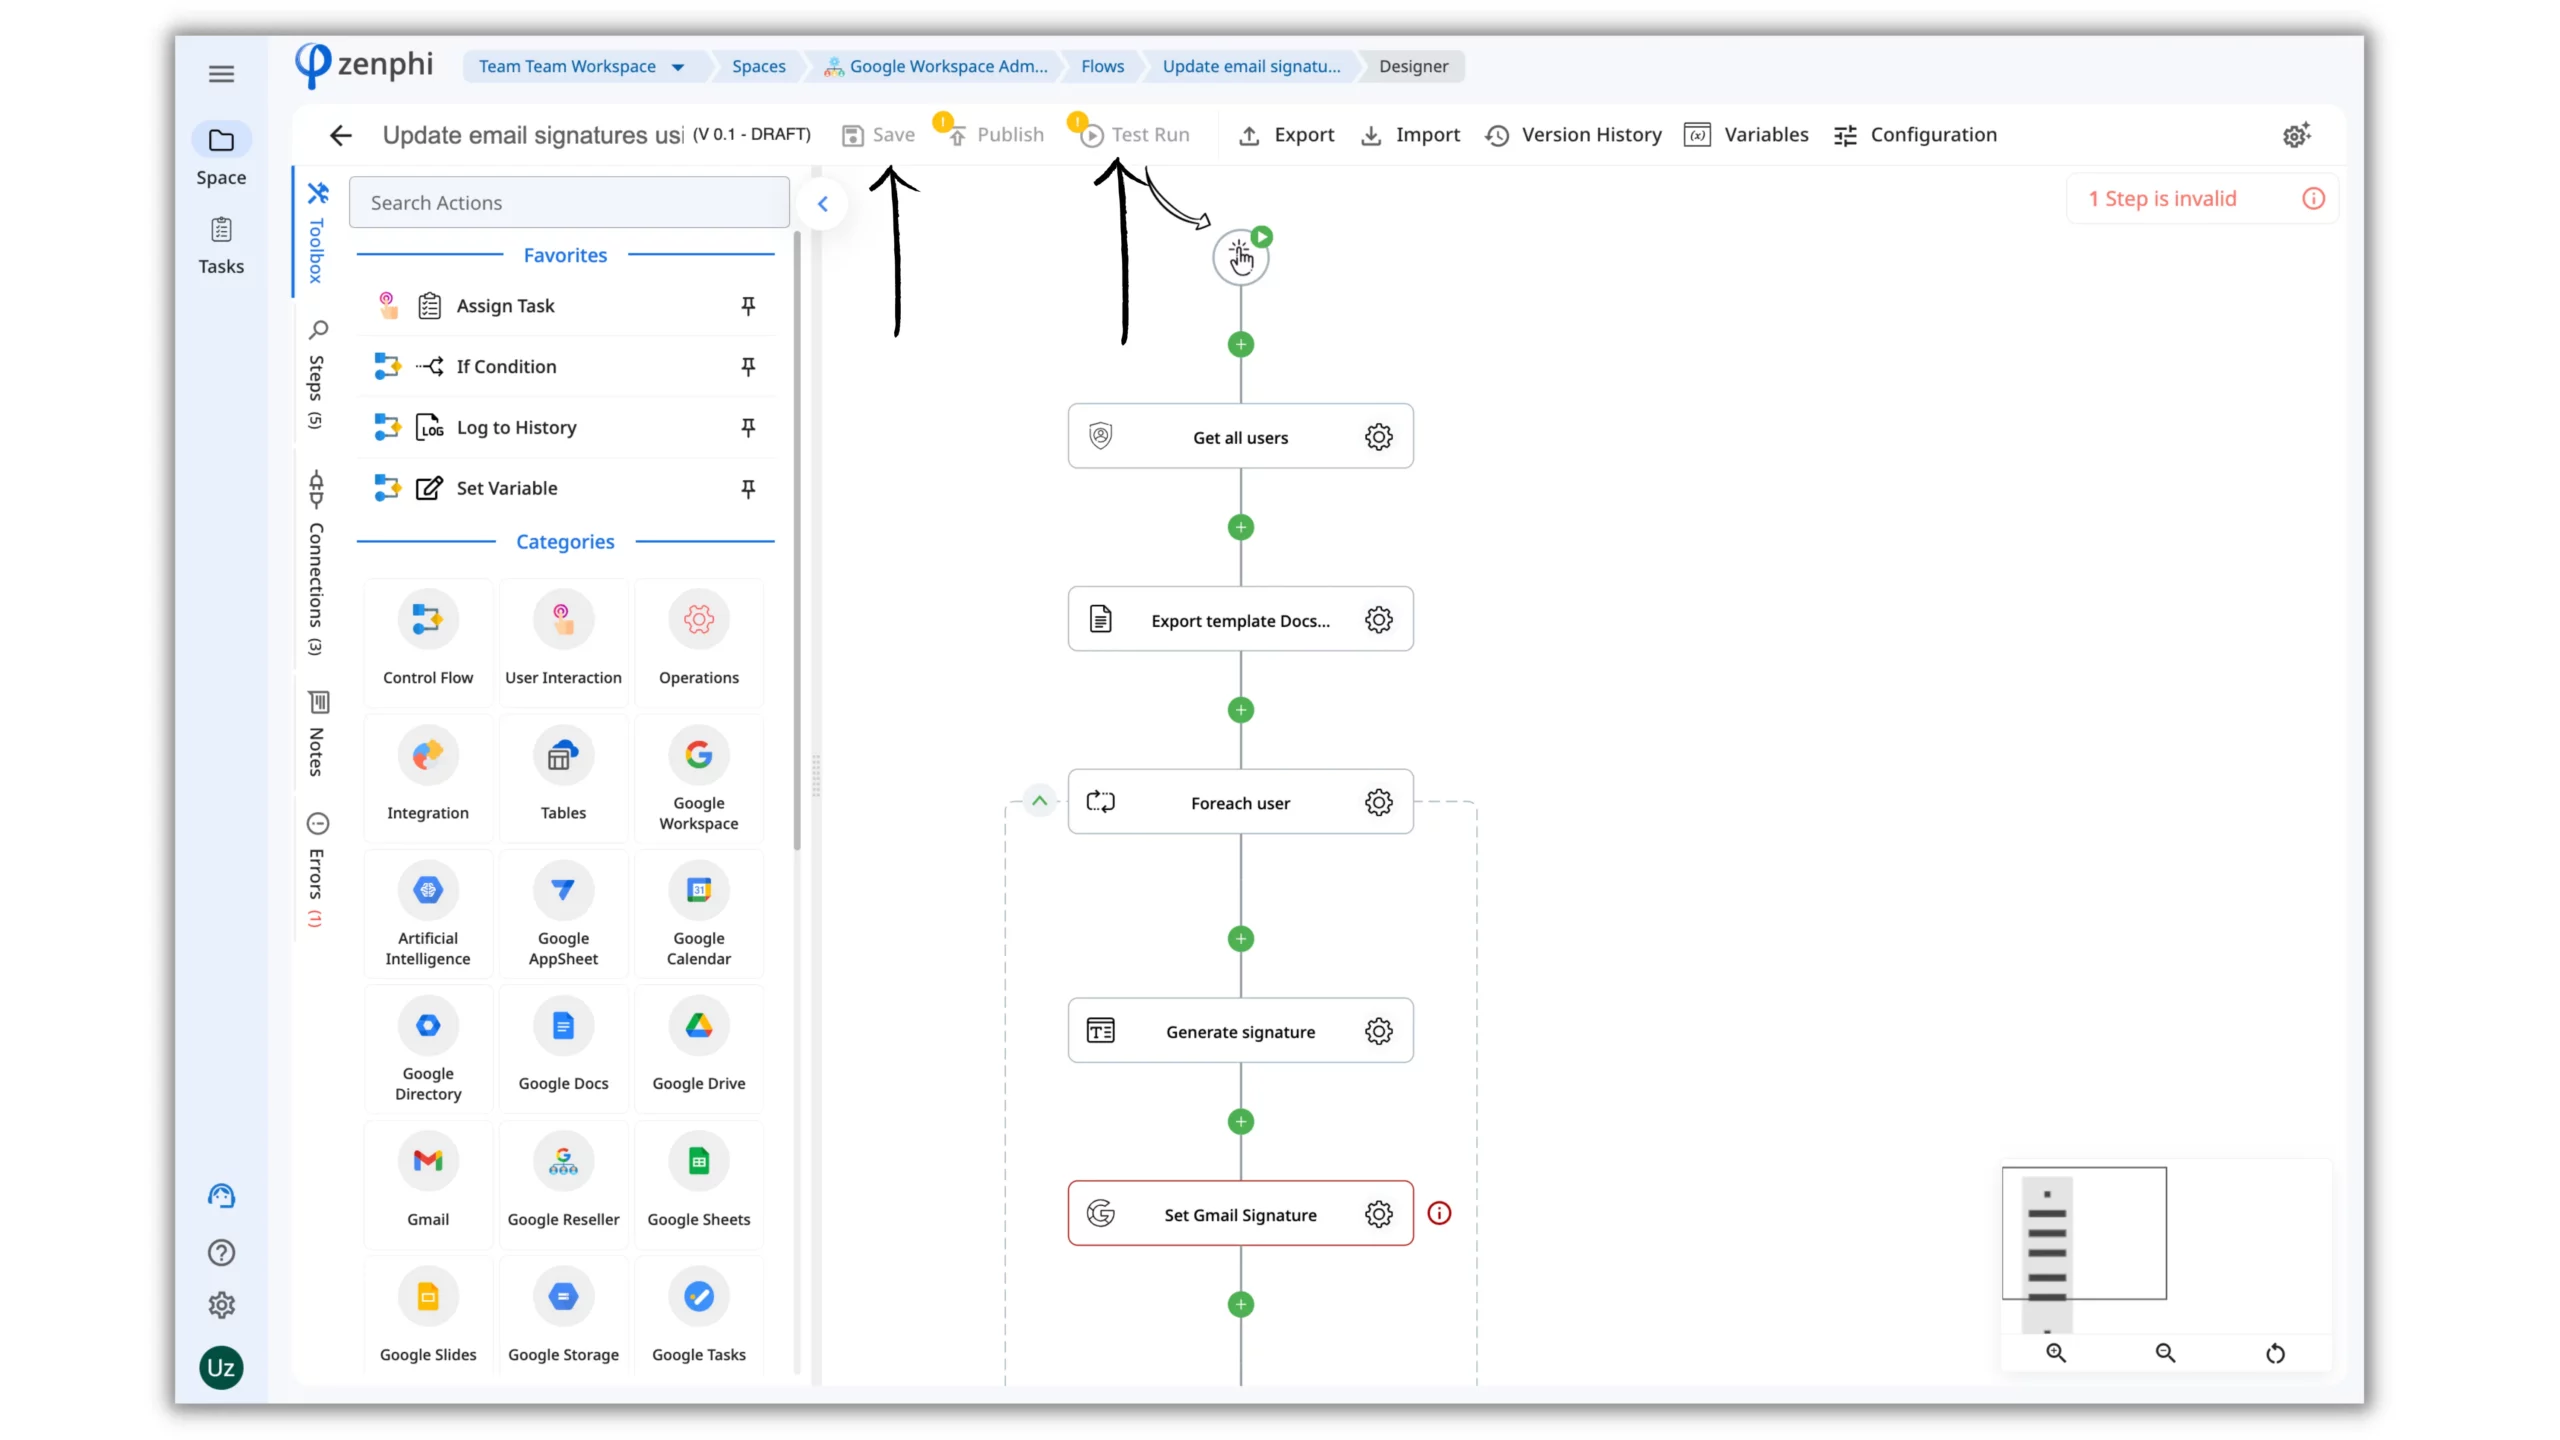
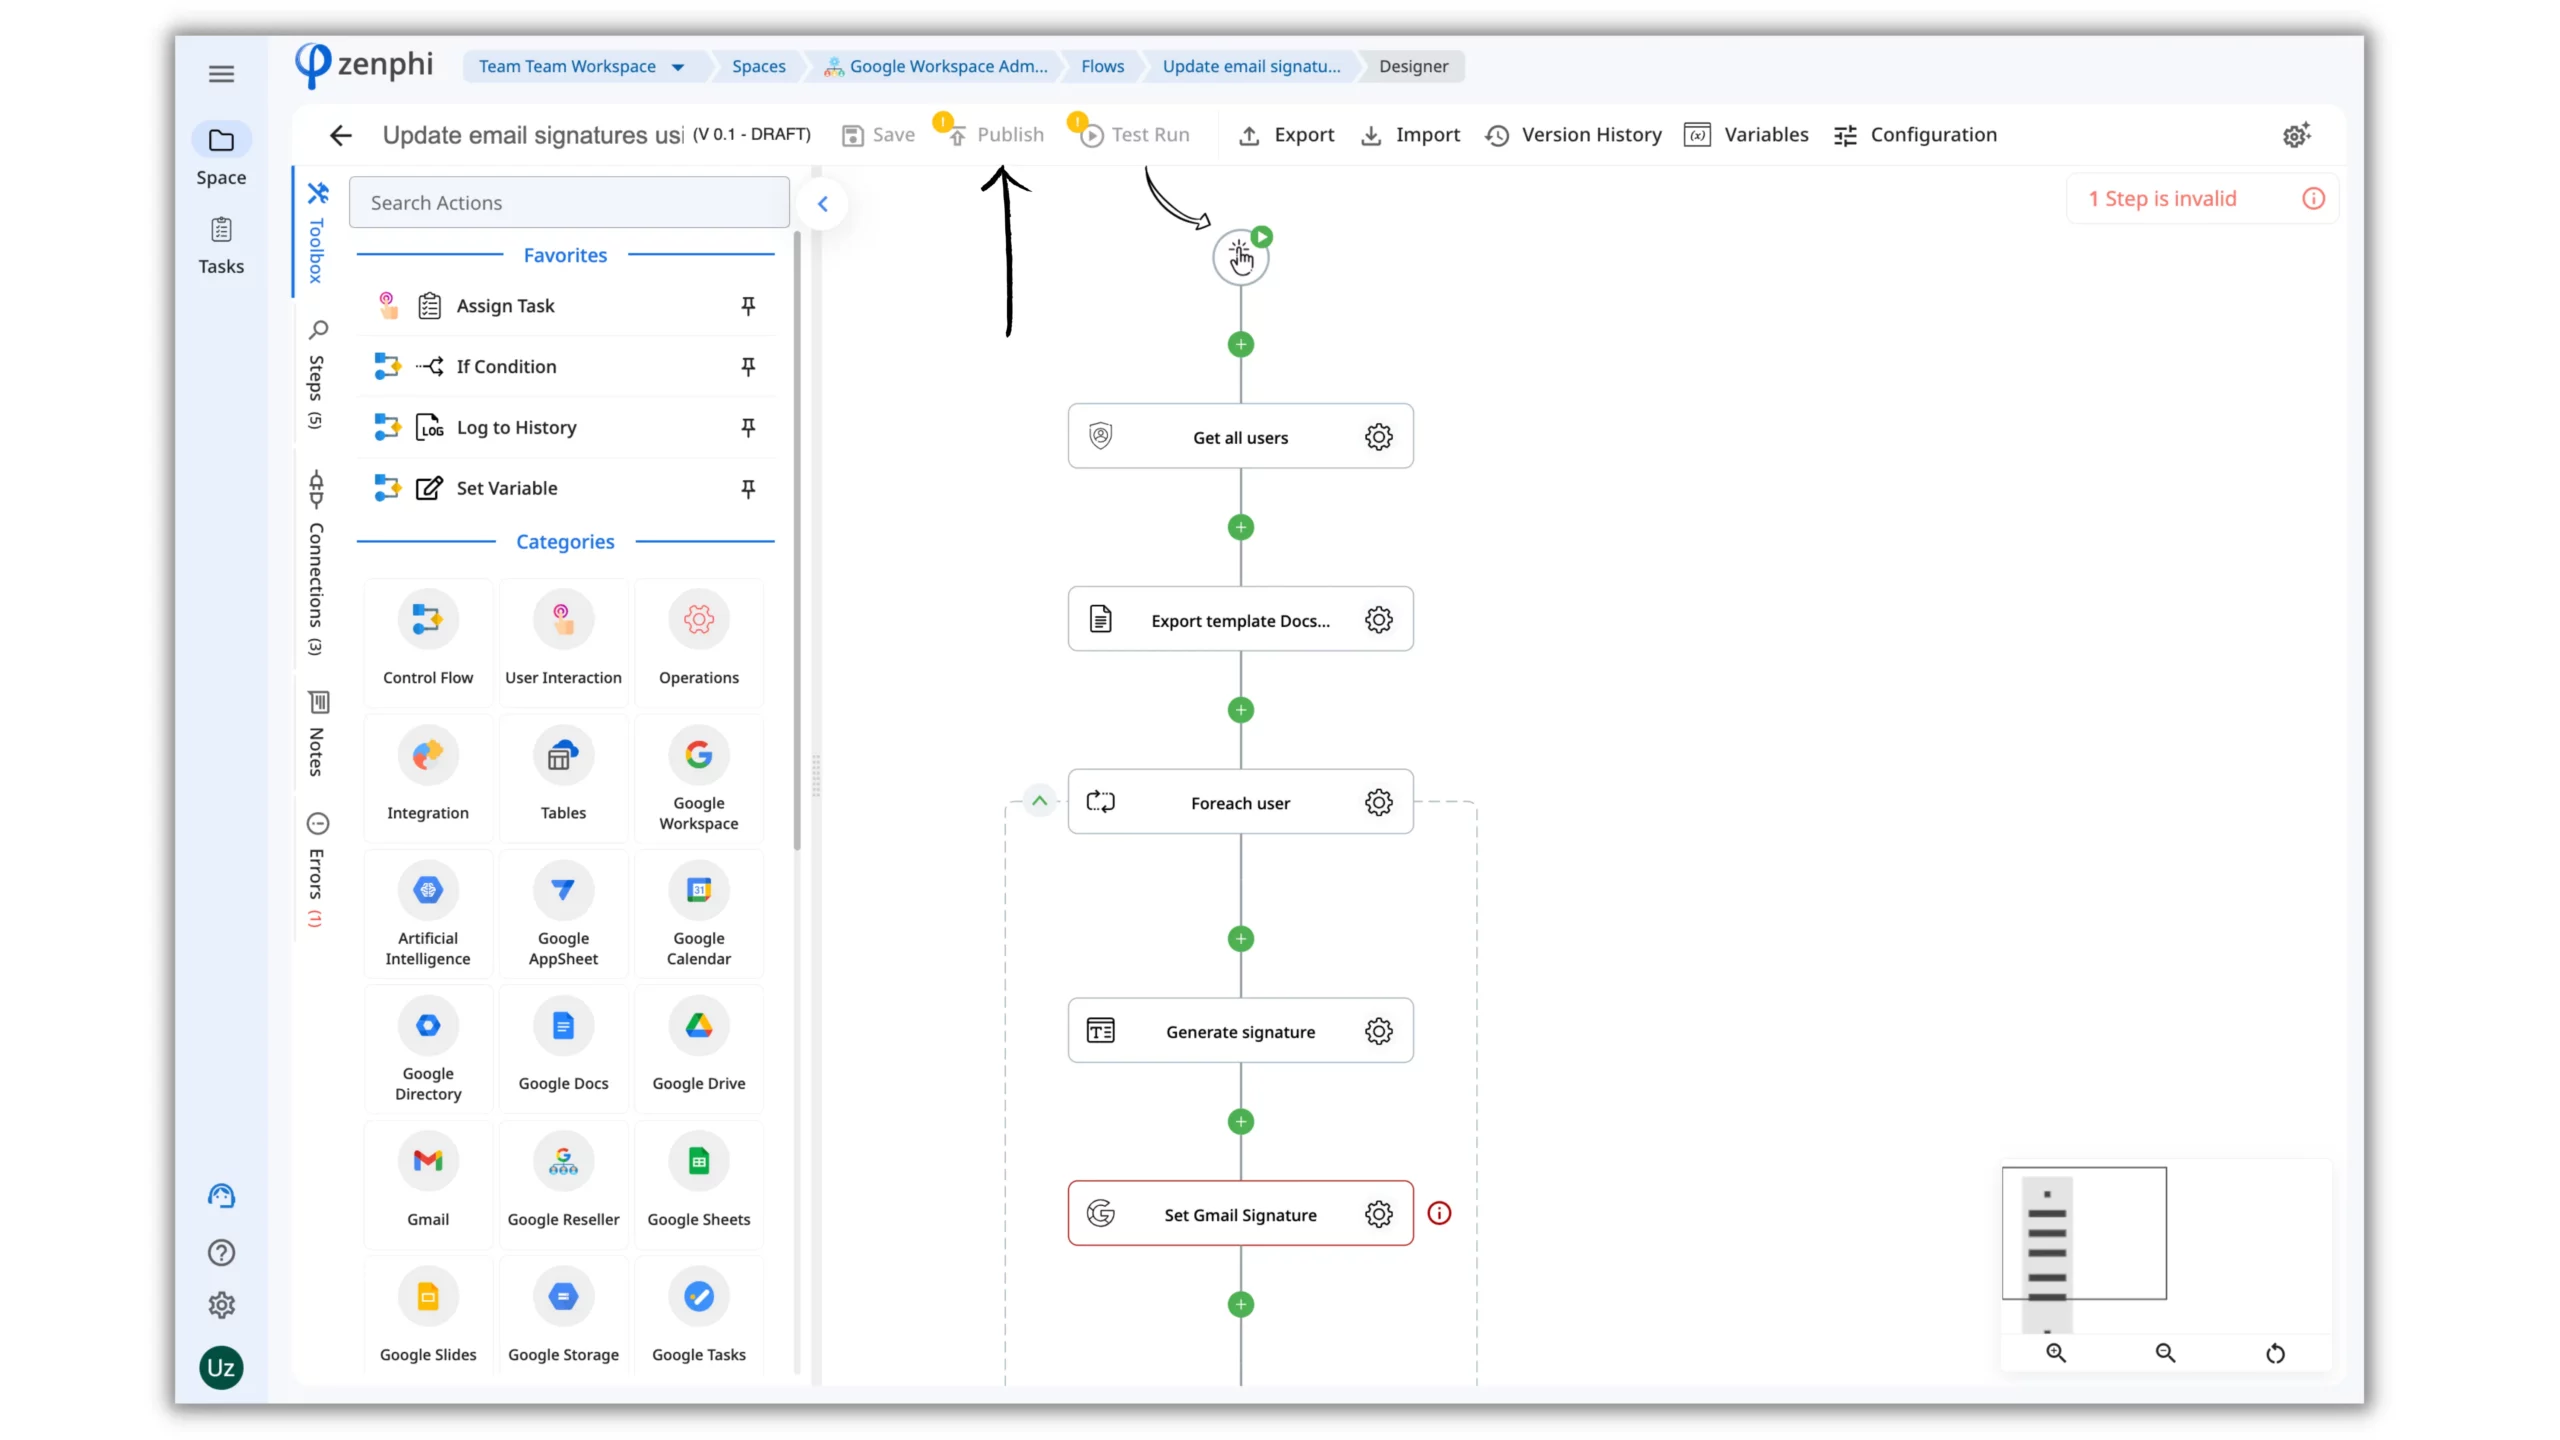
Step 9: Save and test the Google Workspace signature management workflow
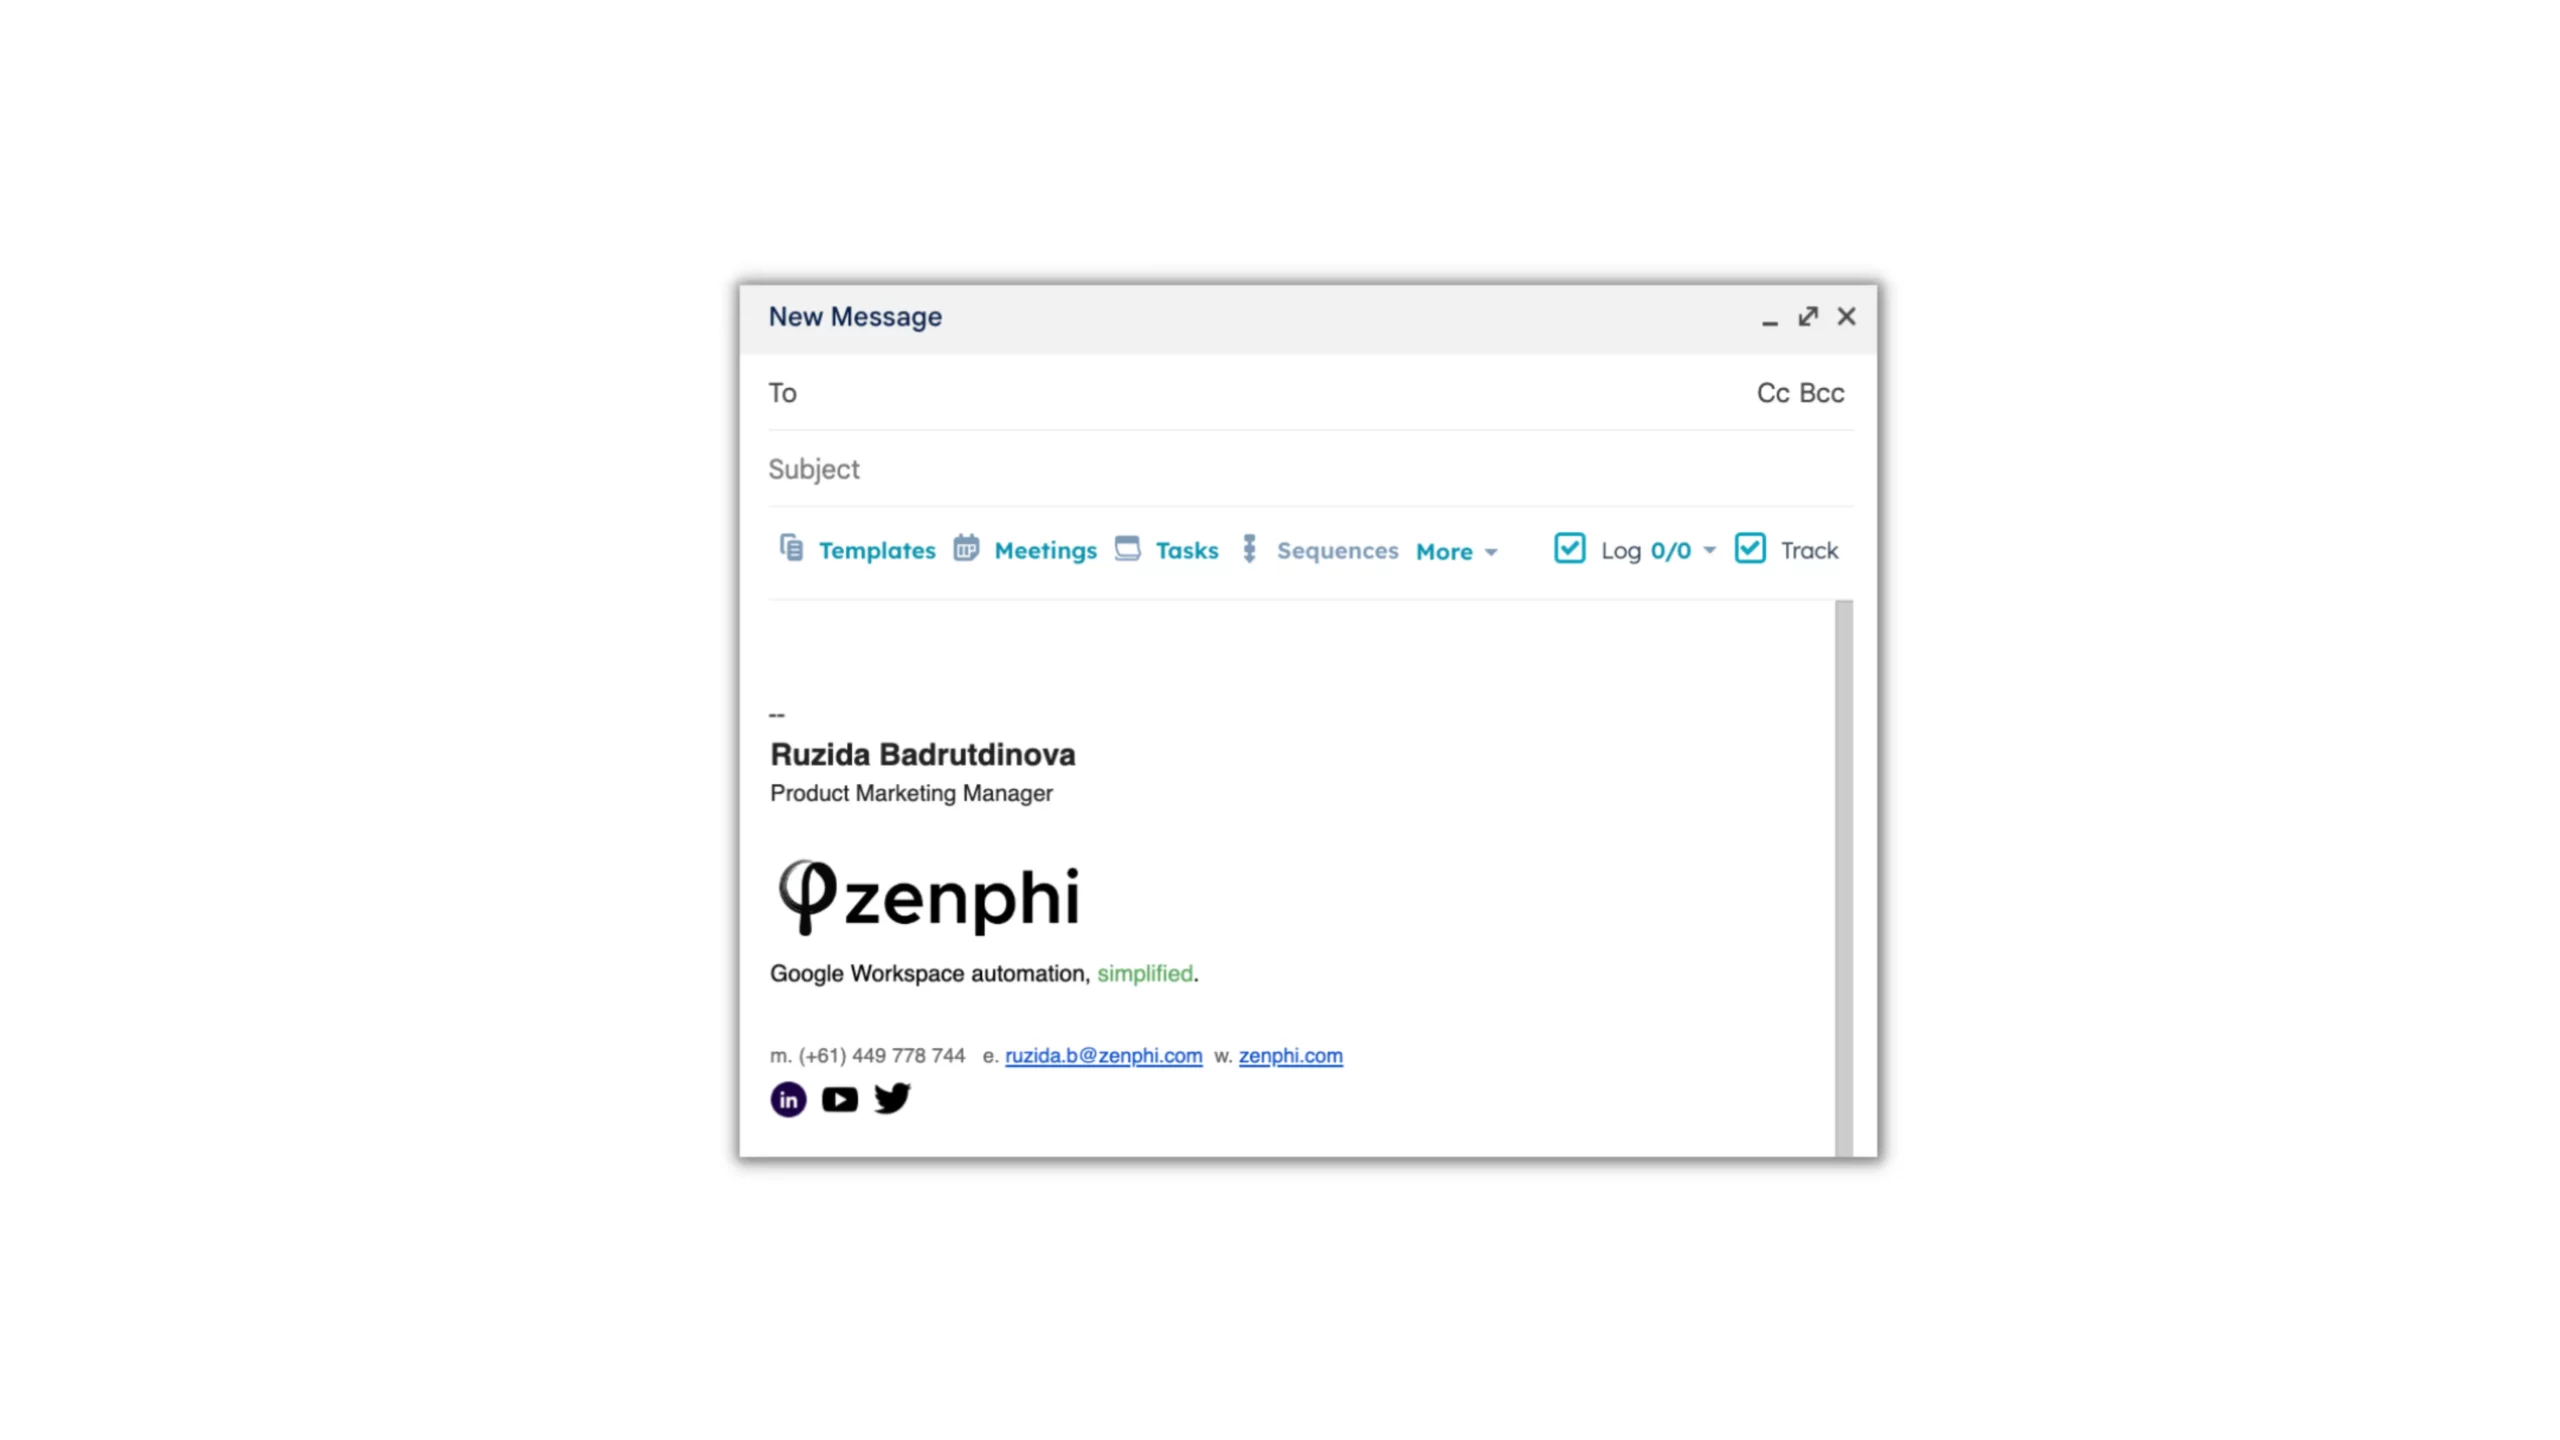
After setting up the workflow, click on the “Save” button located in the top panel. To test the workflow, click on the “Test” button. Upon execution of the test, you will be able to see how each step performs in live mode. Once the test is completed, check the signature of the test user’s Gmail account to verify that the workflow is functioning correctly.
Step 10: Publish the Google Workspace signature management workflow
Congratulations on successfully setting up an email signature automation workflow using zenphi!
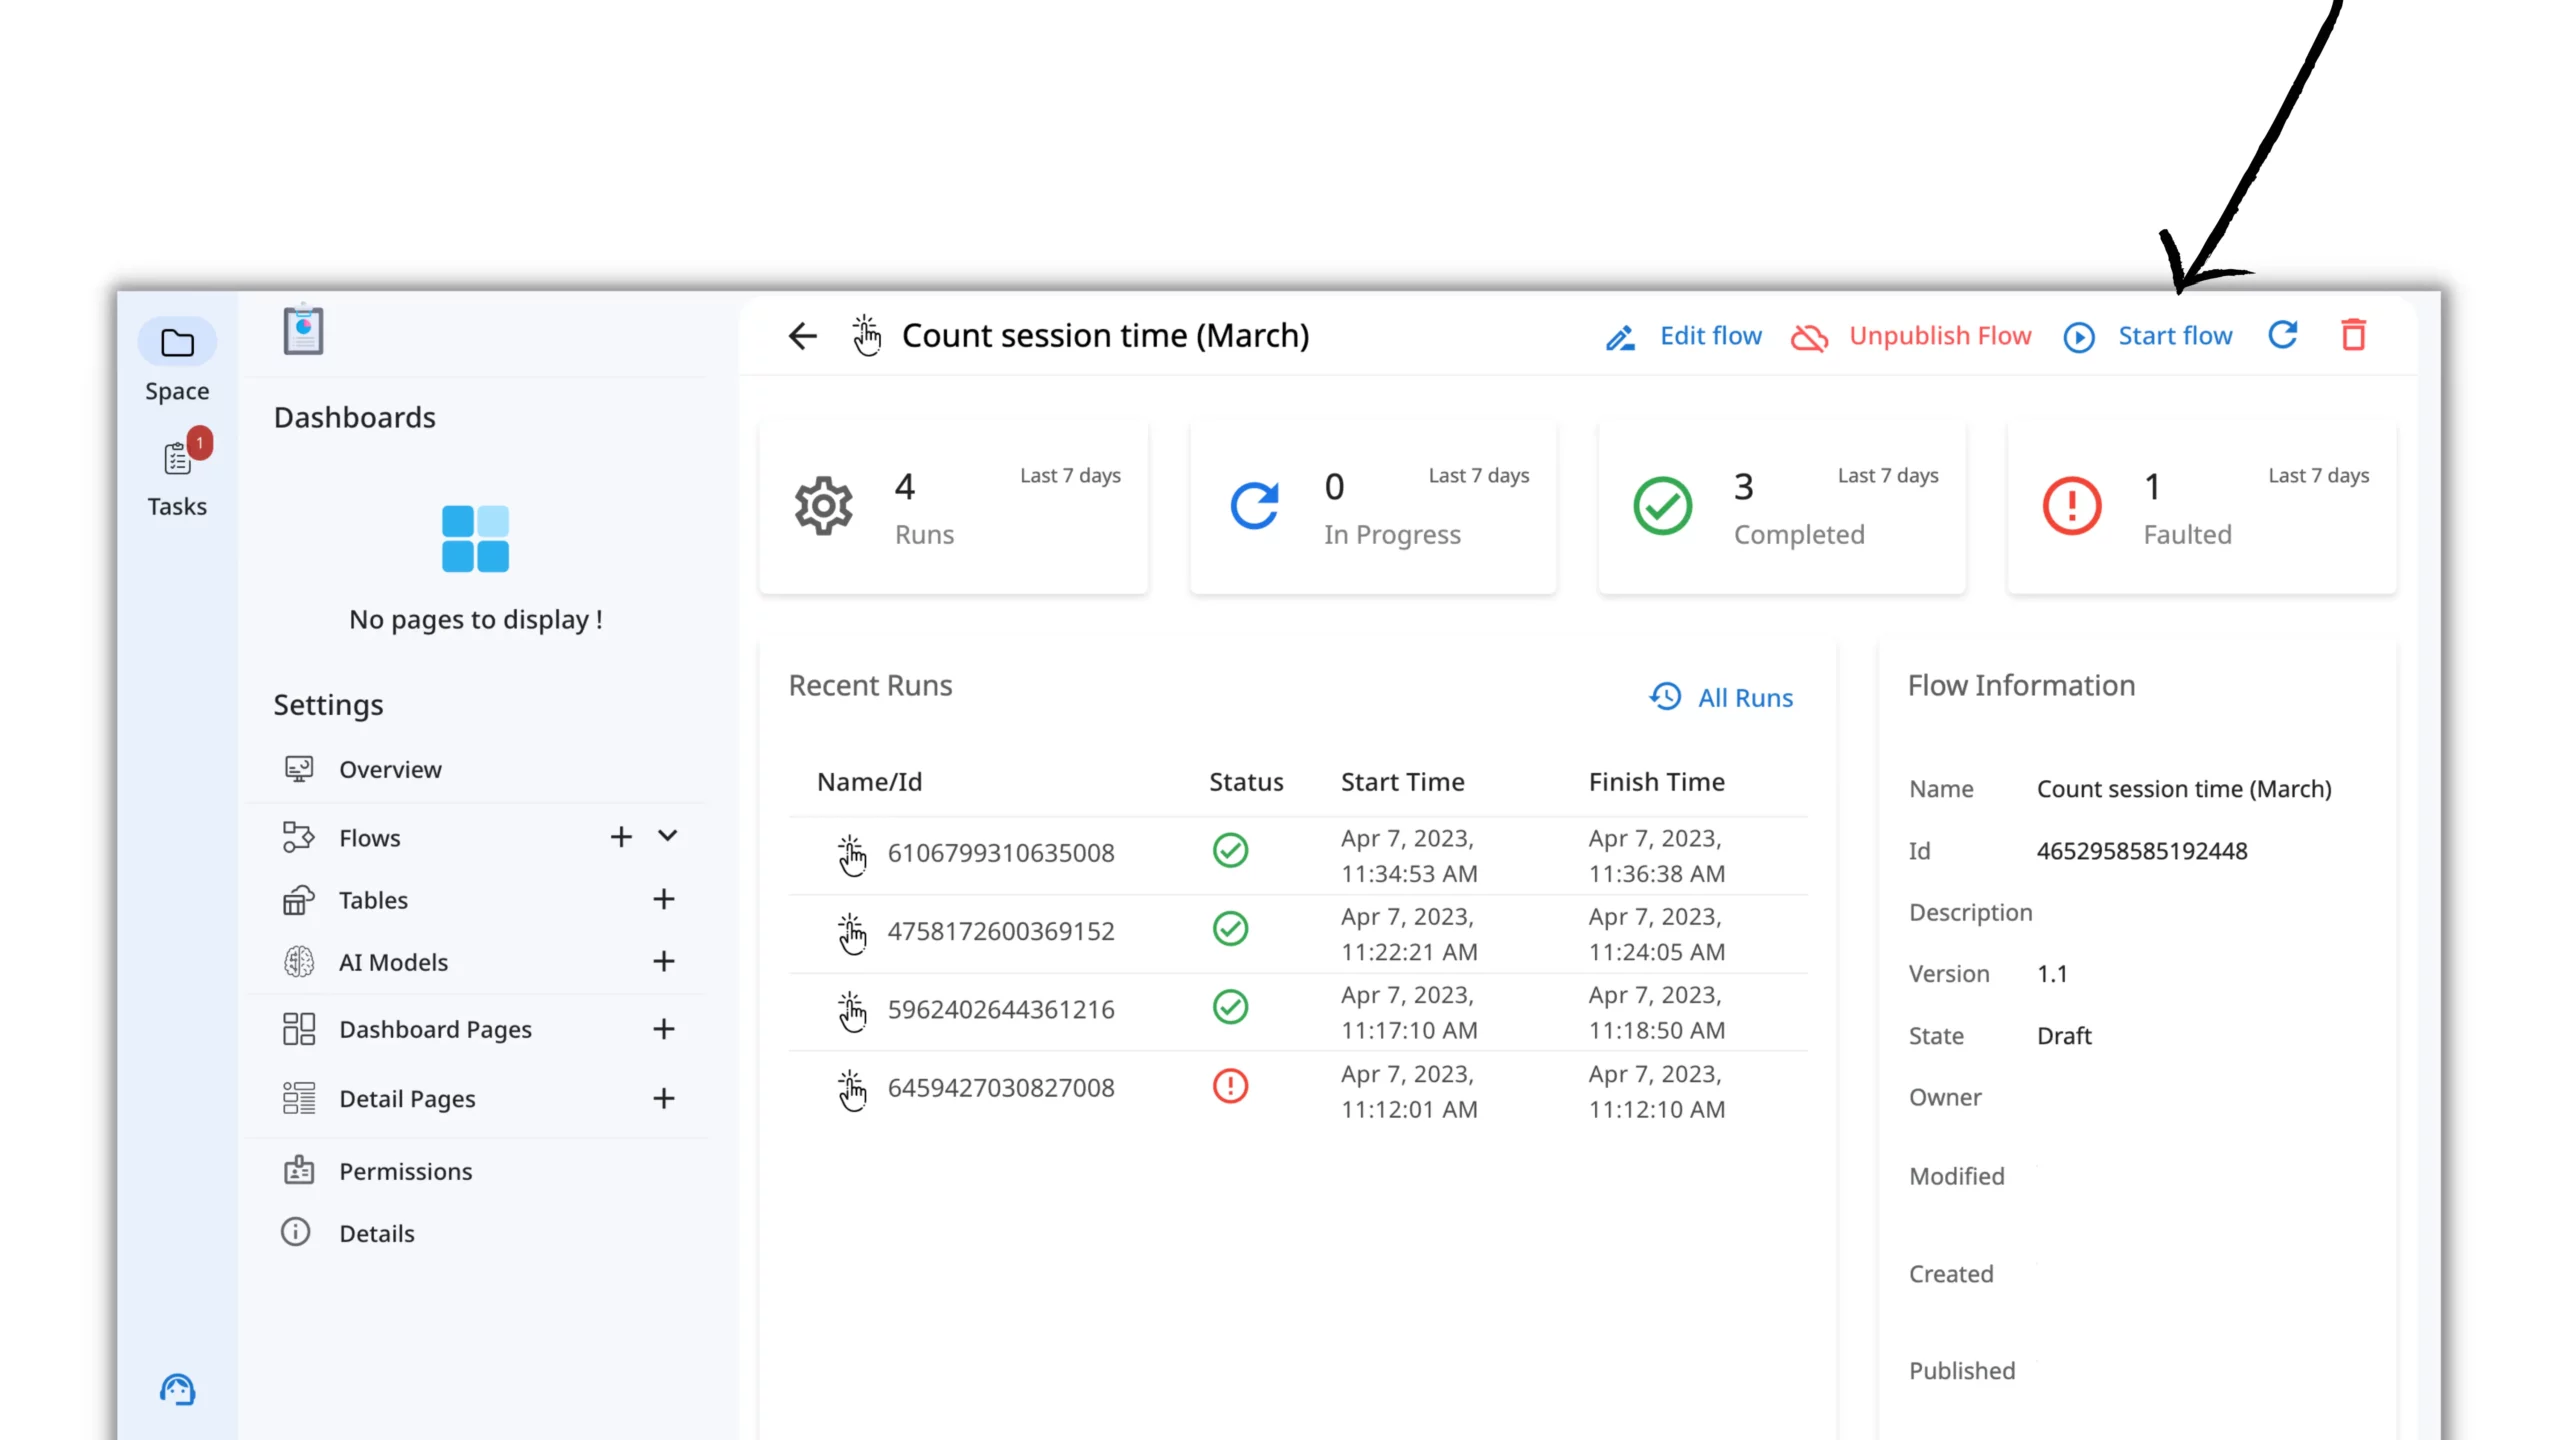
Once you are satisfied with the results of the test, click on “Publish”.
The next time you want to execute the Flow, simply open it and click on “Start Flow”.
Take your Google Workspace Signature Management to the next level
This tutorial demonstrates only a simple example of how to automate Google Workspace signature management using zenphi. However, with the powerful functionality of zenphi, this is just the beginning. You can easily customize the workflow to meet your unique needs. For instance, you can change the trigger to Google Form submission, enabling your teammates to initiate the process or set it to run on schedule, aligning it with your marketing campaigns. With zenphi, the possibilities for streamlining your Google Workspace processes are endless, so get creative and see what you can achieve.
Watch this webinar recording to discover more Gmail automation examples: