A step-by-step guide on the easiest way to perform several most repetitive and common Google Workspace admin tasks, from how to add a user to Google account to advanced SCIM provisioning and more.
Table of Contents
Managing Google Workspace in 2026 is no longer about handling tickets faster—it’s about responding instantly to change, eliminating security gaps, and maintaining full auditability across users, data, and access.
Google Workspace admins today are expected to:
- React immediately to employee lifecycle changes
- Secure data the moment users depart
- Maintain compliance across Gmail, Drive, and Google Chat
- Automate at scale—without brittle scripts or manual oversight
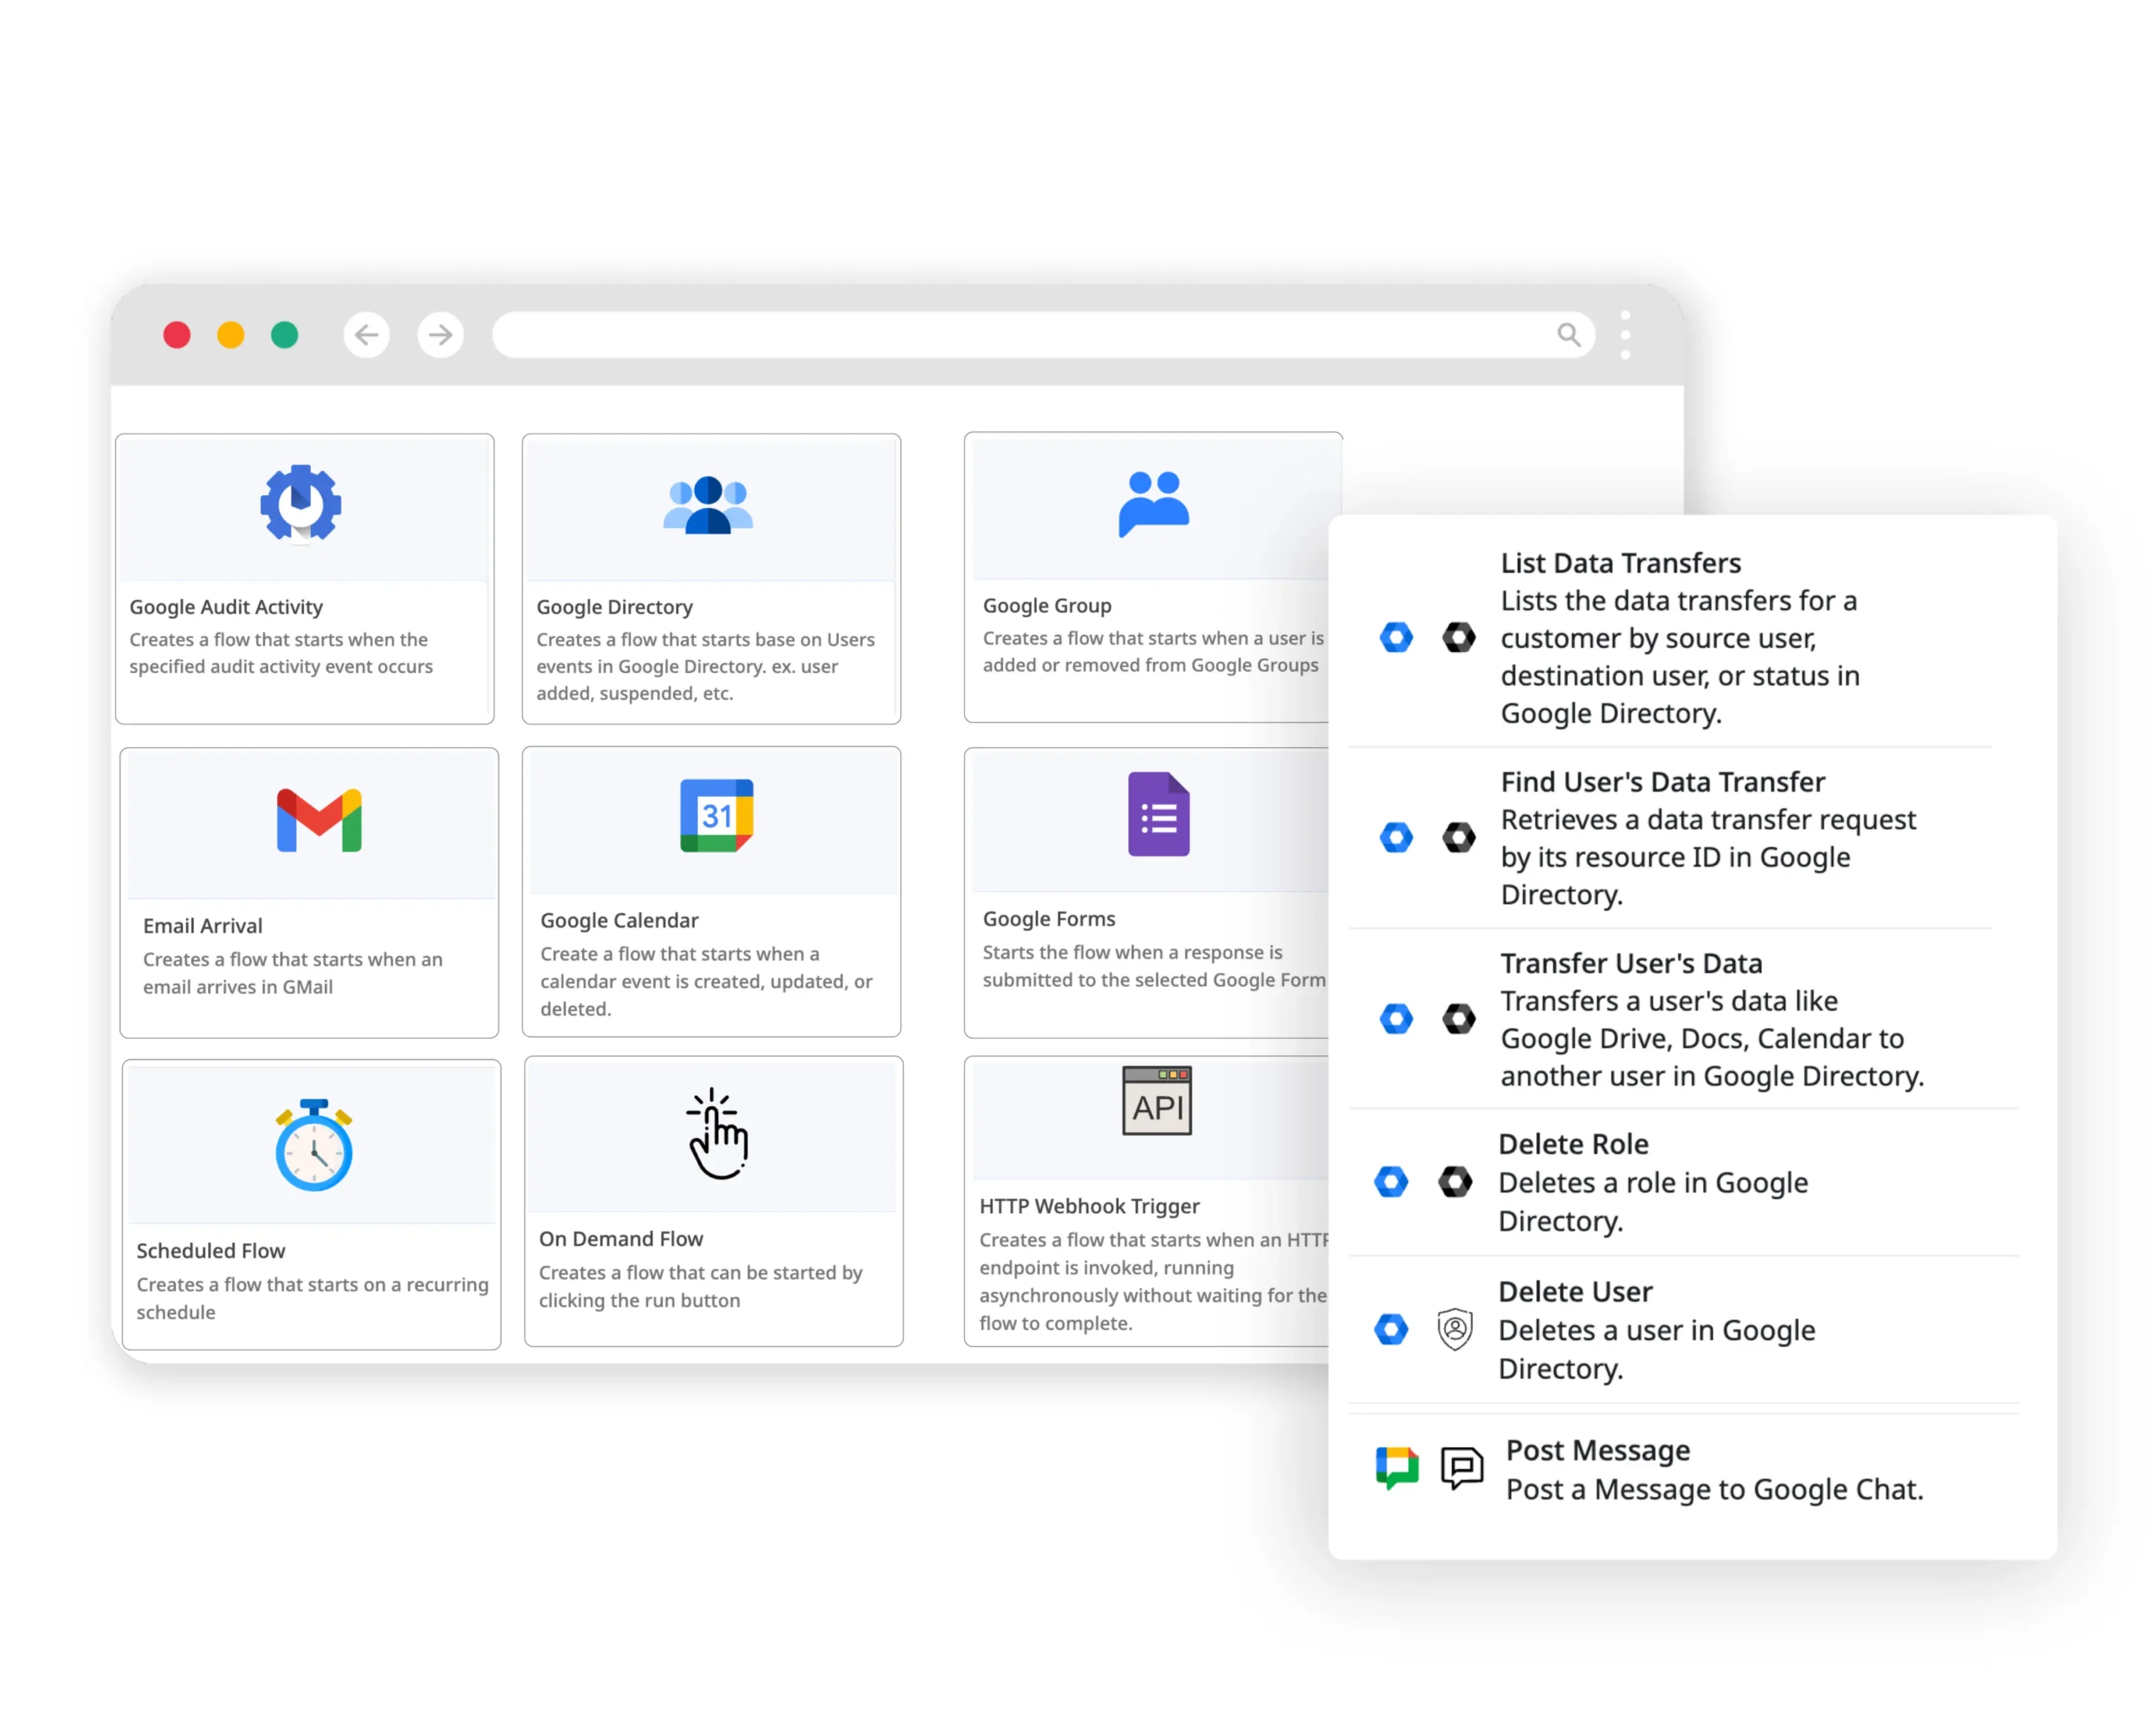
In this guide, you’ll learn how to automate the most common and high-risk Google Workspace admin tasks using Zenphi, the only platform built to create event-driven automation of Google Admin tasks .
You’ll see how to automate:
- User onboarding and provisioning
- Employee offboarding triggered from multiple systems
- Access revokes and data archiving
- Shared Drive audits
- Email forward audits
- Gmail and license management
- Google Vault, Gmail, and Google Chat exports
- Shadow IT detection
Organizations using these workflows consistently reduce admin workload by 60%+, eliminate human error, and significantly improve their security posture.
How to Automate User Onboarding and Provisioning
There are several most common ways Google Workspace admins can automate their tasks around user onboarding and provisioning. Google itself provides a comprehensive set of APIs through its Admin SDK that allows for automation of various administrative tasks.
- Directory API: Used for managing users, groups, and organizational units.
- Admin Reports API: Allows for monitoring and generating reports on user activity.
- Data Transfer API: Helps in transferring user data from one user to another.
Another option is to use Google Apps Script for scripting custom automations that would automatically add new users, set up their email signatures, and assign them to the appropriate groups.
Using Zenphi, the #1 Google Workspace automation solution, is the third alternative that saves time and guarantees maximum efficiency of handling Google admin tasks. Let’s see how you can automate user onboarding and provisioning using Zenphi.
Automating the Basic Onboarding Flow (Adding a User To Google Account)
- Trigger the flow by using ‘Gmail (New Email)’ trigger which will start the automated employee onboarding whenever a new email from the HR team arrives in your inbox.
- Extract the text from the HTML body of our incoming email using the “Extract text from HTML” action. To save time and extract all fields at once, use a “Parallel” action. This allows all branches to run in tandem.
- Inside each of these branches, include two actions. First, a “Regex – Find Value” action, which allows to find text based on a specific pattern. We will indicate the output of our previous “Extract Text from HTML” action as the text and then find the pattern that extracts what you’re looking for. Then, using a “Set Variable” action, assign the result obtained from the previous action.
- Use the ‘Generate Password’ action, which will allow you to create a safe and unique password for the user.
- Add the ‘Create User’ action to create the Google Account for the onboarding employee.
- Use the ‘Send Email (Gmail)’ action to notify the HR team and the user about their onboarding process status.
Watch this video tutorial to replicate the flow in your Google Workspace.
Video Tutorial: Automate Employee Onboarding
Automating User Provisioning and Deprovisioning with Google Workspace SCIM - Basic Flow
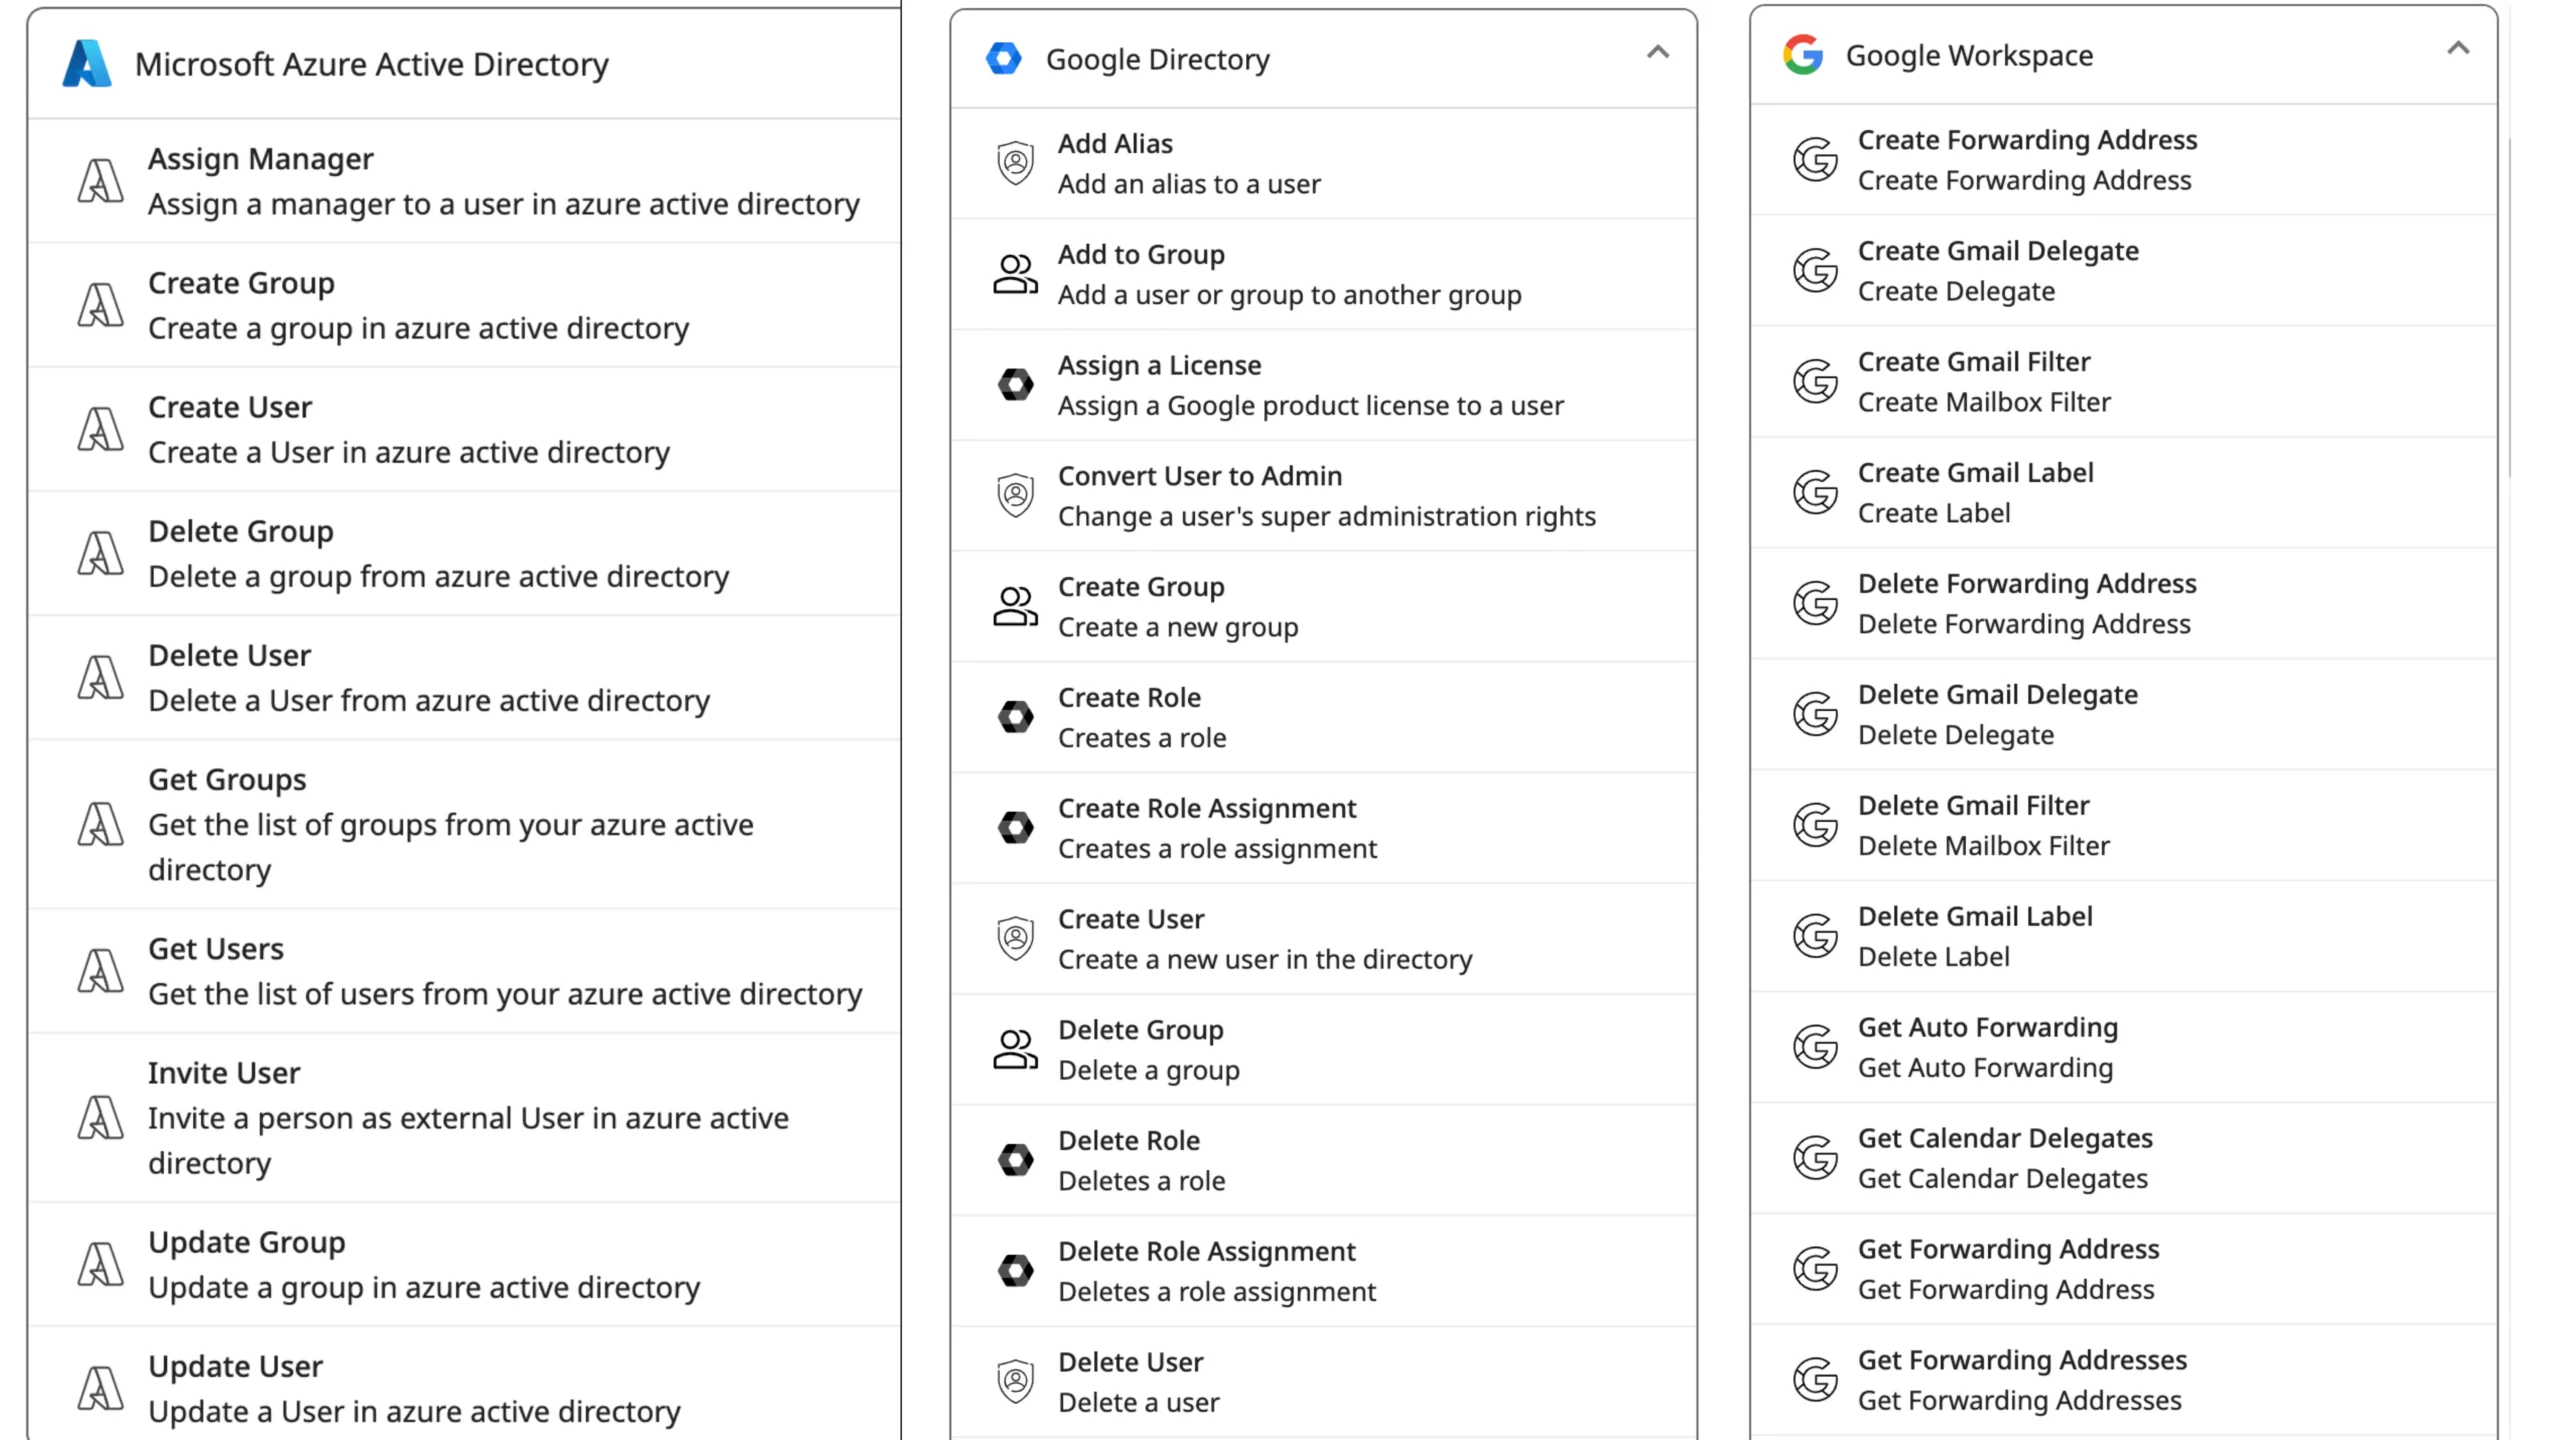
Many companies now use Google Workspace SCIM provisioning to automate the management of user identities and their access to Google Workspace applications. Let’s see how you can easily do it using an example of Microsoft Azure AD, as an identity service provider.
With Zenphi, you can seamlessly automate object creation, deletion and updating not only in Google Workspace but also in Google Directory and Microsoft Azure in a few clicks. For onboarding, if you’re using Azure AD for managing user identity, just add a couple of steps within your Google workflow. For example, after the welcome email to the user, you can add an action that assigns a new employee to the appropriate groups in Azure AD, and provides them with access to the necessary resources.
Use this Employee Onboarding template if this flow looks relevant.
If you’re looking for Google Directory automation, try out this template, where we have built the most common automated workflows for Google Admins.
If you’re using Azure AD for identity management, you’d probably need a flow for automated group creation and deletion, as well as group creation approval flow (in case a user sends a request, and is allowed to create a group only if they meet certain criteria).
- We recommend to start the flow with a filled in Google Form.
- Just define approval criteria and use an If condition (If criteria are met)
Use Create a Group in Azure AD and Send a Confirmation email for the positive branch (if criteria are met). Or Assign a task for the further review of the request action in the negative branch.
For more automated actions using SCIM and Azure AD (like Password recovery) read this blog post [Azure Automation Made Easy: 5 Workflows T Streamline Your Tasks]
Looking for the most flexible Google Admin tasks automation tool with the power of Apps Script but without actual coding? Try Zenphi for free!
How to Automate Employee Offboarding and Access Revokes
Again, options are not that numerous: Google SDK and custom scripting using Google Apps Script. But let’s see how you can do it using a more efficient alternative — Zenphi.
- Launch Zenphi’s Google Workspace Admin template
2. Establish an Admin connection
3. Choose a trigger (Form submission, email arrival, changes in Google Directory or a Google Group, HTTP Trigger – if you wnat to listen to the changes in your HRIS)
4. If you’re revoking access, use ‘Lookup User Information‘ and ‘List User’s Shared Files‘ action.
5. Use ‘Remove Sharing’ actions (for the permission ID, add the ‘List Permissions‘ action above, and loop it for every listed file (‘ForEach Loop‘ action) then ‘List User’s Shared Files‘ action.
6. Use ‘Sign Out User’ action to ensure they are logged out from all devices before proceeding to the next steps.
7. Generate new password and update recovery information for the account using two Zenphi actions ‘Generate Password’ and ‘Update User’.
8. As an additional layer of security, use ‘Suspend User‘ action. This powerful feature enables the suspension and archiving of users if required. Simply specify the user’s email address and whether they should be suspended, archived, or both.
Watch this video tutorial to replicate the flow in your Google Workspace.
Video Tutorial: Automate User Offboarding — Sample Flow
Offboarding In Google Workspace Check-List
How to Automate Shared Files audits
This process is easy to automate using Zenphi.
- Choose a Manual trigger. As we’re talking about recurring audits, this flow should be manually triggered at a specific time and date, then set to run periodically (e.g., every 30 days).
- Use ‘Read Rows‘ action that allows you to read specific drives that you have specified somewhere (for example, in a Google Sheet). Alternatively, if you want to audit all drives in your Google Workspace, use the ‘List Drives’.
- Create a loop by using a ‘Foreach‘ action, which allows the process to loop for each drive that needs to be audited.
- Use an action called ‘List Shared Files’. This action lists all files on the shared drives that have ever been shared. To execute this action, you must create a Google Workspace Administrator connection so that Zenphi can list files on your behalf. You’ll also have to choose the type of file sharing you’re interested in. You can select between Domain Shared, Shared With External Email Address, Shared With A Link, or select all. If you choose Shared With External Email Address, specify your internal domain — all email addresses not associated with it will be considered external.
- List and Filter permissions. To conduct the search and take action on the files, you’ll have to step into the shoes of the shared drive’s owner or perform an audit on their behalf. This means you need to locate an owner or content manager of every drive you audit. This can be easily done by adding another step in the loop — choose the action ‘List Permissions’. This action will list all members of a shared drive. Then use ‘Query Collections’ — an action that allows you to take data from the previous step (List Members) and filter in only those who are important for the next step — in this case, the drive’s organizer/manager.
- Create a report. The best practice is not to take action on the files immediately but to create a report first. For this, you’ll need to create a template in Google Sheets with the following suggested headers: Drive ID, Drive Name, File ID, File Name, View Link, Has Link Sharing, Has Email Sharing, Shared With Emails. Use this template to be populated every time a flow runs on every single drive. Just add two actions: ‘Copy Template File’ and ‘Add Multiple Rows’, then specify your Spreadsheet template as a reference. This will allow you to generate reports for every drive separately, and then send this report to the drive owner or the Head of Security to take further actions.
Watch a step-by step video tutorial on how to automate Google shared files audits
Video Tutorial: Automate Google Shared Files Audits
Emerson College Automates Shared Files Audits
Automated Shadow IT Detection In Google Workspace
Shadow IT remains one of the hardest security risks to manage in Google Workspace—not because it’s invisible, but because most tools generate too much noise. With Zenphi, Google Workspace admins can automate Shadow IT detection in real time, without relying on periodic audits or manual reviews and avoid endless stream of alerts. This workflow allows Google Admins to get notified only when they need to know when something actually matters.
Zenphi enables Google Workspace admins to avoid alert fatigue entirely by reacting only to truly risky app connections—not every OAuth event or benign integration.
Instead of monitoring everything and overwhelming IT teams, Zenphi lets you define what is acceptable, and only surfaces events that fall outside those boundaries.
How Automated Shadow IT Detection Works
With Zenphi, Shadow IT detection is built around validation, not volume. The workflow:
- Monitors third-party app connections in Google Workspace
- Compares each app against an approved list (maintained in Sheets, Tables, or an external system)
- Filters out known and trusted apps automatically
- Triggers alerts and actions only when an app is genuinely unauthorized or risky
This ensures Google Admins spend time responding to real security events, not reviewing hundreds of harmless connections.
Video Tutorial: How To Automate Shadow IT Detection In Google Workspace & Avoid Noise
Gordon Food Service Automates Shadow IT Detection & More
Gmail automation: How to automate signature updates, alias assignments, label provisioning, email forwarding rules and more
Read this blog post to learn the details of every flow [5 Gmail Automation Tips For Google Workspace Admins]
Automate Google Workspace license management
Google admins have to track all active Google Workspace licenses, and purchase more if needed. However, with Google increasing the fees, it became a burden: now admins also have to track if users are inactive, and archive or delete them to use their license with new employees. Partially, it’s a data security related task: you don’t want any of your departed users to still have access to shared files or drives. But it also makes sense financially: what’s the point of paying more for a license if you still can use the available capacity?!
Some of your users have built recurring flows that check inactive users every 30 days:
— in case a user hasn’t logged in their Google account,
— they double check with HR if this user has departed,
— and if the answer is positive, they want to archive or delete the user, and re-use the license.
All of these actions: the audit, the communication, the archiving — are performed automatically with zero time input from a Google admin!
Video Tutorial: How To Automate Google Workspace License Management — Audit And Remove Incative Accounts Automatically
Automating Google Vault, Gmail, and Chat Exports (Fully Automated & Audit-Ready)
Data archiving and retention in Google Workspace doesn’t end when an employee leaves—that’s when it becomes most critical.
In regulated environments, Google Workspace admins must archive Gmail as well as archive Google Chat data securely, ensure traceability, and remain compliant with internal policies and external regulations—without keeping an active user license or relying on manual Vault operations.
Zenphi turns Google Vault exports into a fully automated, event-driven process, tightly integrated with employee offboarding workflows.
With Zenphi, Google Vault, Gmail, and Chat exports can be:
- Triggered automatically by offboarding events (HR, Directory, CRM, or Form-based)
- Scheduled to run periodically for compliance or archival policies
- Routed to secure destinations, including Google Drive or Google Cloud Storage
- Unified into centralized repositories for legal, HR, or security teams
- Fully logged and auditable, preserving metadata and export history
This eliminates the need for manual Vault searches, exports, and follow-up handling—while significantly reducing the risk of missed or incomplete data retention.
Video Tutorial: How To Archive Gmail Data for Departing Employees Automatically
When an employee leaves, their Gmail data must be preserved securely, compliantly, and without maintaining an active Workspace license.
In this video, you’ll see how to build a fully automated Zenphi workflow that:
- Exports a departing employee’s Gmail data via Google Vault
- Archives messages to Google Drive or Google Cloud Storage
- Preserves full metadata for legal and audit purposes
- Runs automatically as part of the offboarding process
You’ll learn:
- How to choose where Gmail archives are stored
- How to unify all exports into a single, structured repository
- How to ensure every archived mailbox is searchable, traceable, and compliant
- How to connect Gmail archiving seamlessly with access revocation and account suspension
This approach ensures Gmail data is retained without human intervention—and without introducing compliance gaps.
Video Tutorial: How To Automate Google Chat Data Exports For Compliance Purposes
Gmail isn’t the only place sensitive business conversations live.
In this walkthrough, Fernanda Lopez from Zenphi demonstrates how to automatically export and archive Google Chat conversations for departing employees.
You’ll see how to:
- Capture Chat conversations via Google Vault exports
- Automatically save Chat data to Google Drive or Cloud Storage
- Maintain a clean audit trail tied to the employee offboarding event
- Maintain a clean audit trail tied to the employee offboarding event
By automating Google Chat exports, organizations avoid blind spots in data retention and ensure that collaboration data is preserved alongside email and Drive content.
Offboarding & Data Archiving In Google Workspace
Why Traditional Google Workspace Automation Breaks Down
Google provides Admin APIs and Apps Script—but most teams hit the same limitations:
- Scripts are fragile and hard to maintain
- Automation is tied to one trigger type
- No centralized audit trail
- Hard to scale across IT, Security, and HR
Zenphi was built to solve exactly this problem.
Instead of relying on scripts, Zenphi enables event-driven automation, where workflows react instantly to changes across Google Workspace and connected systems.
What Makes Zenphi Different in 2026

Zenphi is the only Google Workspace automation platform that allows workflows to be triggered from multiple enterprise signals, including:
- Google Directory events (user moved to a different OU)
- Google Groups activity
- Incoming emails
- Form submissions
- CRM or HRIS changes (via HTTP Trigger / webhook)
- Scheduled audits
- API calls
This matters most for offboarding, security enforcement, and compliance, where timing is critical.
About The Author

Vahid Taslimi, CEO @Zenphi
Formerly the VP of Product at Nintex, and Solutions Architect at Emirates Airlines, Vahid now leads dynamic Zenphi team, a company dedicated to crafting a platform empowering Google Workspace users to automate Google admin tasks and other processes end-to-end while enhancing data security and compliance.


