When requesting data from APIs and other internet-based apps, it is given in the form of a Json payload. That payload will be in its static form containing the headers and the rest of the information you’ve requested.
Whether you have encountered Json payload in the past or going to in the future, looking at its data packet can be intimidating. Some deal with it because they have to, but others just don’t have the patience and understanding for it.
But what if you are a small team with only one dedicated programmer working on your product? Would you care to bother your programmer to check it out and parse it for you every time it happens? You should agree with me that it’s not the best use of his time. And that he is better left doing tasks that are strategic for your product development.
If you are thinking about how to do it on your own without having to learn to code, you are in luck. zenphi can start automatically importing JSON payload into Google Sheets for you. This way, you don’t have to worry about looking at the data packet that can give even experienced programmers a major headache.
Read on if you are still interested. . .
How zenphi can start automatically importing Json payload into Google Sheet
So, here’s the scenario. You need comprehensive details regarding countries in the world, and the best API that can provide that is the REST COUNTRIES. When you manage to pull the data, it’s in the form of JSON, which, looking at it, is already intimidating you.
The thing is, you can automatically skip the payload and have a Google Sheets version of it. It’s what this tutorial is all about. I will walk you through the step by step process to automatically importing JSON payload into Google Sheets.
Here’s how the process looks like:
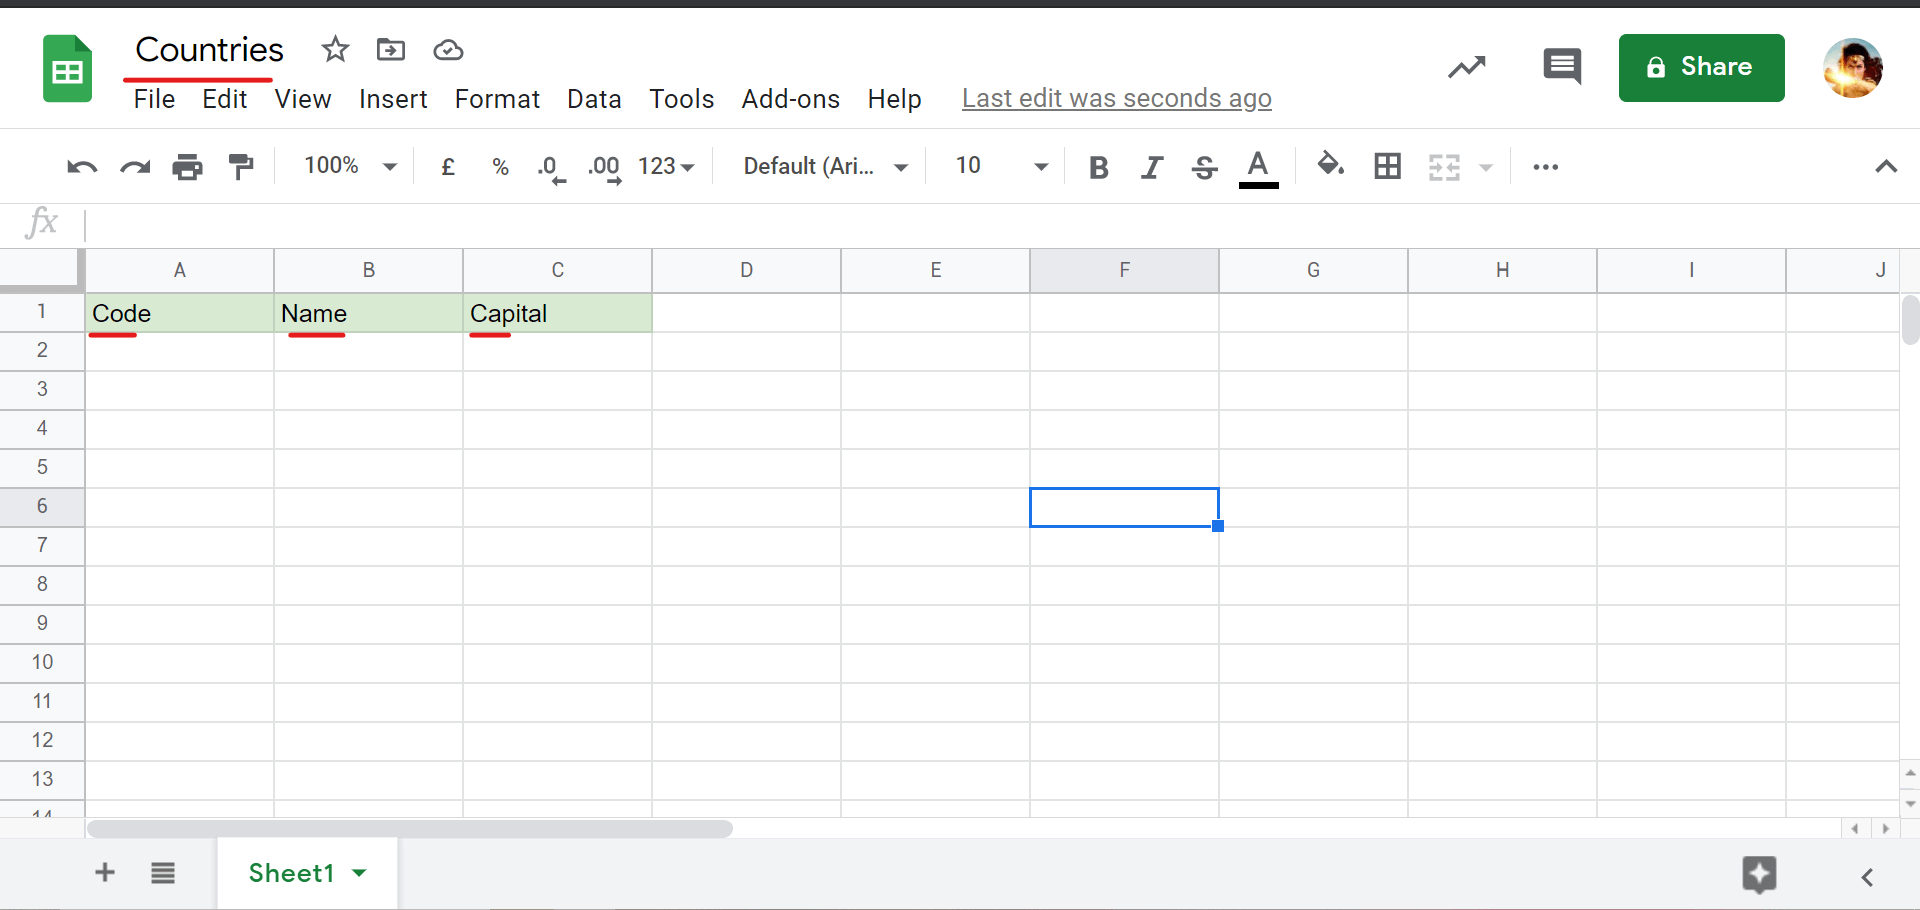
- Using Google Sheets, create a file and name it “Countries”. This is the file where you are going to import the data from the payload. Within the file, create three columns with Code, Country, and Capital as headers. These are the individual data that the Import JSON Payload to Google Sheets workflow will automatically retrieve and load into the Sheet.
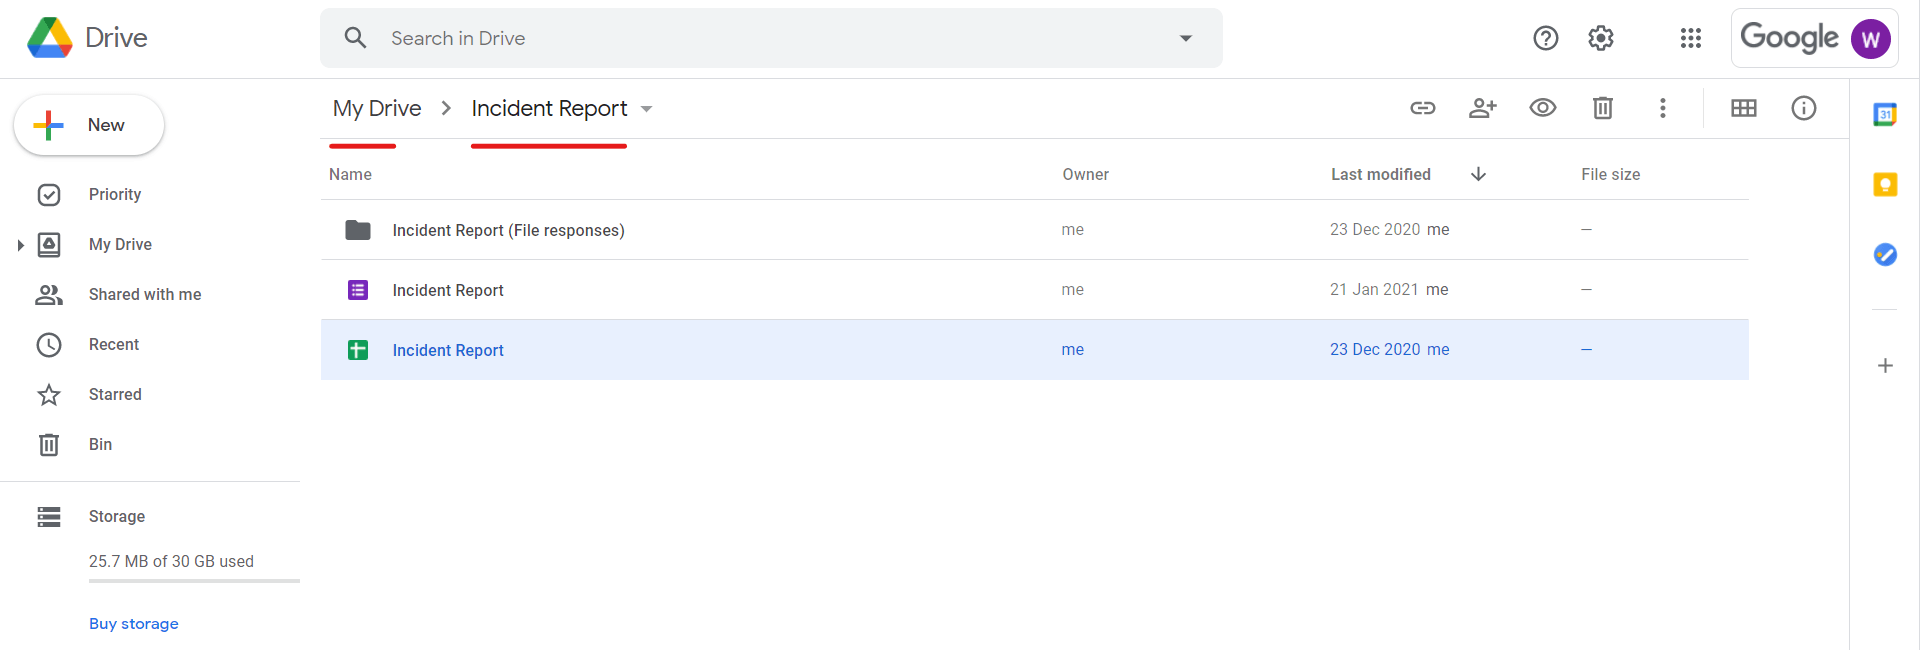
- The Google Sheet should be stored in a specified Google Drive.
- When you trigger(manual) this workflow, it will automatically retrieve JSON payload containing the list of EU countries, their code, and capitals. It will then load into the prepared Google Sheets.
- This process will automatically repeat until the last country is loaded.
This automated process is created using only the following tools:
- Google Sheets where you load the data import.
- Google Drive to store the Google Sheets file.
- zenphi to automate the importing JSON Payload into Google Sheets workflow.
The step-by-step process to import JSON Payload into Google Sheets:
Here is the recorded video of the entire process to automatically import JSON payload into Google Sheets for your convenience.
Step 1.
Open Google Sheets and name the file “Countries”. Within it, create three columns with Code, Country, Capital as headers.
Assign a specific folder for the file. In our case, we are naming it “Import Json to Google Sheets”.
Step 2.
We are going Log in to our zenphi account and create a new flow. If you haven’t yet registered, you can create a free basic account using your Google credentials. Click the Create Flow button.

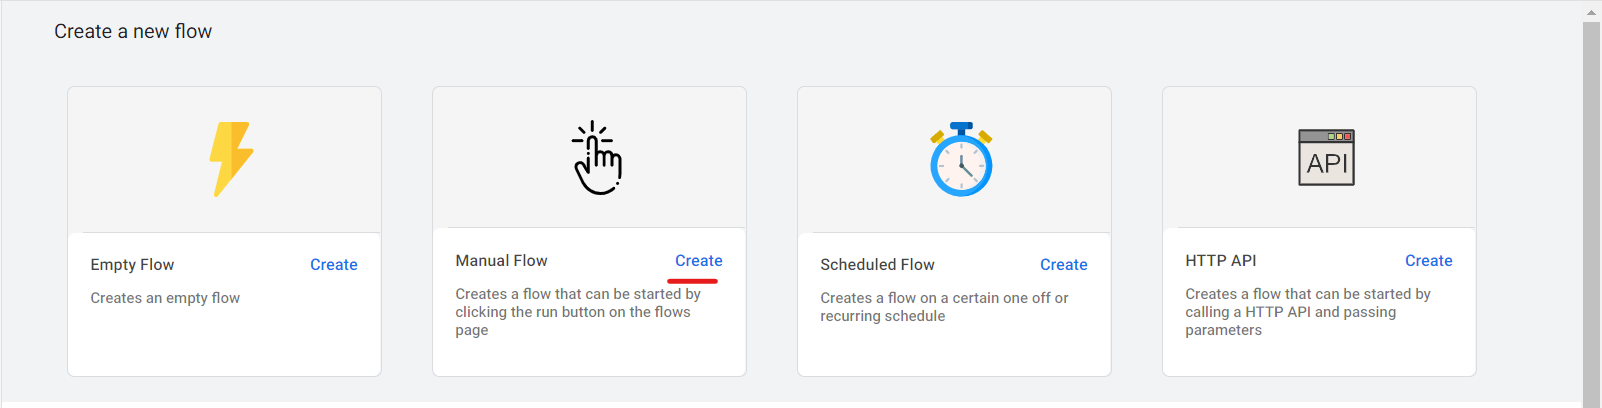
Arriving at the next section where we will choose the trigger action. The trigger action is what will activate this automated workflow. Let’s choose a Manual Trigger.
When you click Create this is what our blank workflow looks like:

Click the Configuration button to assign a name to your new workflow.

Step 3.
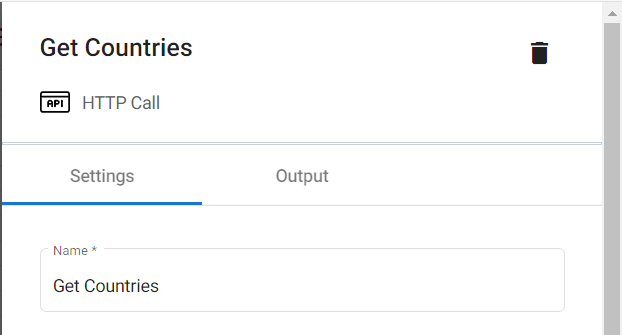
In the Designer panel, click Communication. Drag and drop HTTP call into the blank workflow.

To configure this step, click the Settings icon and start by naming it. Let’s name it “Get Countries.”
In the API Url section, paste the REST COUNTRIES URL. The one that will allow you to retrieve all the information regarding each EU country: https://restcountries.com/v3.1/region/europe
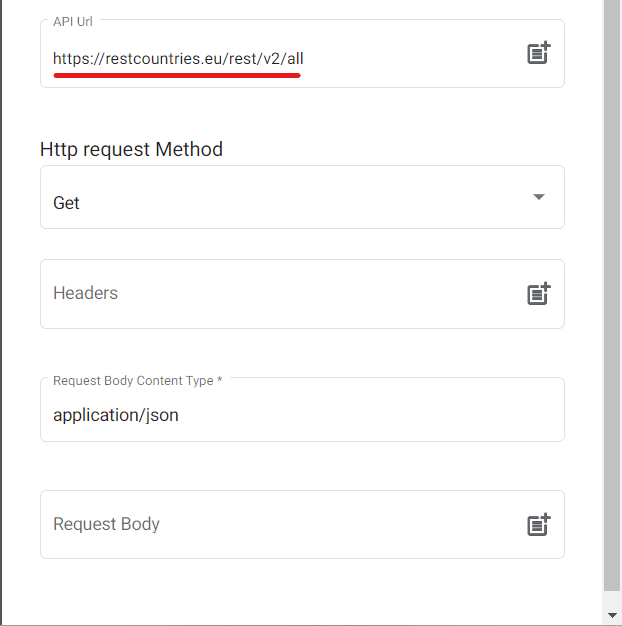
Leave the rest of the field as it is.
Step 4.
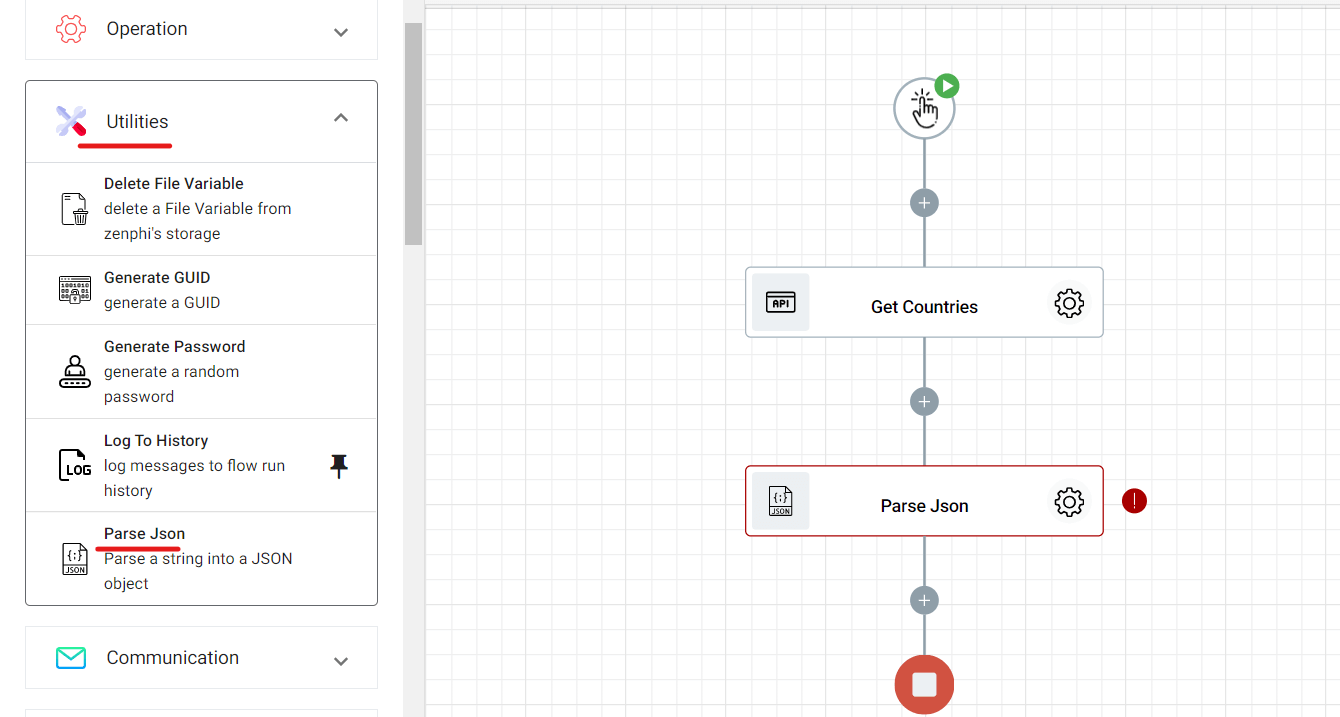
From the Designer panel, click Utilities. Drag and drop Parse JSON into the workflow, next to HTTP call. What this action will do is automatically retrieve the specified Json payload and read and analyze it into parts.
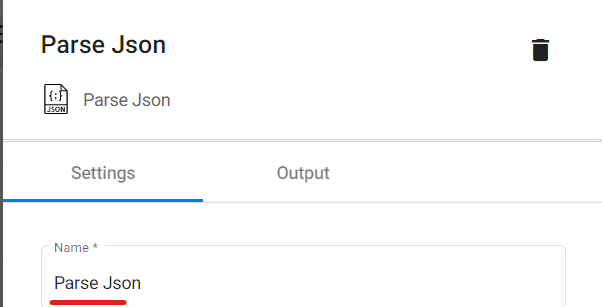
Click the gear button to start configuring this action. We are leaving the Name field as it is.
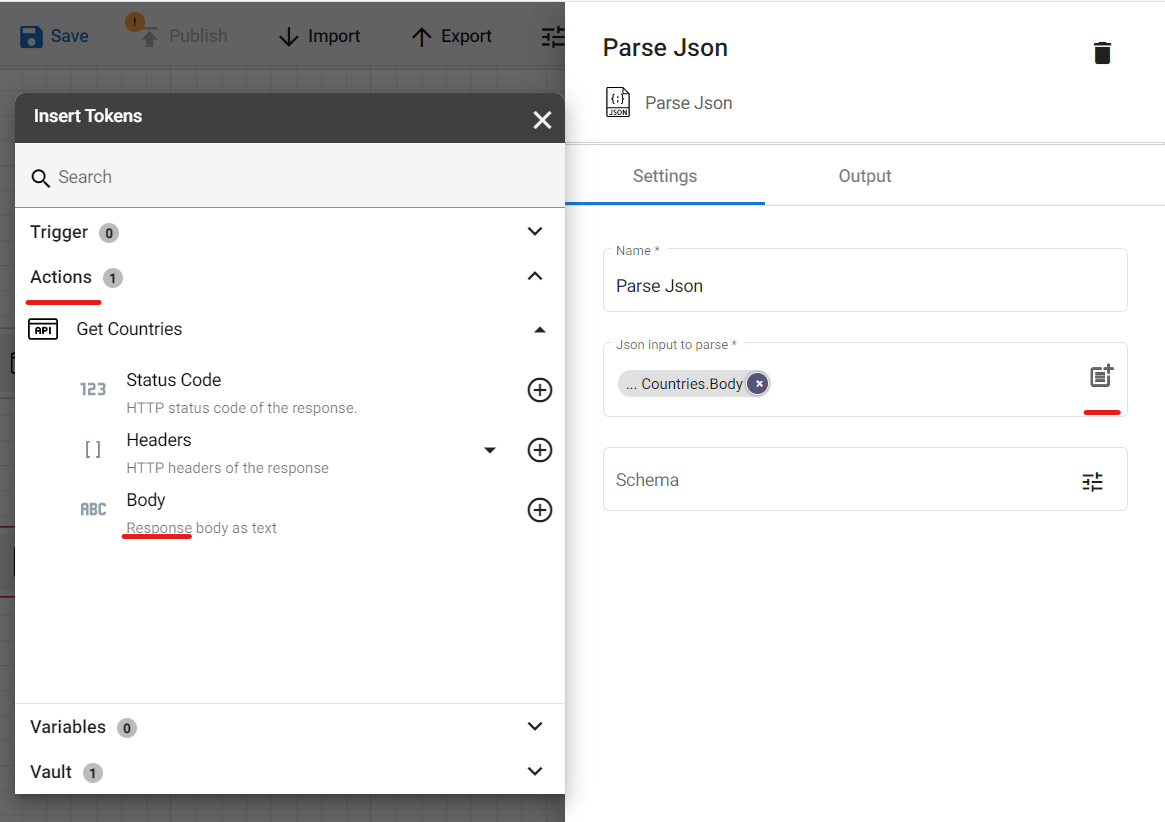
In the Json Input to parse field, simply click the parameter icon. Under Actions, click Get Countries. And from the dropdown list, select Body.
*Please note that in this example, we are loading the json payload from the REST COUNTRIES API. The json payload can also be a static text. In that case You can skip step 3 and just paste it here.
For the Schema field, click the settings.

To get a sample of the Json payload, just go to https://restcountries.com/v3.1/region/europe. Select all, then copy.

Paste it onto the Sample Json Payload section. Then click the Infer from sample button.
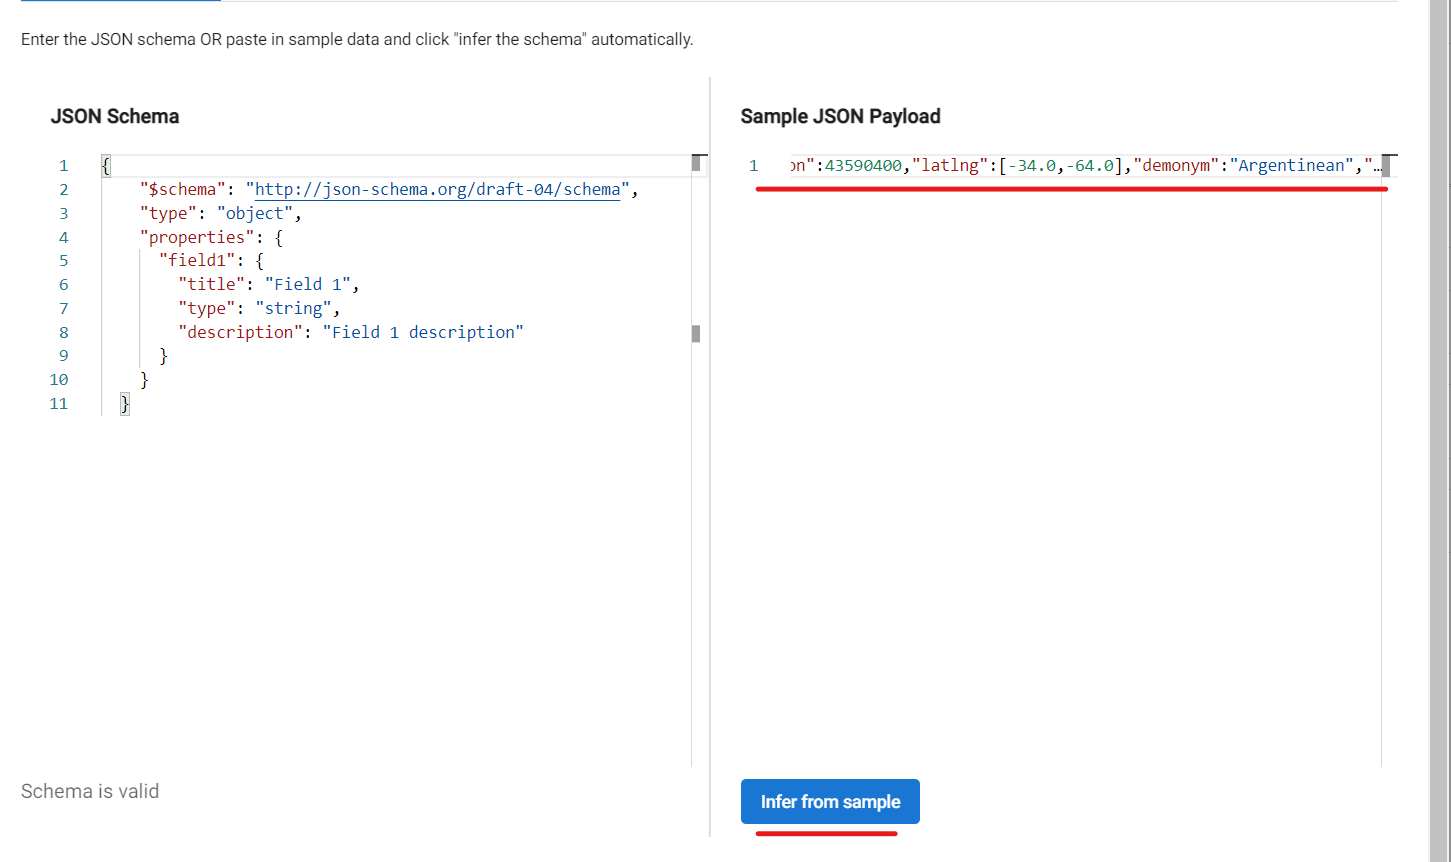
You can click Viewer to get an idea of the kinds of data the Json payload contains. And then, click ok.

Step 5.
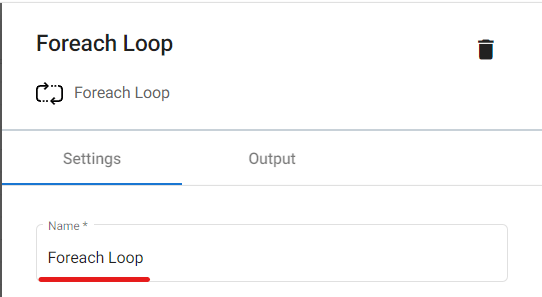
Click the gear button to configure this step. For the Name field, we are leaving it as it is.
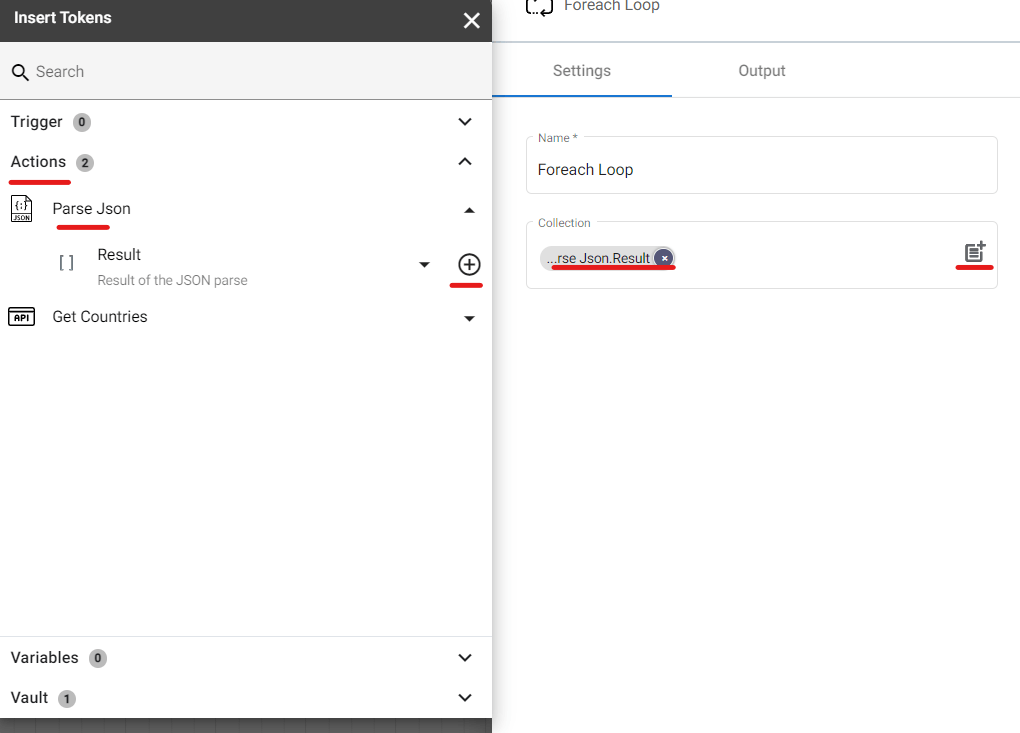
At the Collection section, click the parameter icon. And then, under Action, click Parse Json, and select Result.
Step 6.
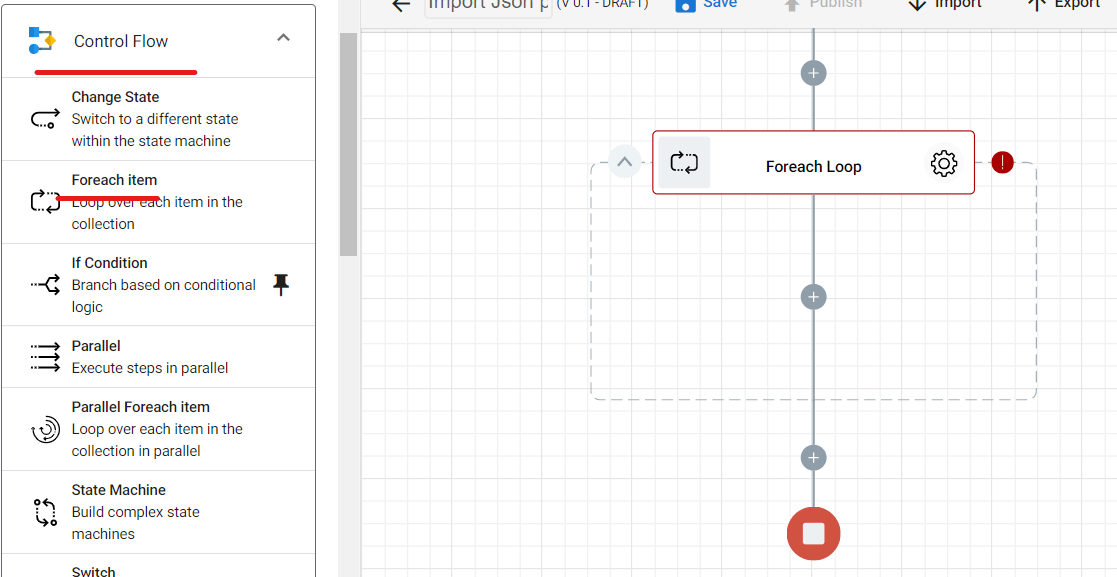
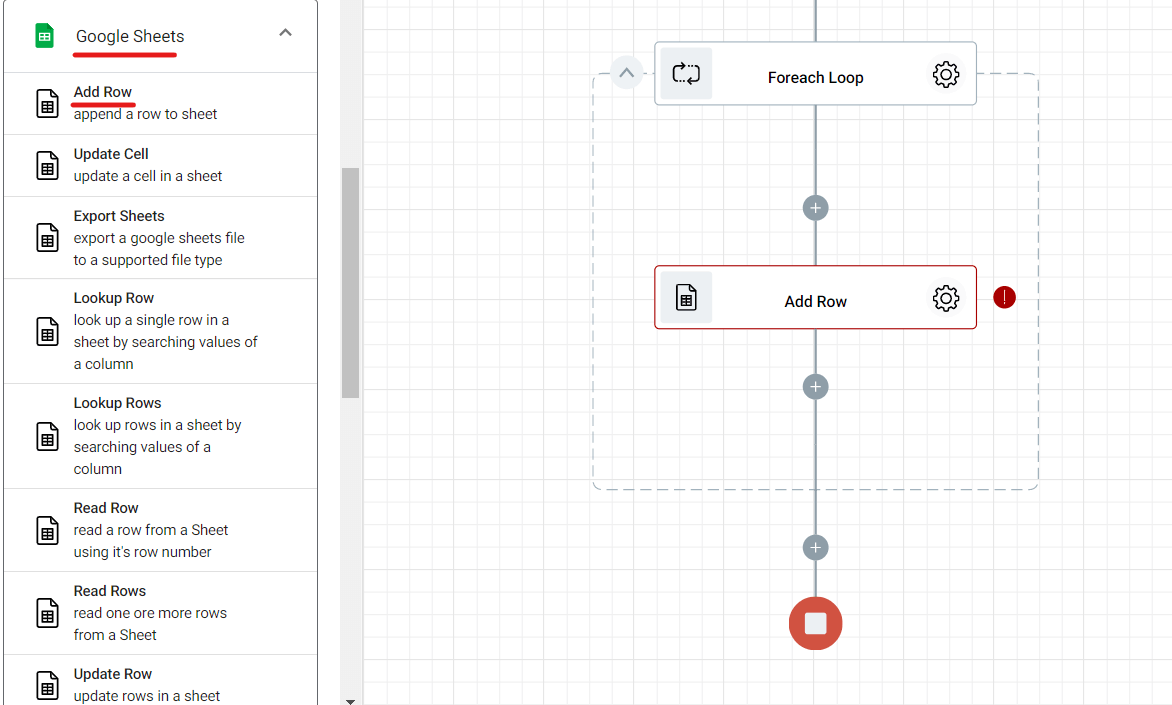
Go back again to the Designer panel, and under Google Sheets, drag and drop Add Row action into the workflow. This step will load the data you want to retrieve into the “Countries” file you’ve prepared earlier.
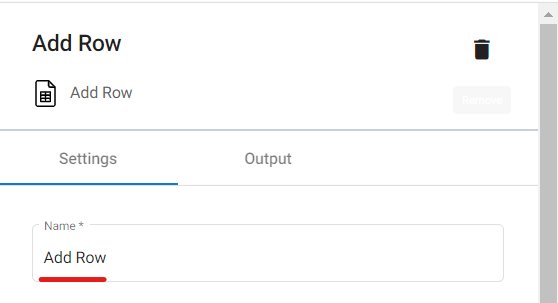
Leave the Name section as it is.
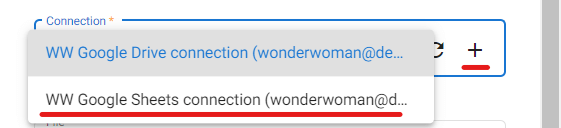
For the Connection section, select the Google Drive storing the “Countries” file.
Note that you can add a new connection by clicking the plus sign.
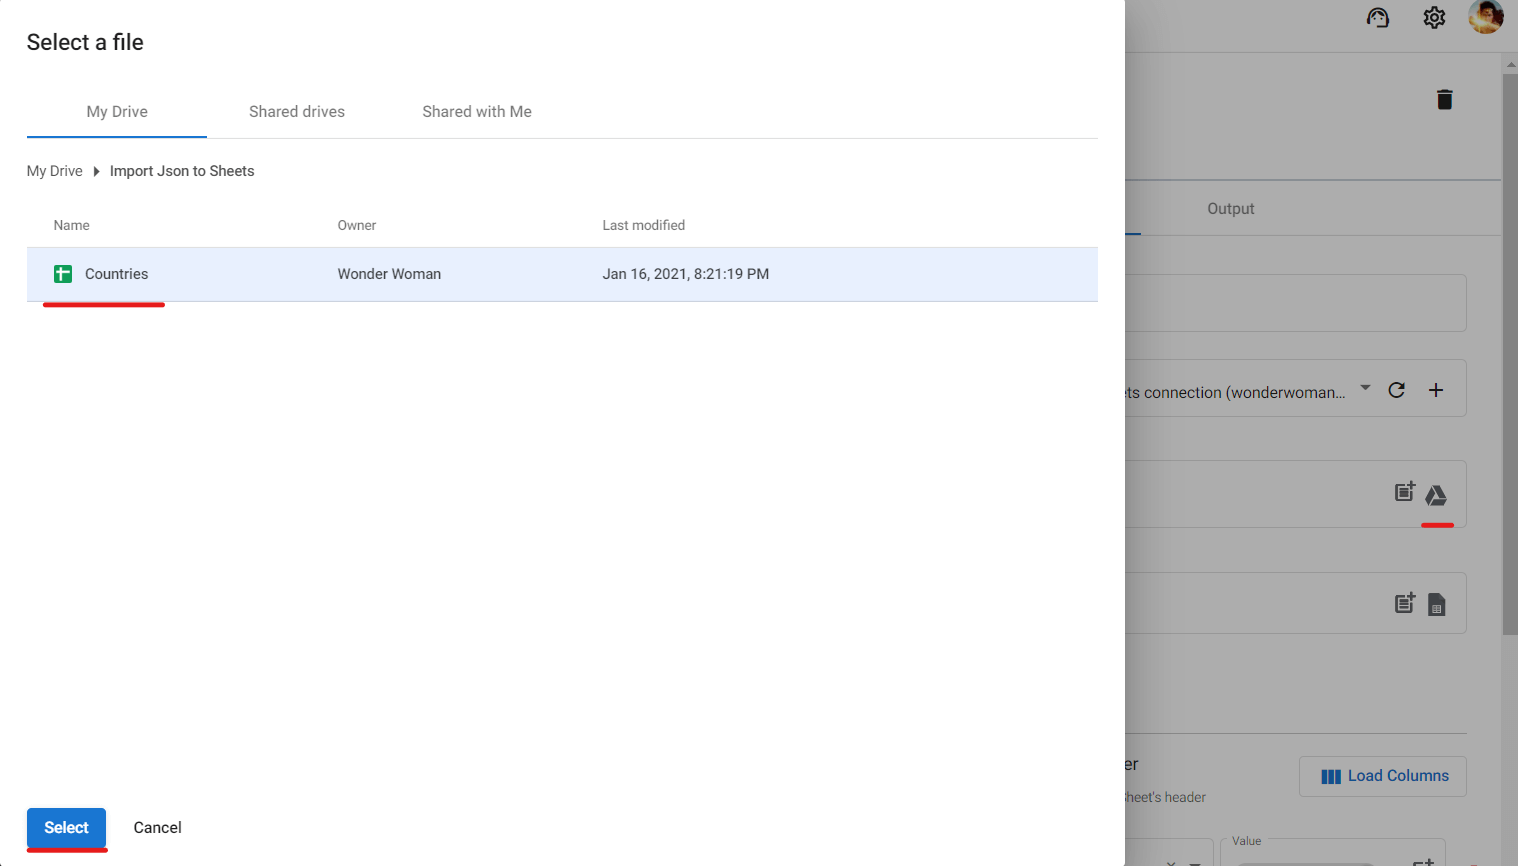
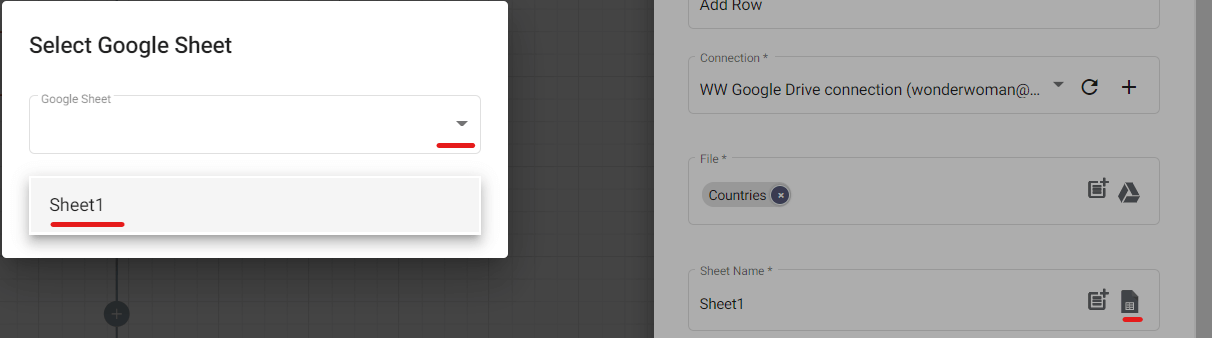
At the File section, click the Google Drive icon and select the “Countries” file.
At the Sheet name section, specify the right worksheet.
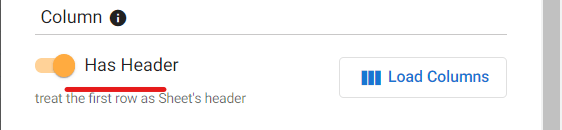
Enable Has Header and Add Columns. This will treat the first row of cells as headers and load them as columns.
Configure the corresponding value of Code[A] by clicking the parameter icon in the Value section beside Code[A]. Under Actions, click Foreach Loop. And from the dropdown list, select Alpha 3 Code.
![Configuring Code[A] Value.](https://zenphi.com/wp-content/uploads/2021/01/Importing-Json-Payload-06.8.png)
For Name[B], follow what you have done with Code[A] but choose Name this time.
![Configuring the Name[B] value.](https://zenphi.com/wp-content/uploads/2021/01/Importing-Json-Payload-06.9.png)
The same thing goes for Capital[C], and let’s choose Capital as the corresponding value.
![Configuring the Capital[C] value.](https://zenphi.com/wp-content/uploads/2021/01/Importing-Json-Payload-06.10.png)
Share: